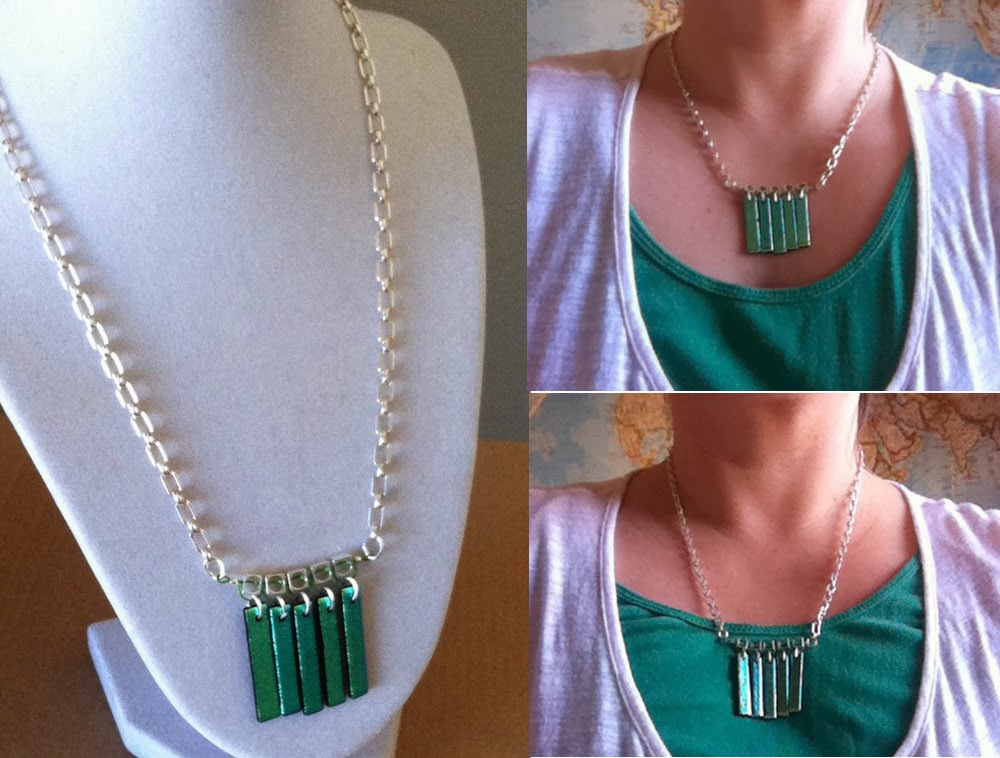
Tutorial Tuesday: Glass Fringe Necklace

Tutorial Tuesday is a blog series where I share a do-it-yourself jewelry tutorial on Soft Flex Company’s blog.
I know St. Patrick’s Day was last week, but I’m Irish and love the color green so, I wanted to keep the celebration of green going with this necklace design! This time I am using Soft Flex beading wire as a design component. This project appears to be complex but, it is easy and great for any beader. Only skill required is crimping. For crimping help, please visit our webpage, All about Crimps.

(2″) Adjustable Chain (optional)
(10) Silver Jump Rings
(1) Silver Lobster Claw Clasp

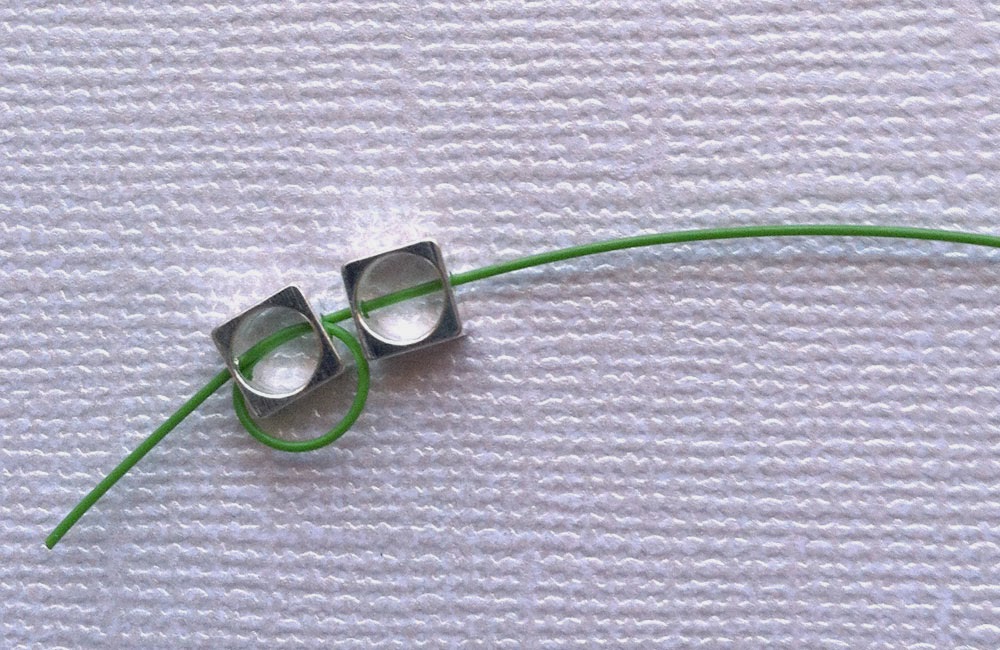
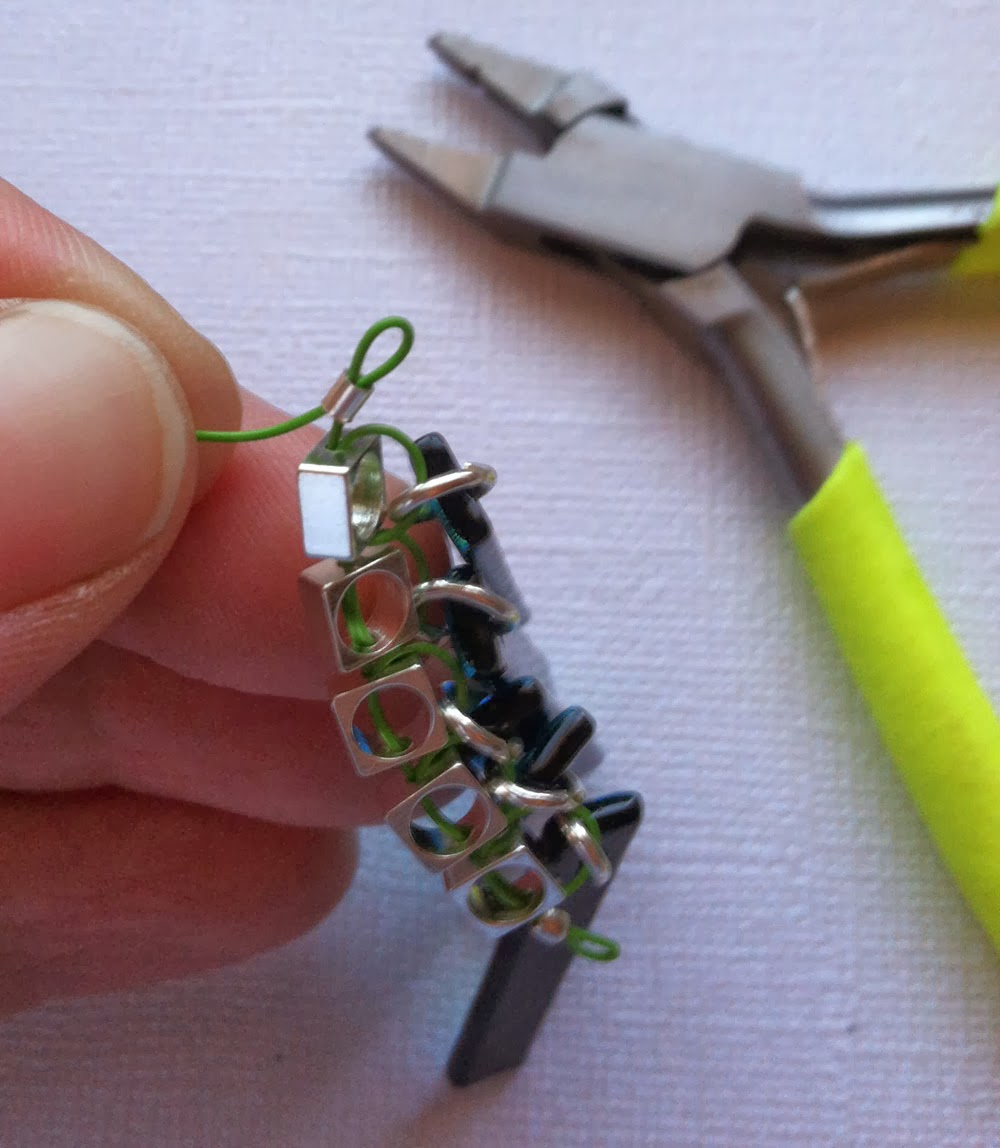
Cut Soft Flex Beading Wire into approximately a 10″ length. String bead frame and take one end of the wire around to make a circle and back through the first bead frame to create a loop. Wiggle this first bead frame to one side of the wire leaving about 1.5″ tail on one end.
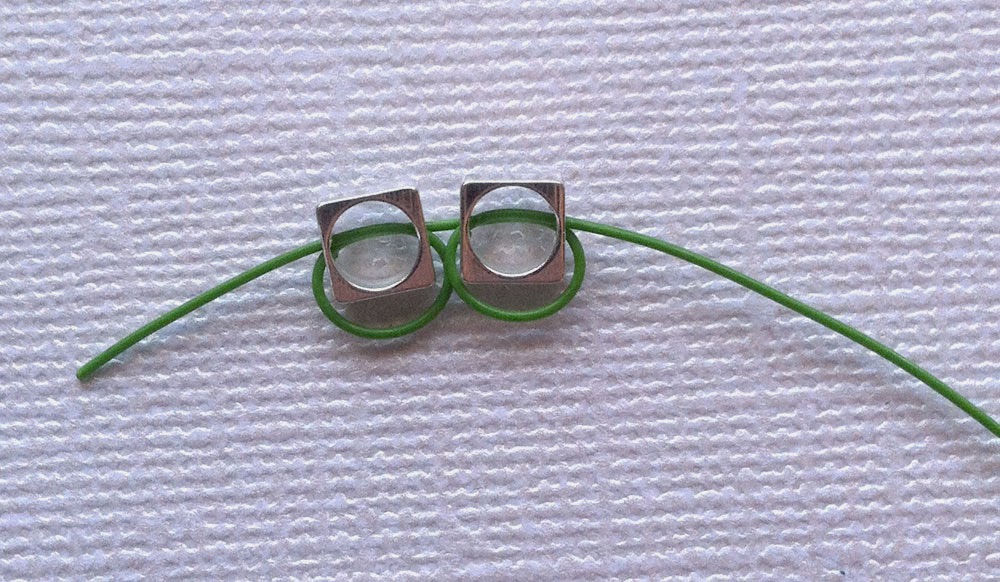
Using the longer wire tail string your next bead frame and circle around the frame and back through to create the second loop. Continue stringing bead frame and making a loop until all 5 frames are complete.
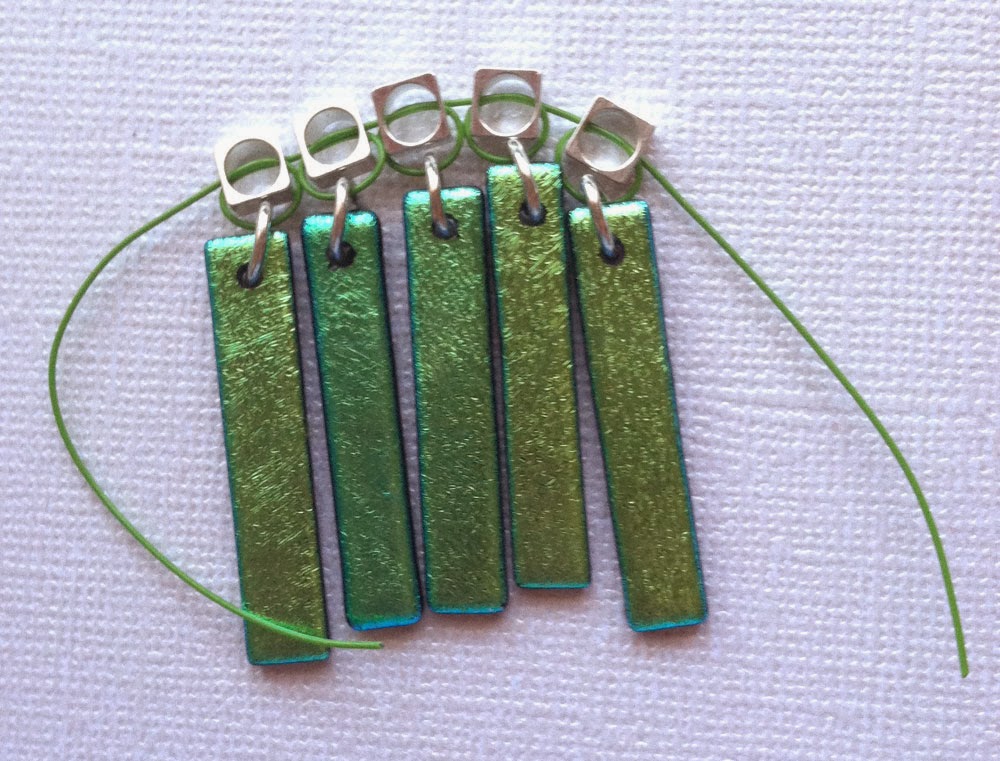
Once your bead frame section is complete, use your chain nose pliers to attach the glass rectangles to the beading wire loops with jump rings. You have a little wiggle room to get the bead frame spacing the way you want before crimping. Take a moment to adjust any frames if necessary.
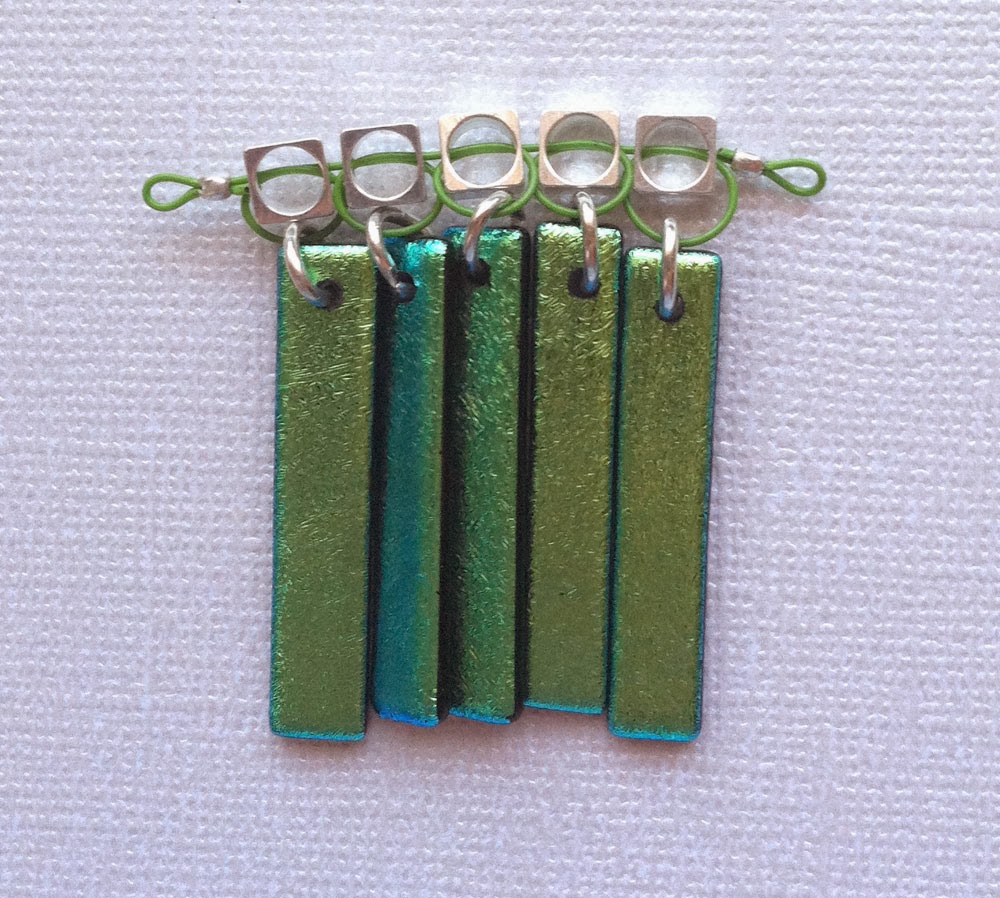
Using your crimping pliers, crimp one side as close to the bead frame as possible. You may use the Regular Crimping Pliers or Universal Magical Crimper to secure the crimp. I choose to use the Universal Magical Crimper as it makes a small 2mm bead out of the tube. For regular crimping instructions, click here. For magical crimper instructions, click here. Trim off the excess wire close to the crimp.
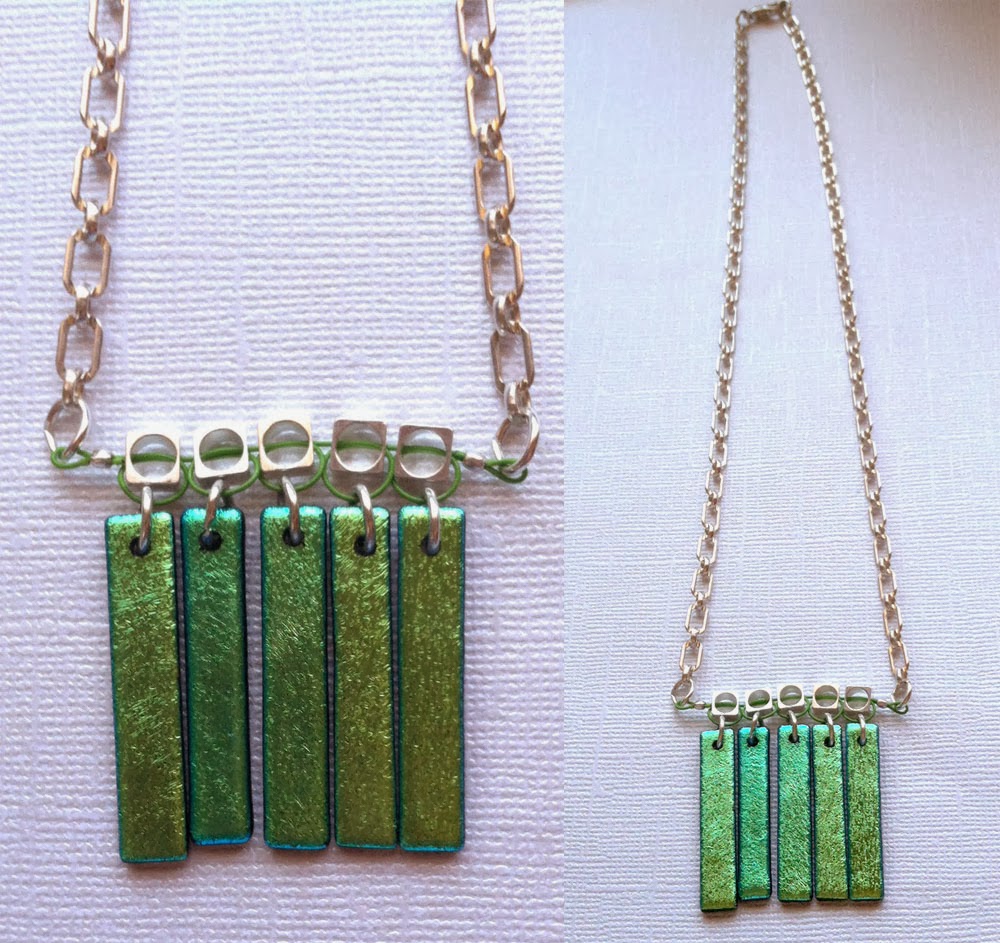
Using your chain nose pliers to attach a jump ring on either side of the fringe section. Cut your chain length in half and attach to each jump ring. Attach the lobster claw clasp to one end and a jump ring to the other end of your chain. You can also make it adjustable by adding one more jump ring and your optional 2″ length of chain to the back. In the photos below I’m wearing a 18″ chain in the top picture and adjusted it to a 20″ chain in the bottom picture.