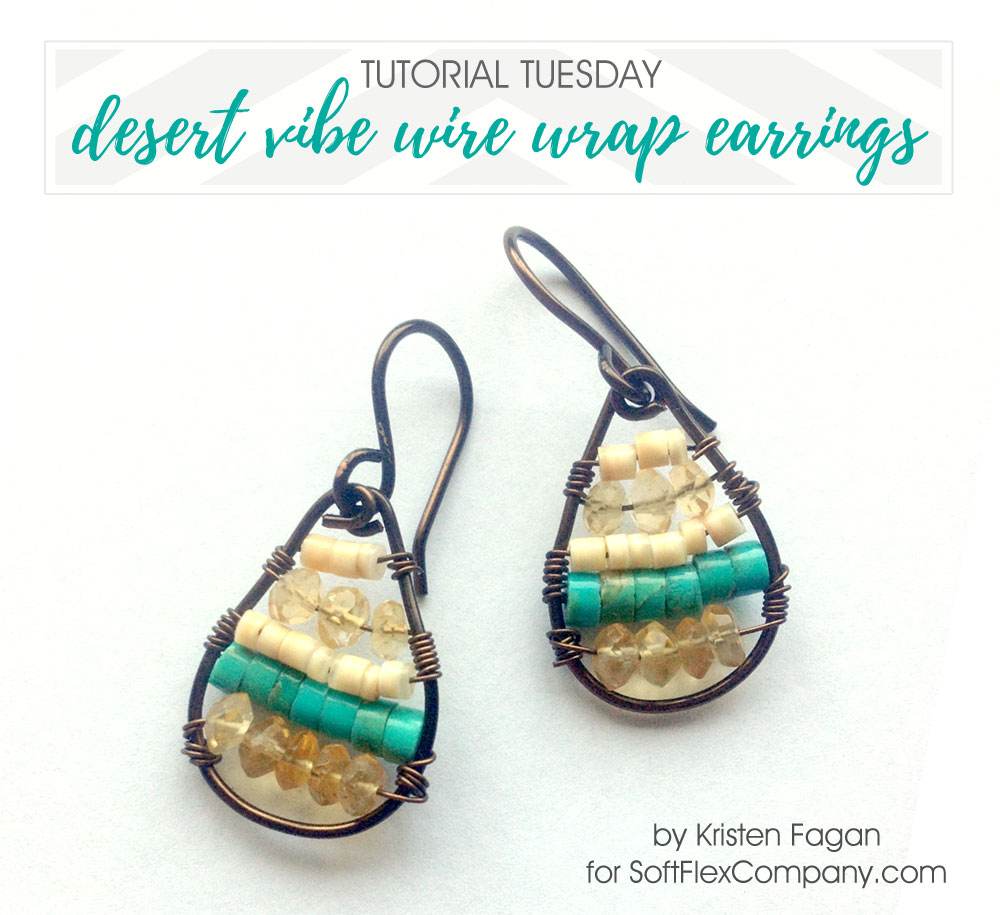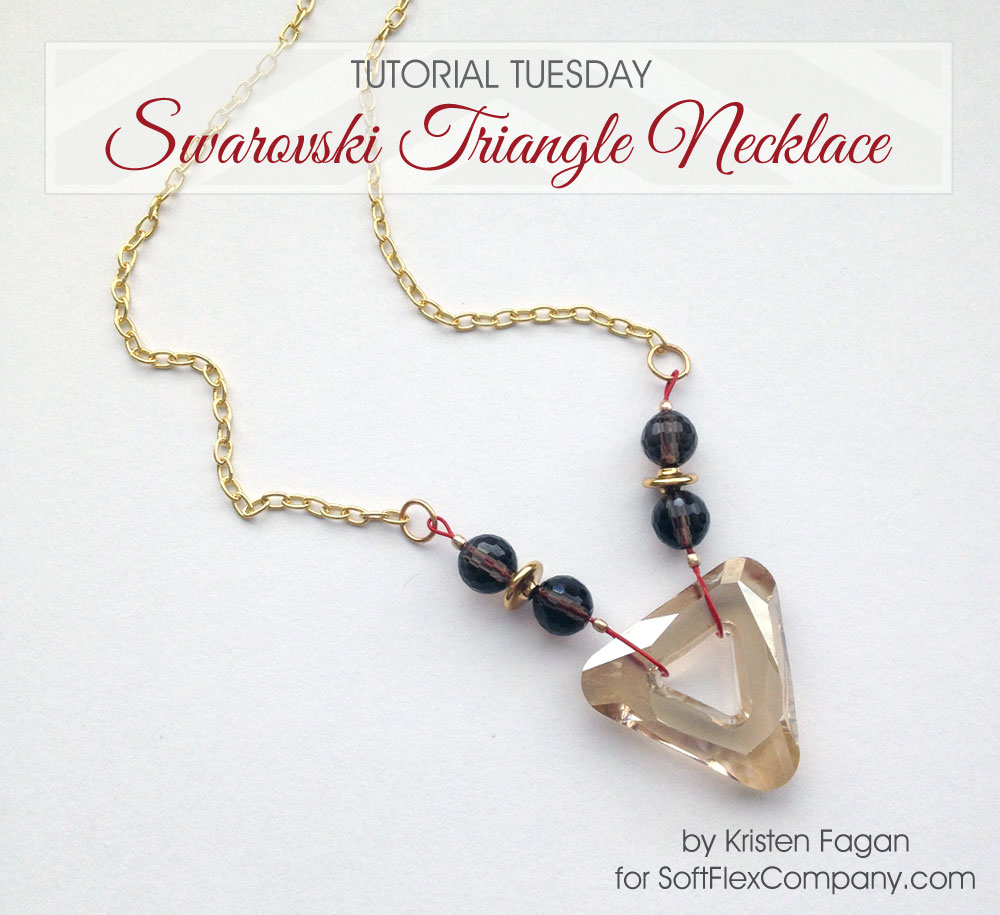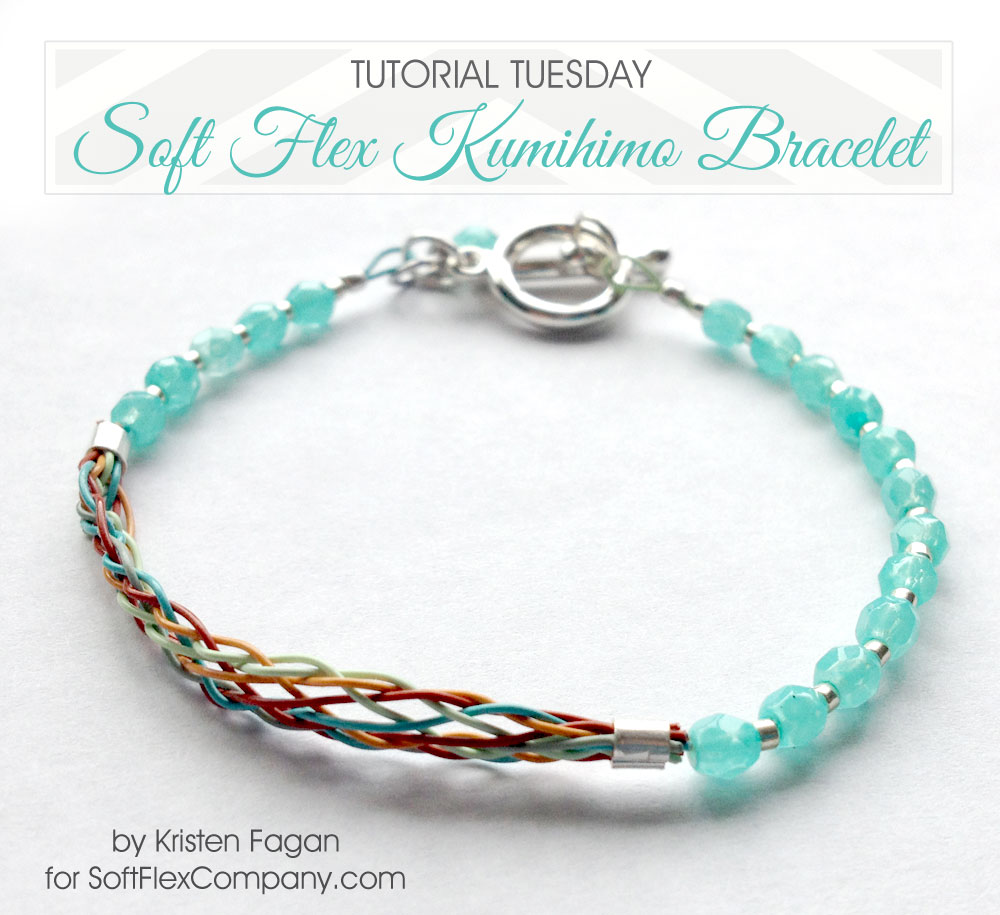
Tutorial Tuesday is a blog series where I share a do-it-yourself jewelry tutorial.
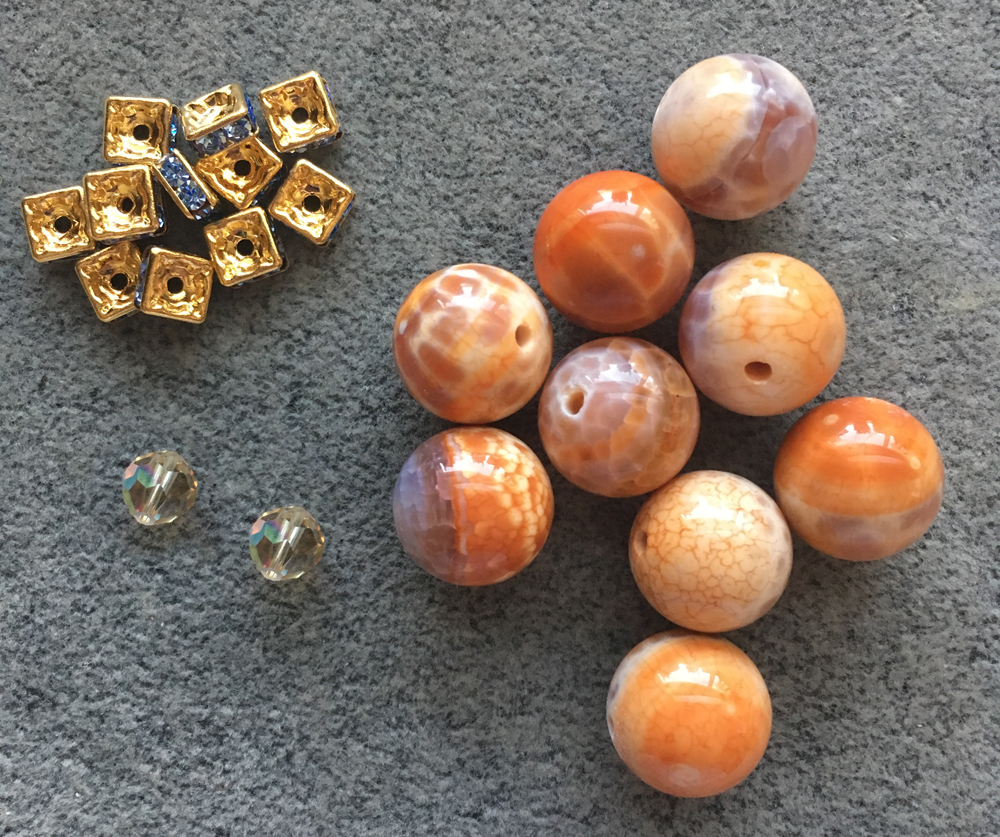
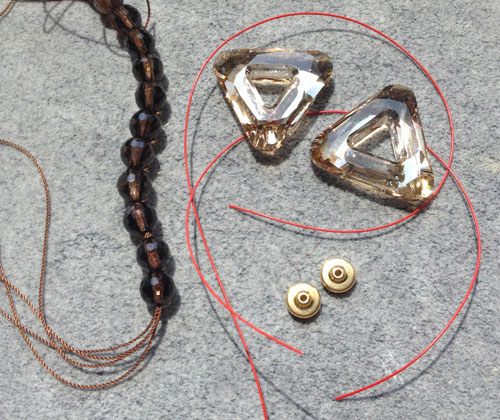
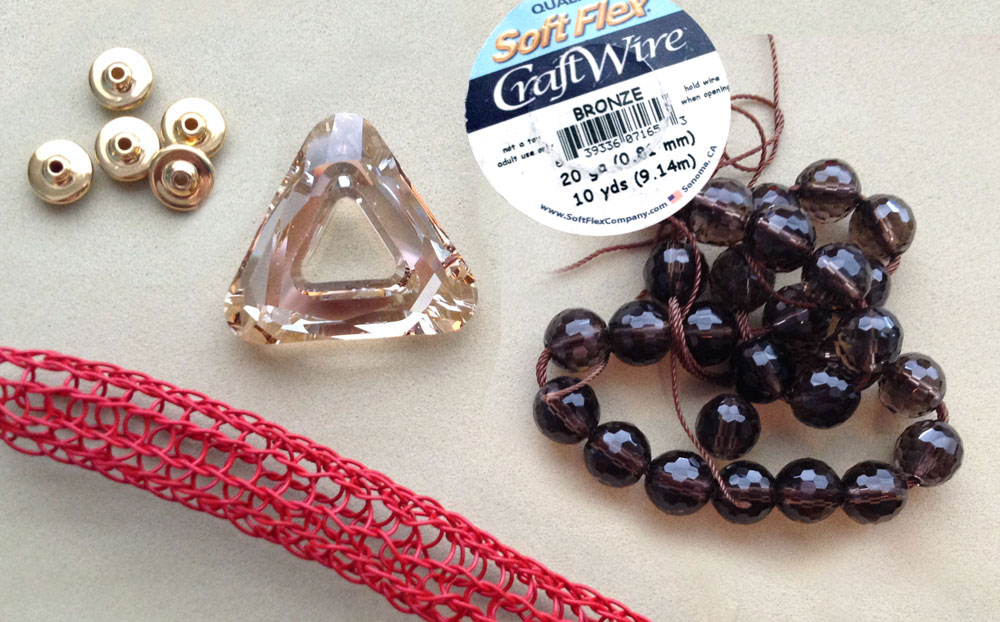
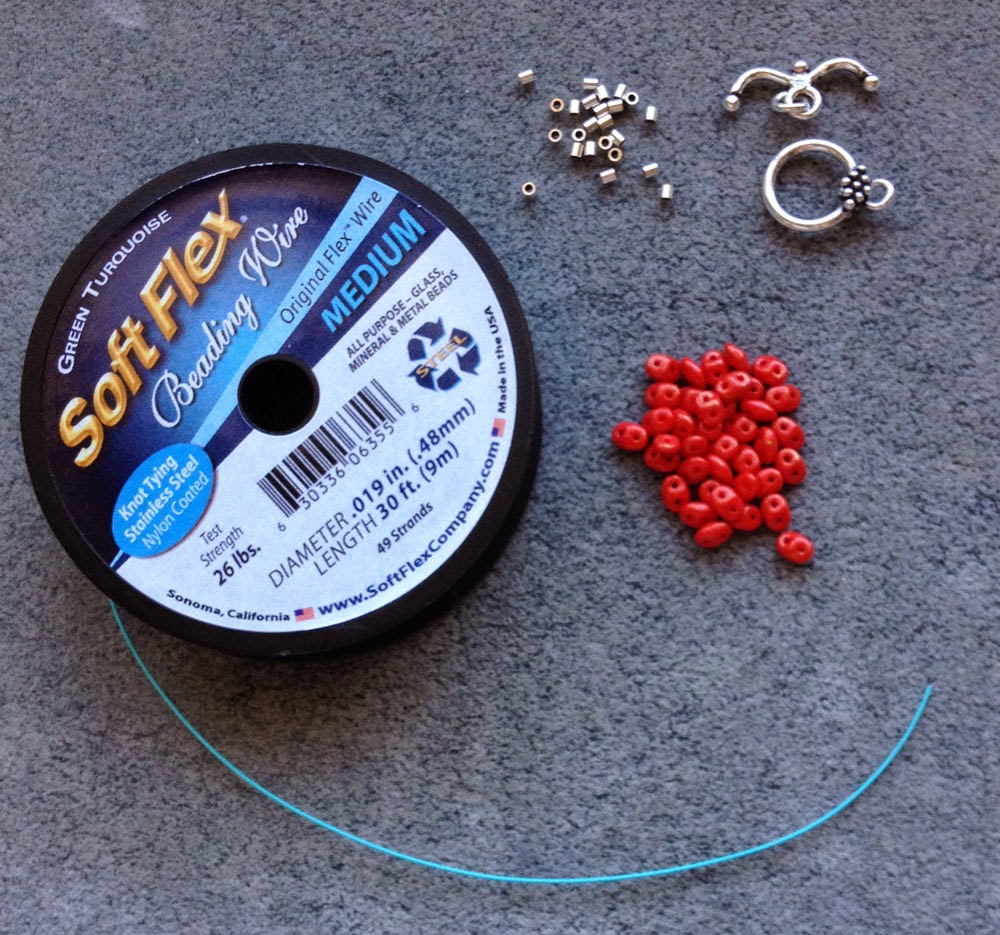
Materials
Instructions
You will need 10 strands of beading wire, approximately 20″ length for each strand, in assorted colors. If you have 10ft spools of Soft Flex beading wire you may work directly from the spool otherwise, cut your wire strands. I didn’t feel the need to use bobbins with my cut wire strands.
Gather your wires and slide a 3mm crimp tube on one end of your cut wires or the end not attached to your spool if working from the spool. Slide your crimp up the wire strands leaving a 4″ tail and crimp using your mighty crimping pliers. The crimped wire side will go into the middle of your Kumihimo plate. Click here for crimping instructions.
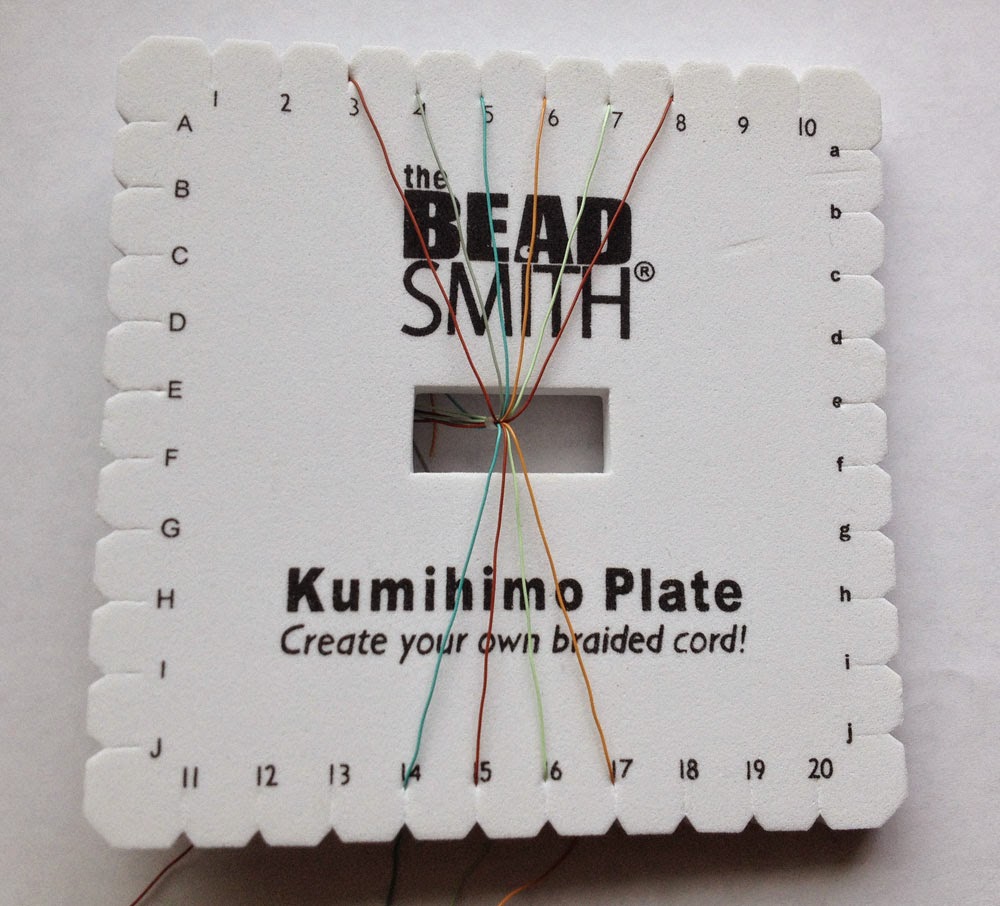
Set your plate up to have 6 beading wire strands across the top and 4 beading wire strands across the bottom.
Watch Anne Dilker’s Square Kumihimo video for instructions on the braiding technique used
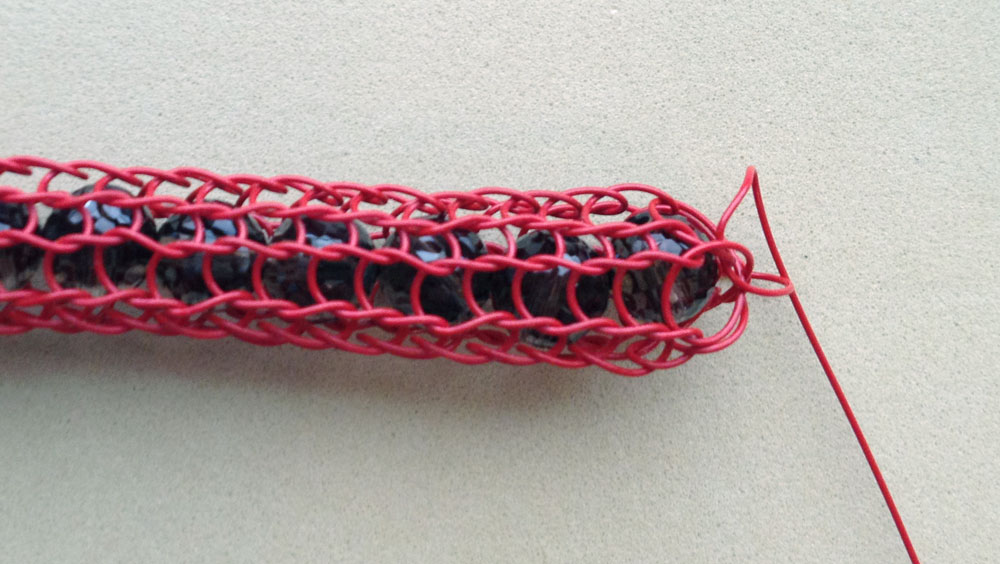
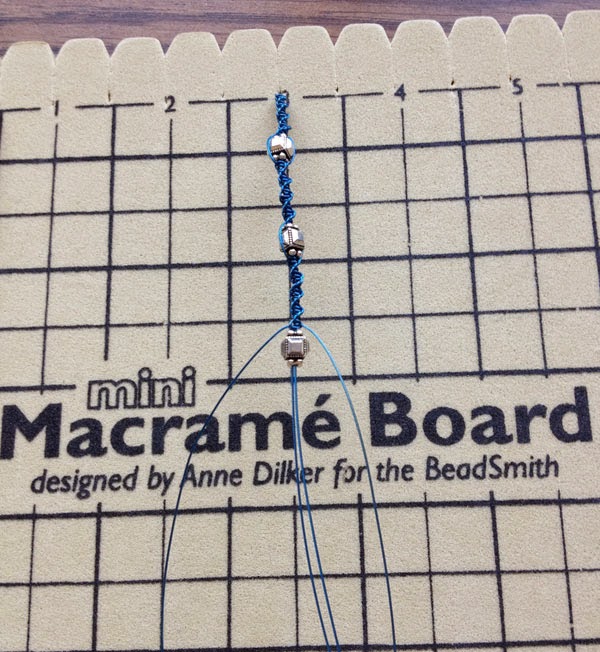
Continue braiding with the technique shown in the video above until you have about 2″ of braided wire and at least 4″ of excess wire left. Remove your wire from the Kumihimo plate. If working from the spools you should now cut the wires free from the spools making sure each strand has about 4″.
Gather the wire and slide on a 3mm crimp tube and crimp using the mighty crimping pliers at the base of your finished braid. Click here for crimping instructions.
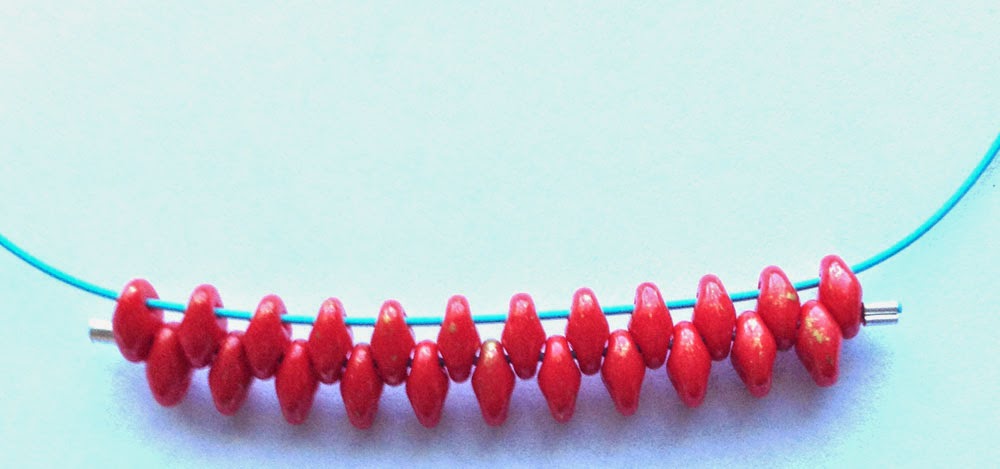
Choose one wire strand on each side of your braid to be your stringing wire to complete your bracelet. Trim all other wire strands as close to the crimp tube as possible as shown below.
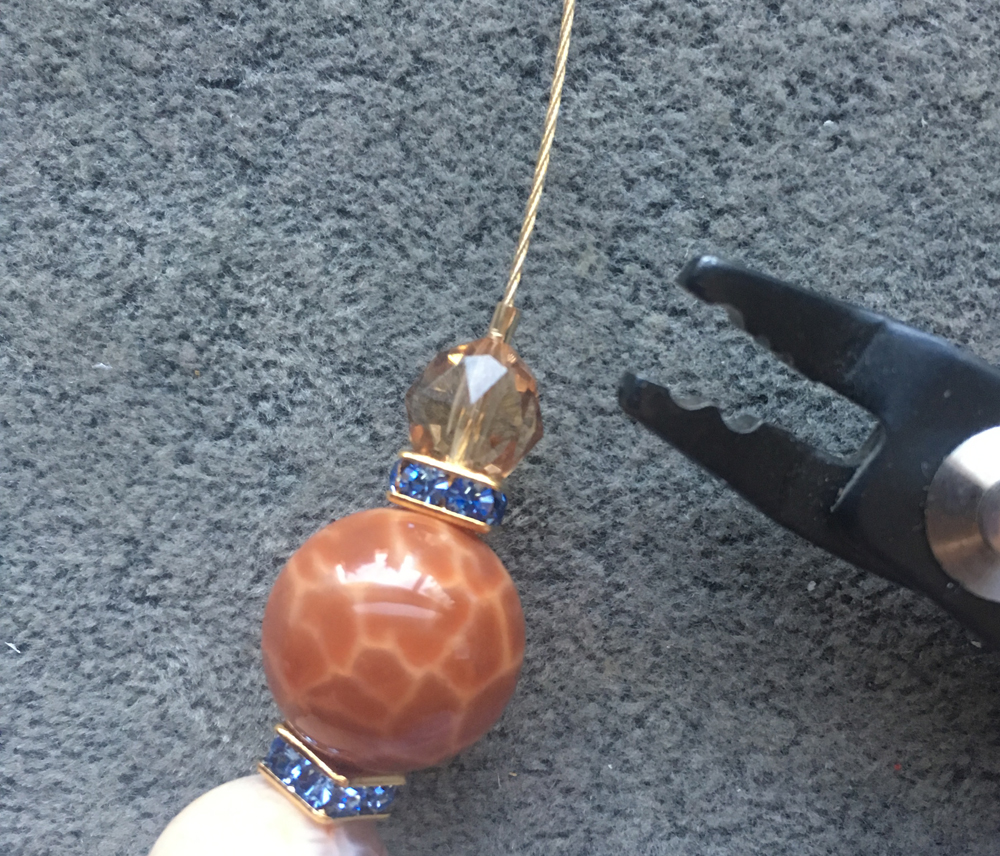
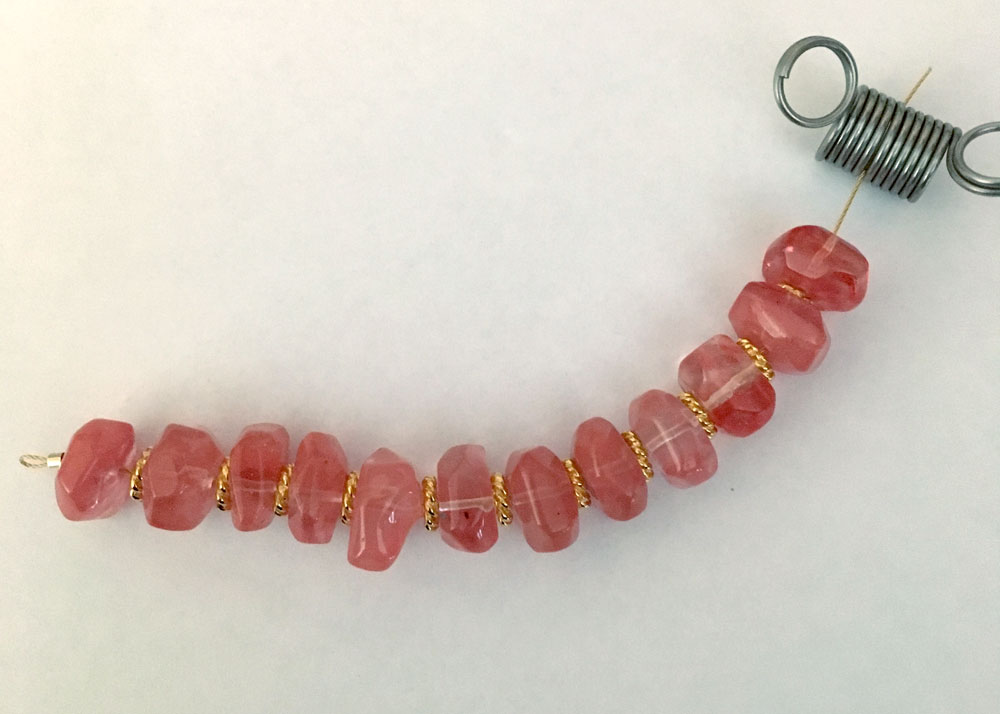
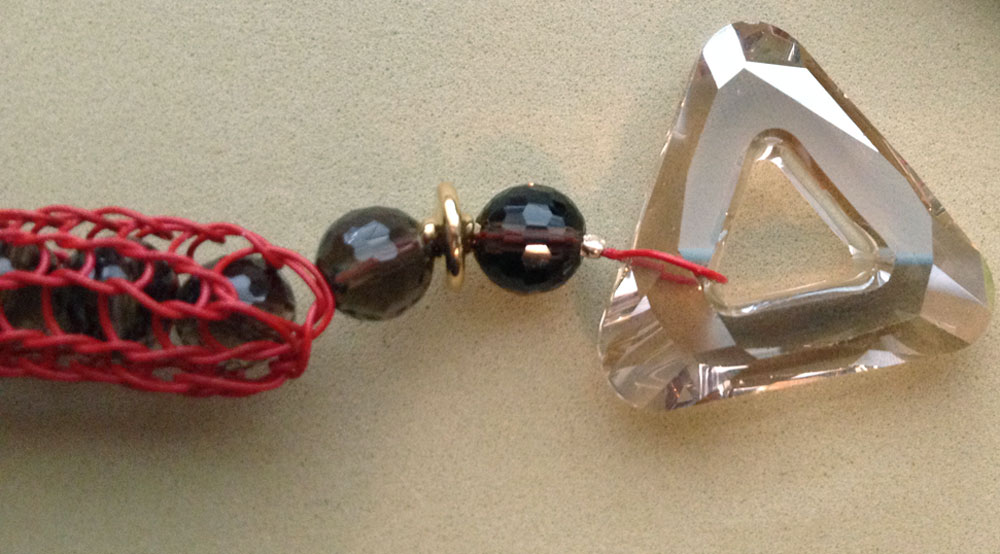
On one side of your braided centerpiece, string 1 fire polish bead, 1 seed bead, 1 fire polish bead, 1 seed bead and continue to repeat until you have 8 fire polish beads and 8 seed beads. You may need to adjust the number of beads used based on the final design size needed.
Add a 2mm crimp tube and crimp around 1 jump ring using the magical crimper. Attach one side of the toggle clasp to the jump ring. Click here for magical crimping instructions.
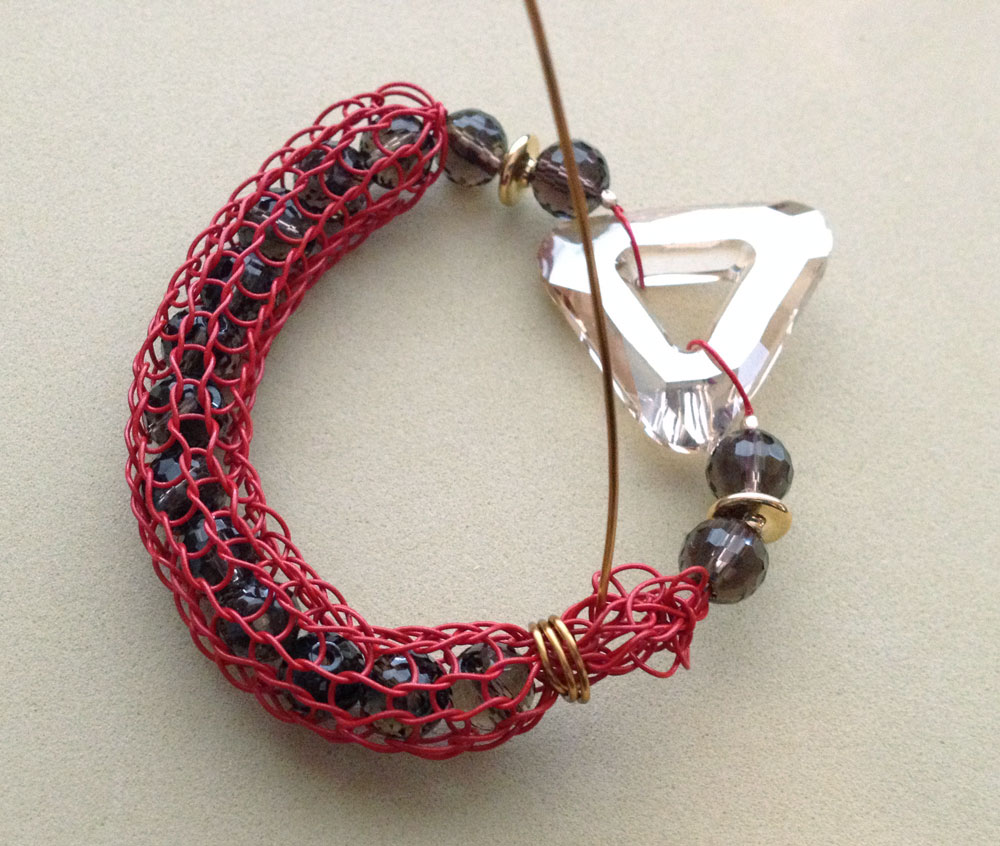
Repeat you bead stringing on the other side of the braided centerpiece, 1 fire polish bead, 1 seed bead, 1 fire polish bead, 1 seed bead and continue to repeat until you have 8 fire polish beads and 8 seed beads. You may need to adjust the number of beads used based on the final design size needed.
Add a 2mm crimp tube and crimp around 1 jump ring using the magical crimper. Attach the other side of the toggle clasp to the jump ring. Click here for magical crimping instructions.
Lastly, create a bead dangle using your headpin and 1 fire polish blue bead and attach it to the jump ring connected to your toggle bar. Click here for instructions on how to make a bead dangle.
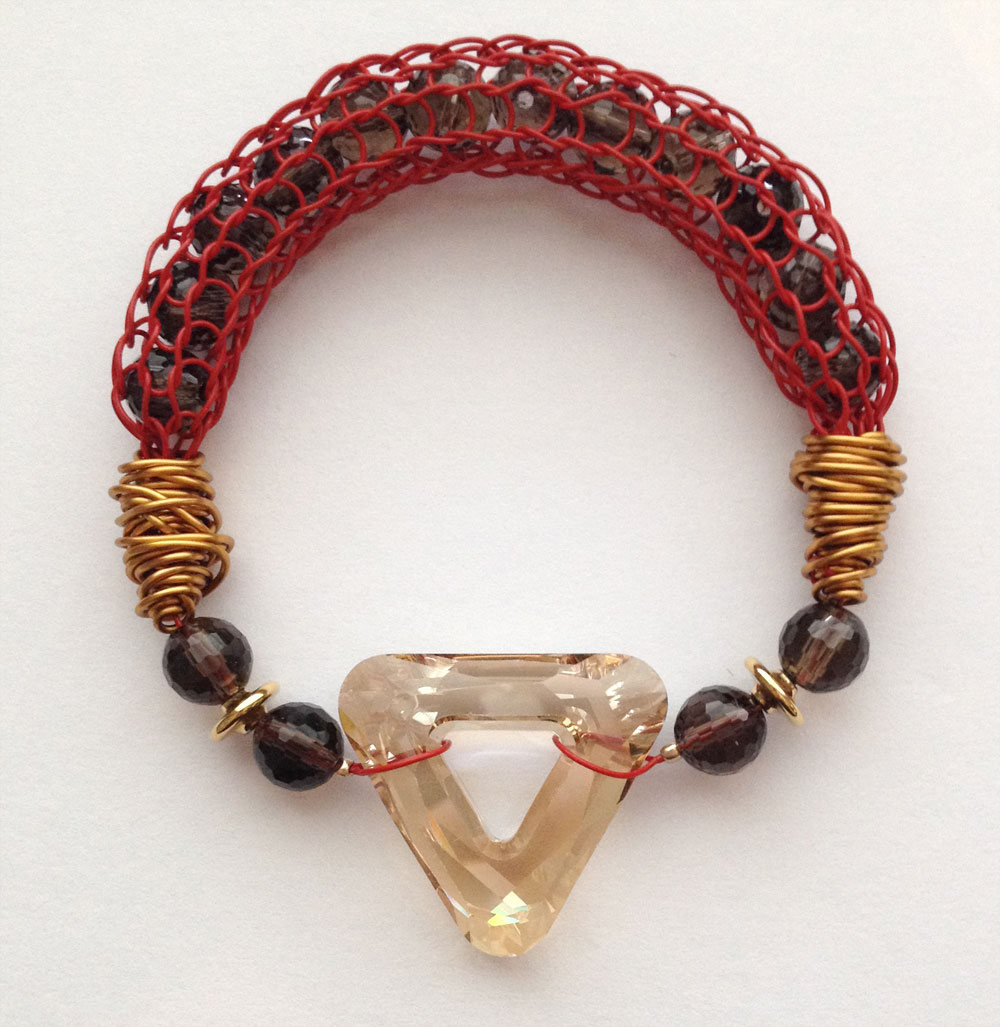
Note: My design had one strand side longer then the other so, my design turned out slightly asymmetrical with on side having 5 fire polish beads and the other 11 fire polish beads.
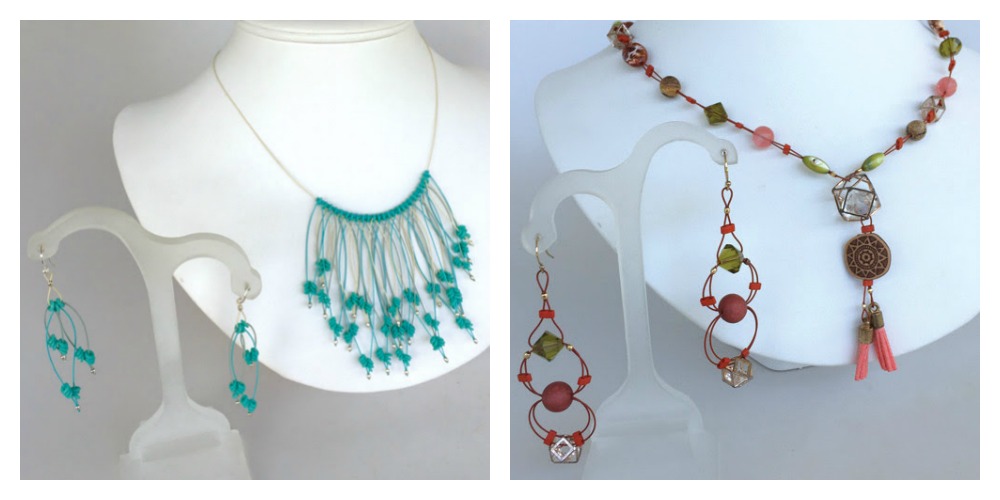
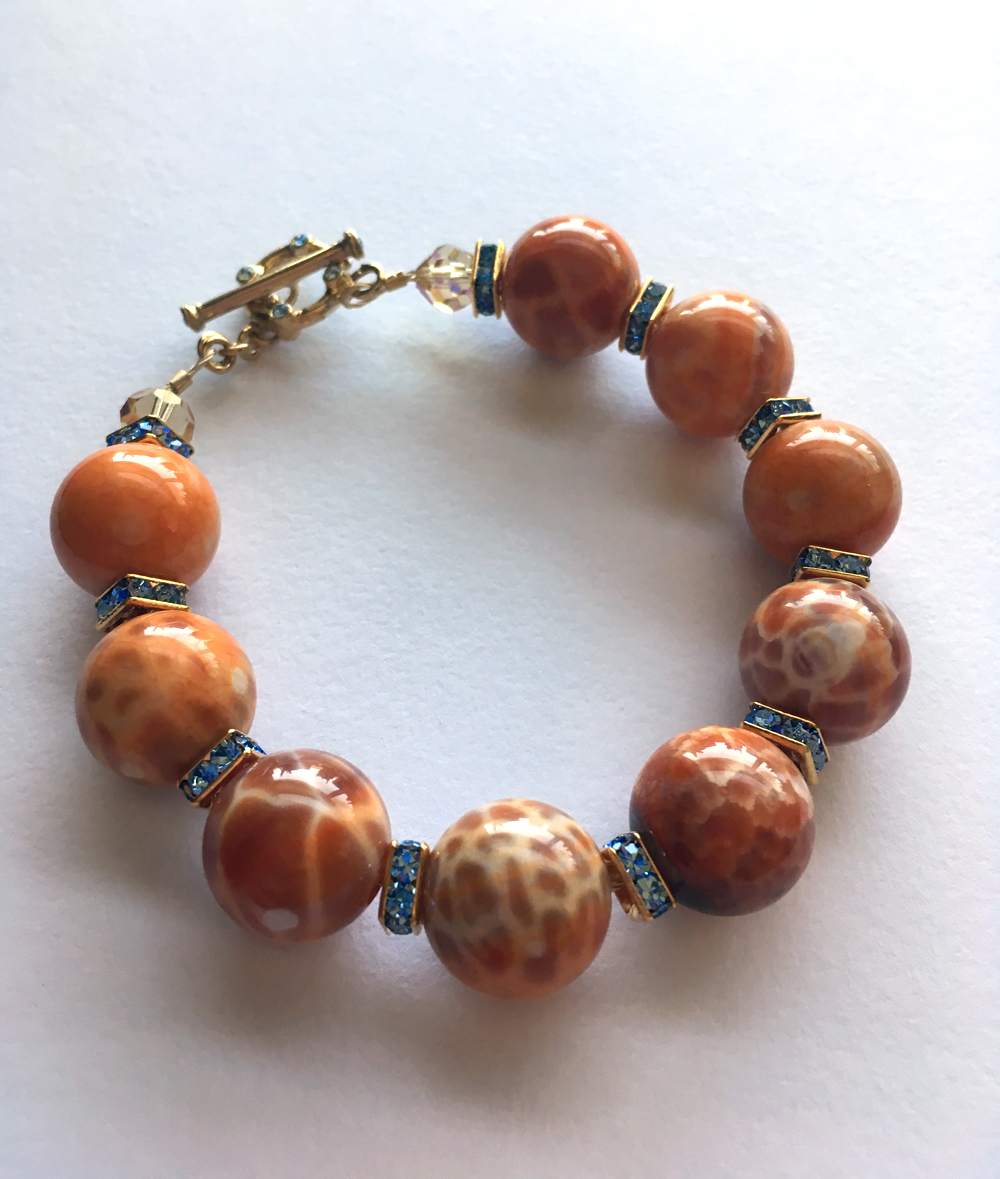
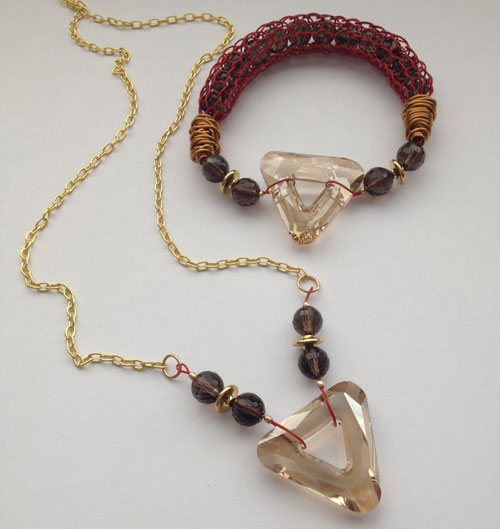
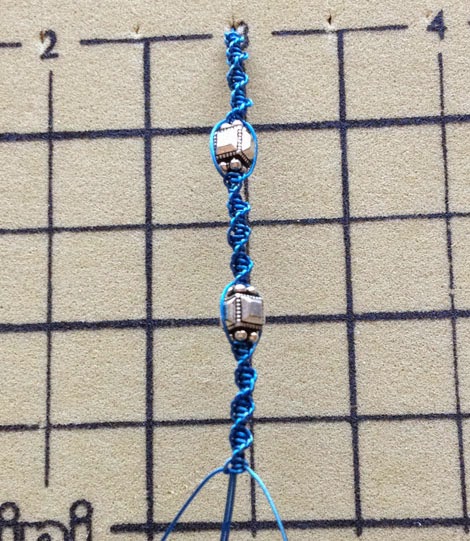
Below is another variation you may want to try. This bracelet uses the same braiding pattern on the entire bracelet and introduces beads in the middle.
I followed the kumihimo braid that is shown in the video and when about half the bracelet was braided I strung beads onto the two wires that were held on the sides of the kumihimo board and then continued the braid. Again, I strung beads on the next two wires that were on the side of the kumihimo board and then continued to braid. I repeated that process until I was happy with the center and then continued to braid the second half of the bracelet without adding any beads. Because I used cut wire, I was able to slide a bead on whenever the wires where on the side before braiding them back in.