
Tutorial Tuesday is a blog series where I share a do-it-yourself jewelry tutorial on Soft Flex Company’s blog.
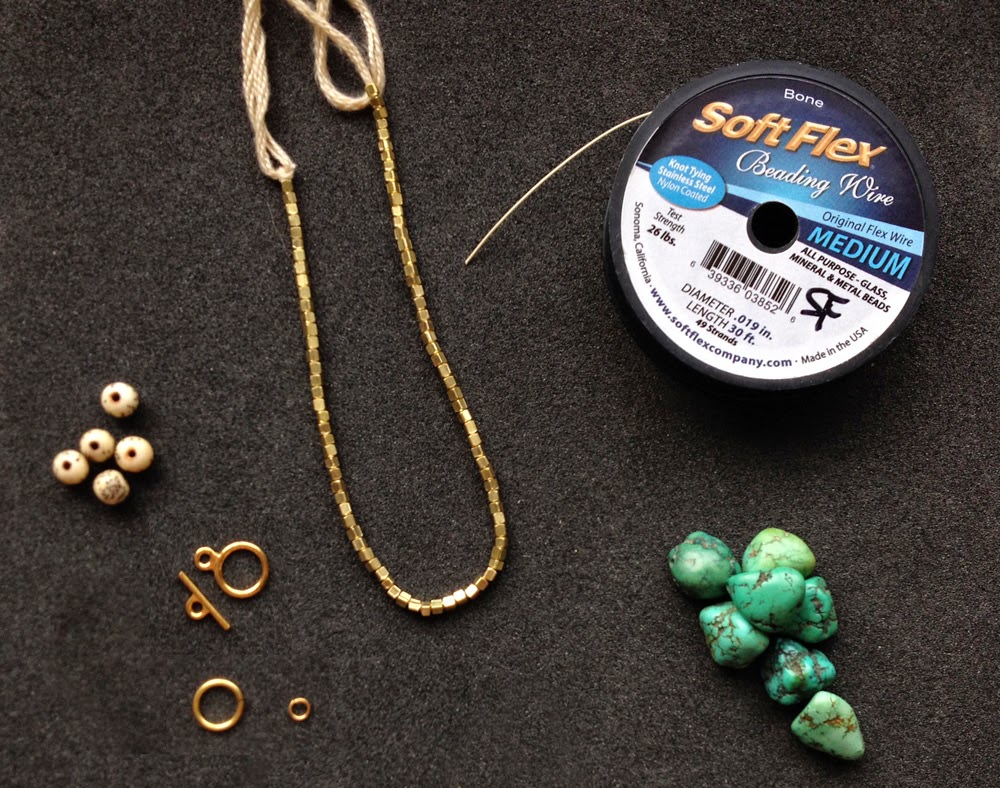
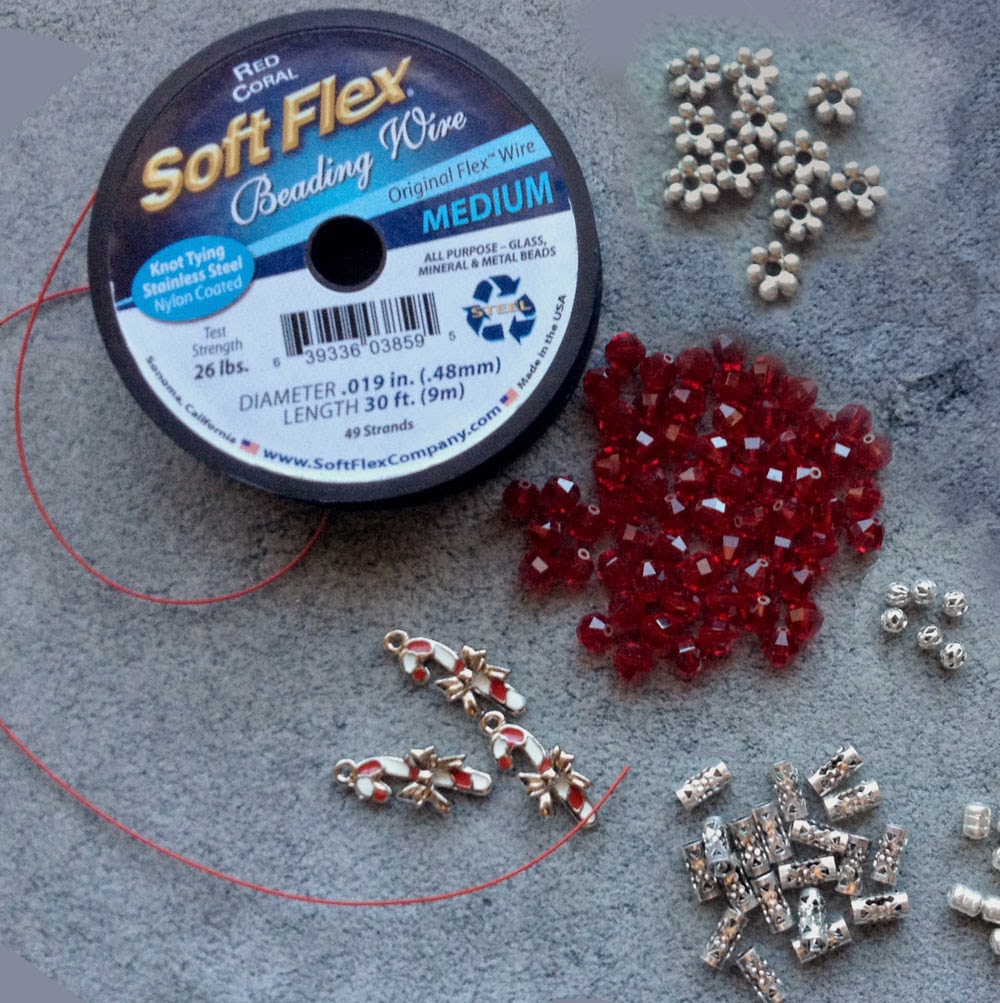
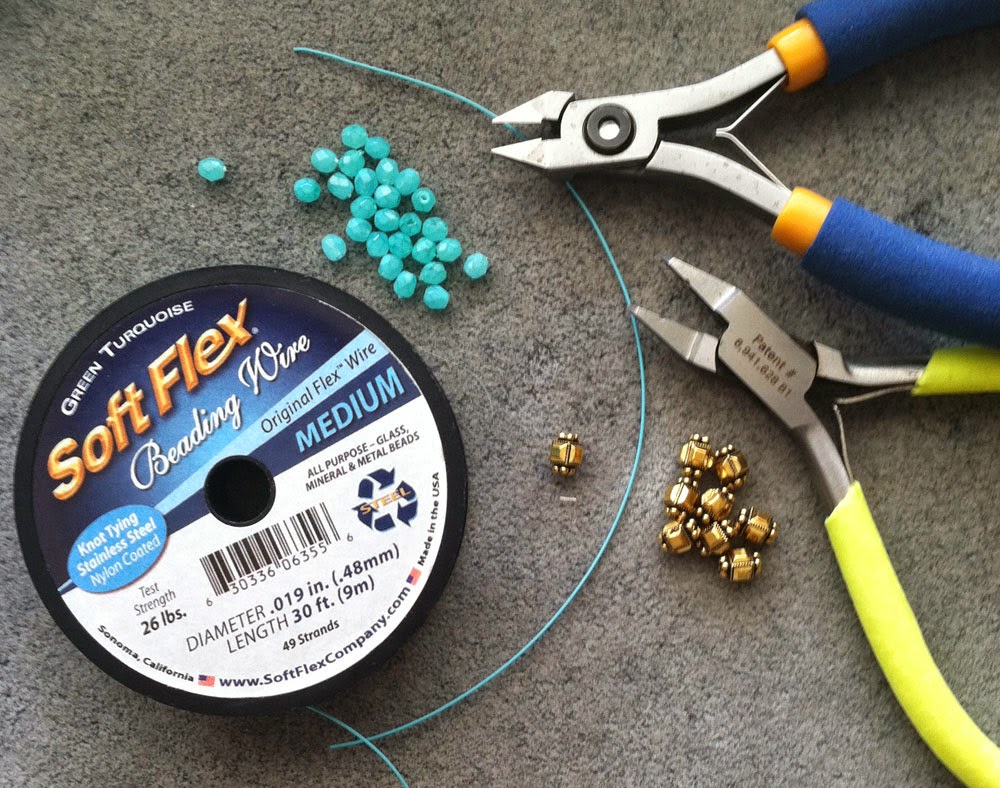
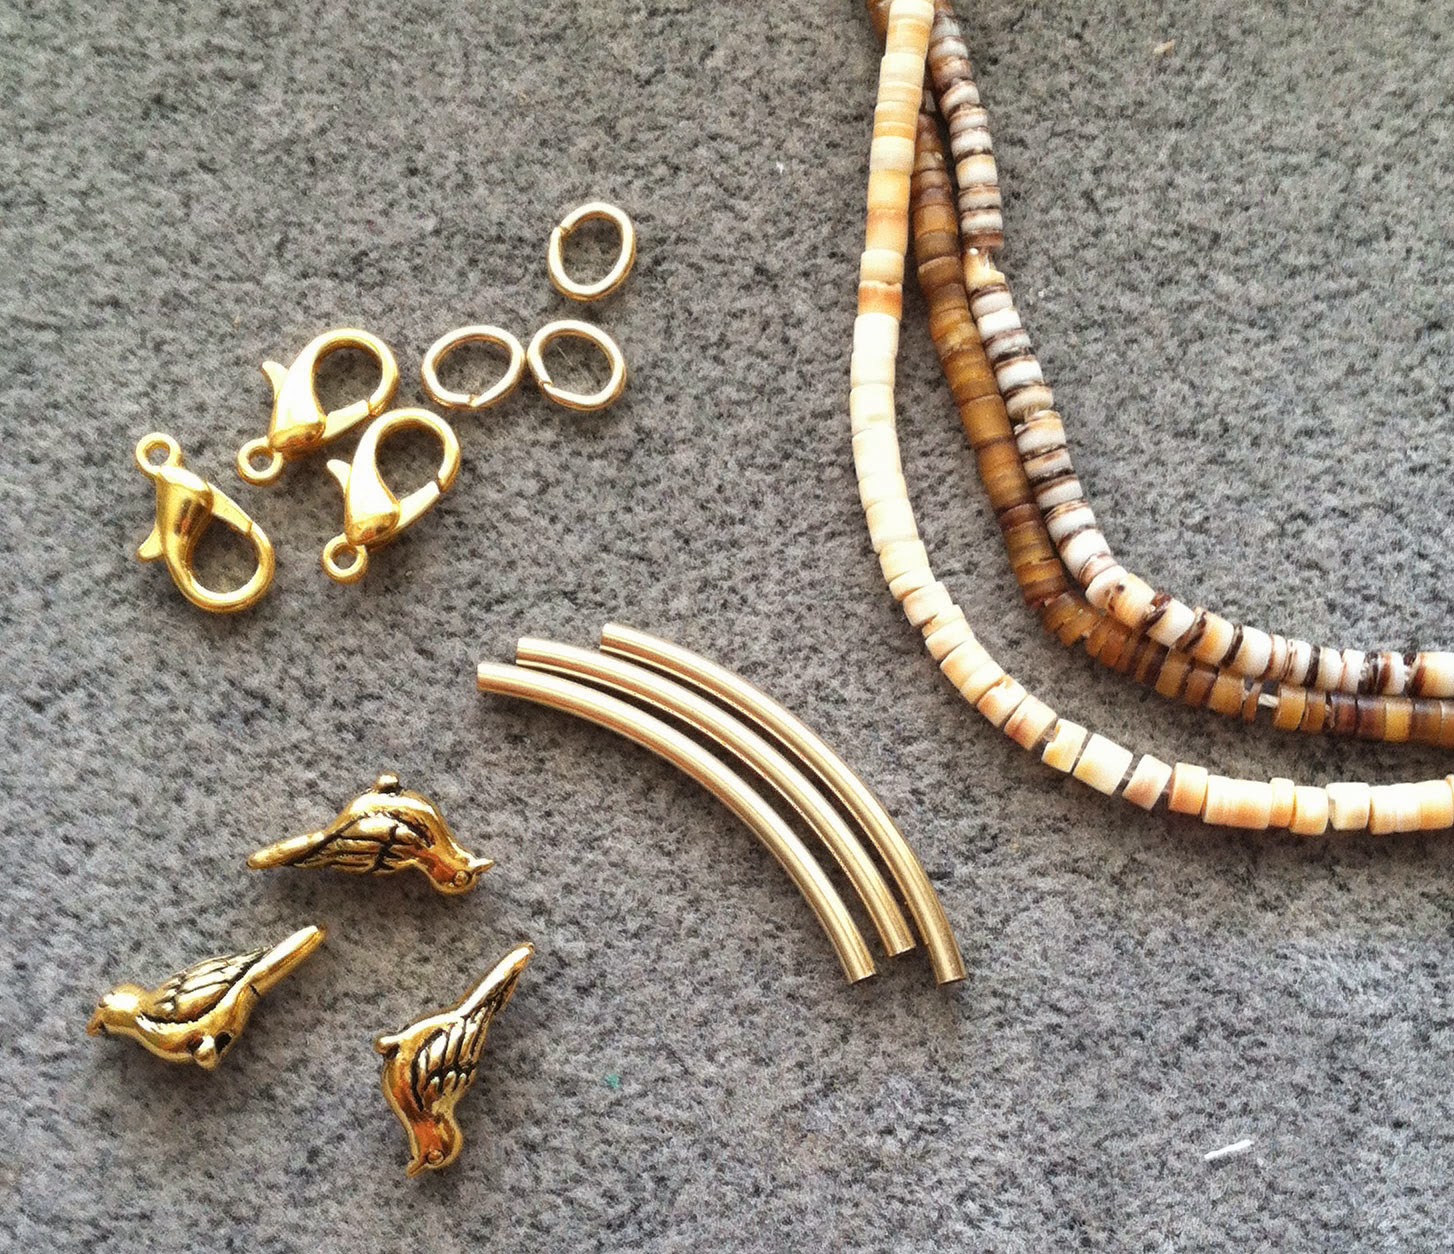
Soft Flex .019 Diameter Beading Wire in Bone – 10″
2x2mm Gold Filled Crimp Tubes – 8
10mm Gold Plated Jump Ring – 1
4mm Brass Jump Ring – 1
3mm Gold Plated Round Beads – 2
Turquoise Nugget Beads – 6
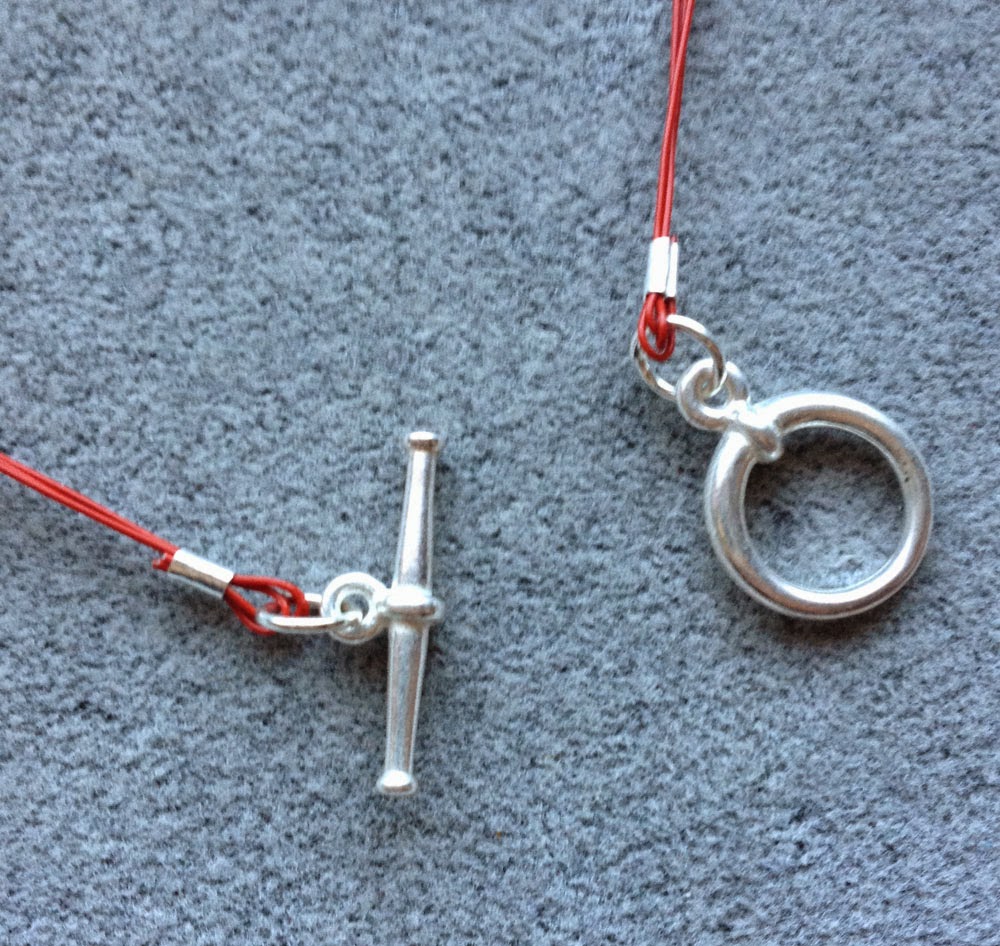
Gold Plated Toggle Clasp – 1
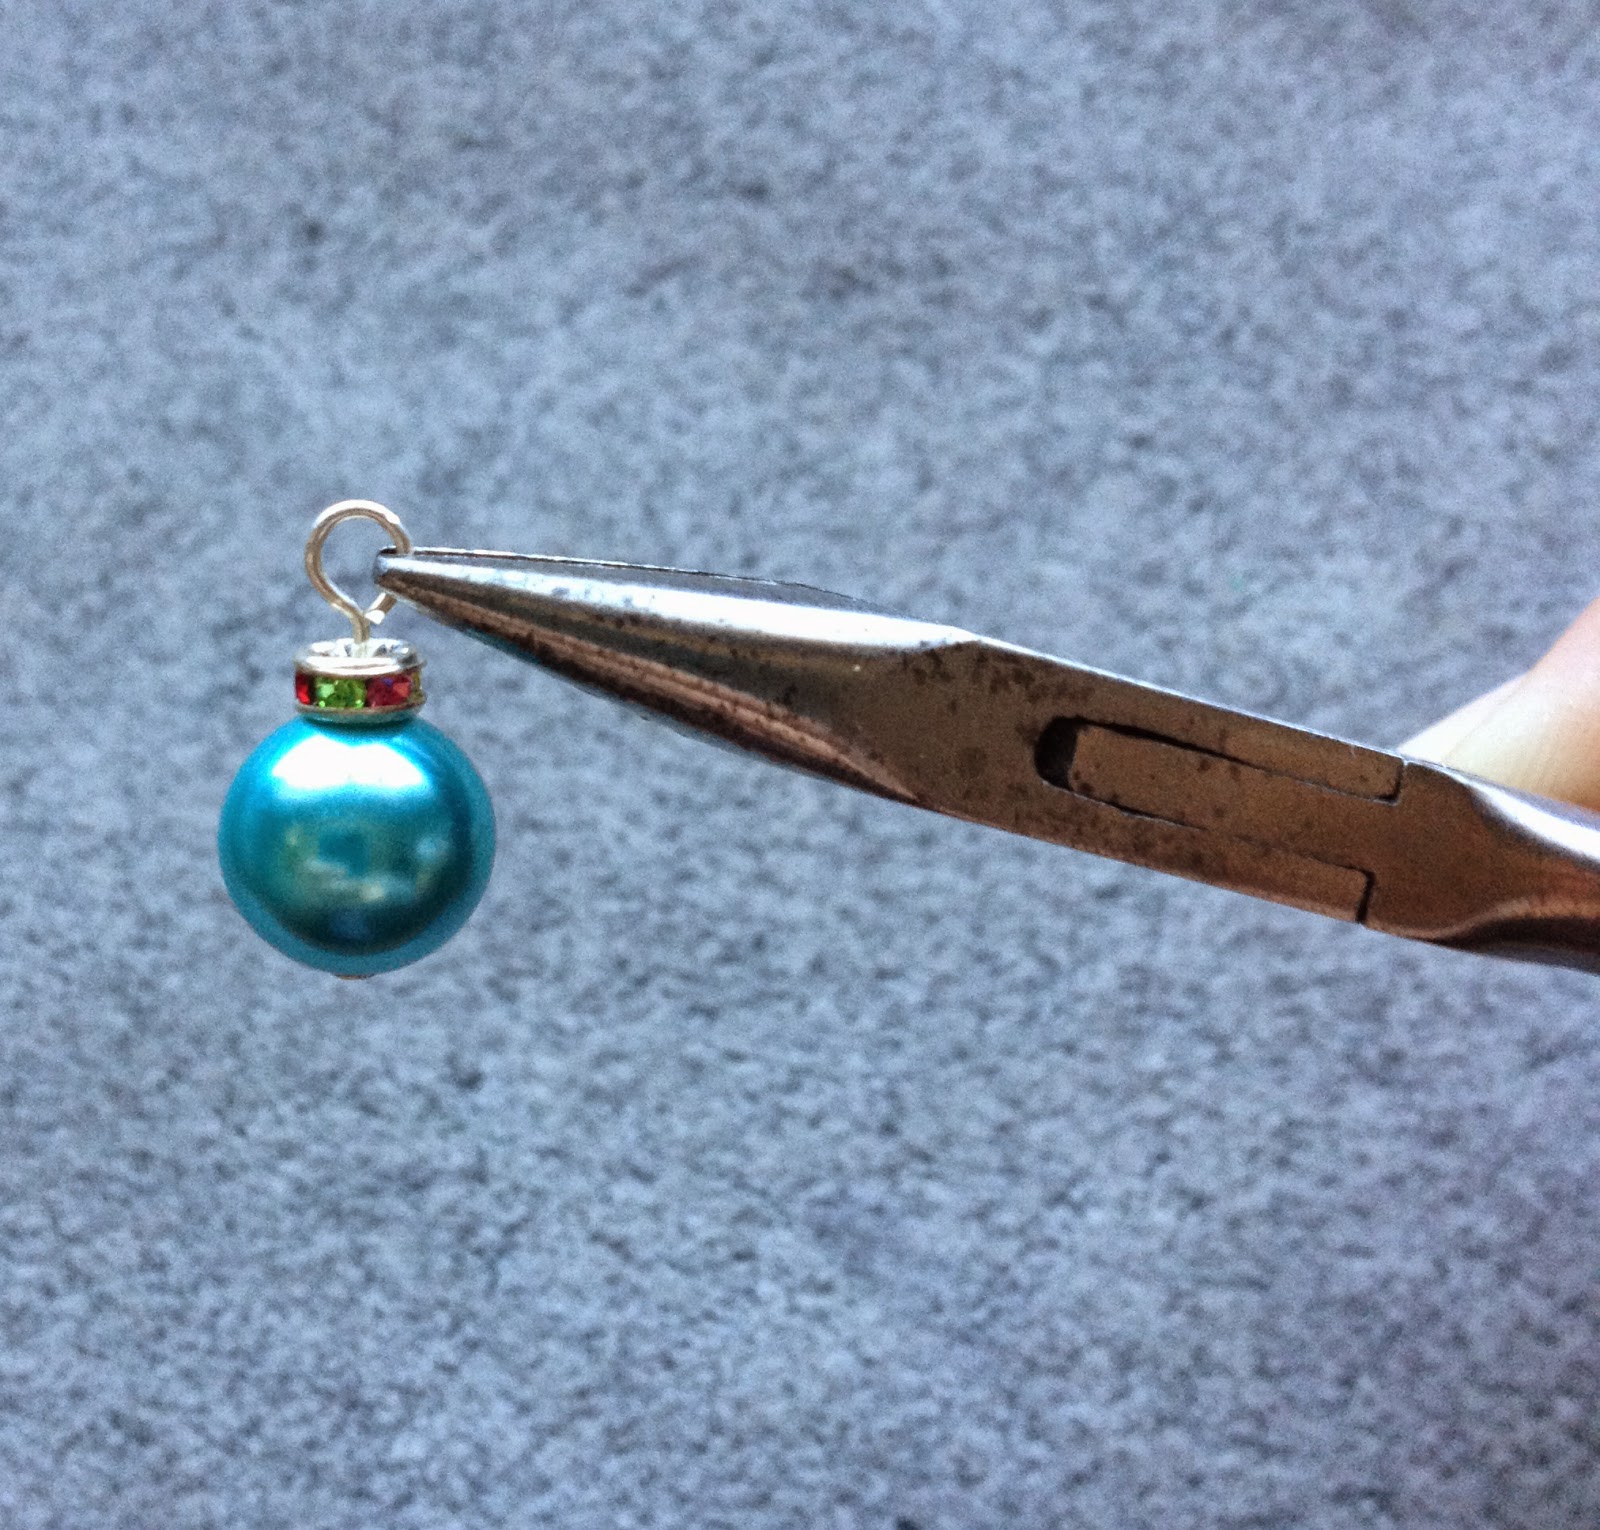
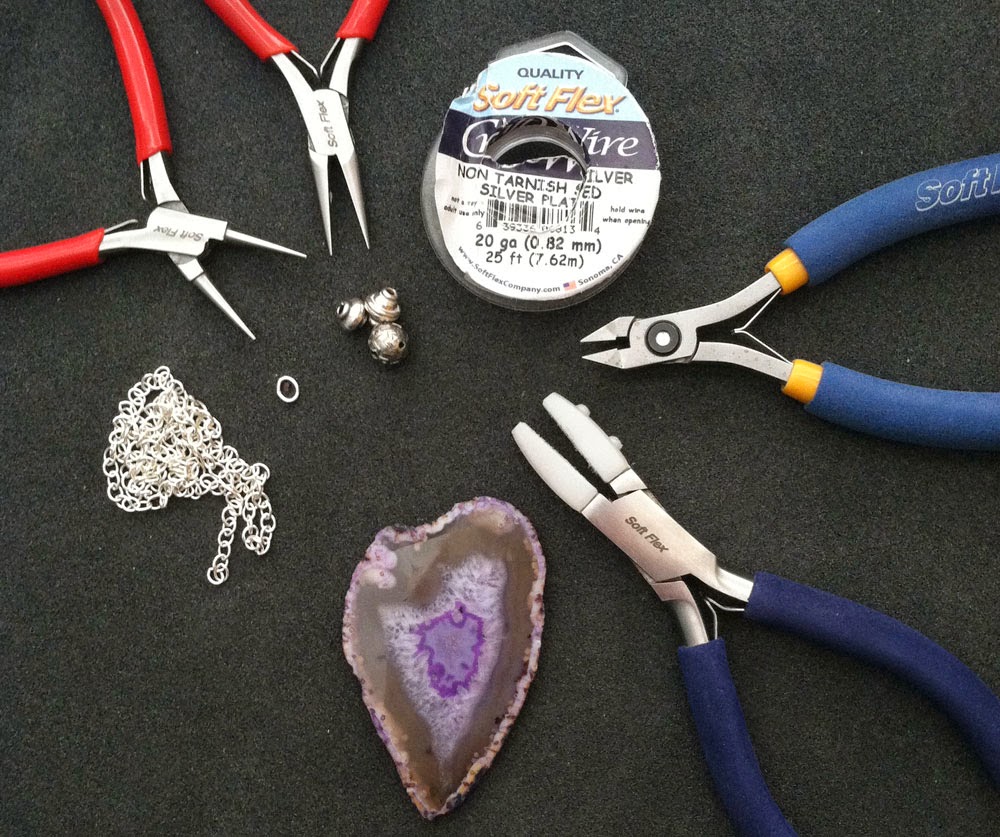
Magical or Regular Crimping Pliers
Cutters
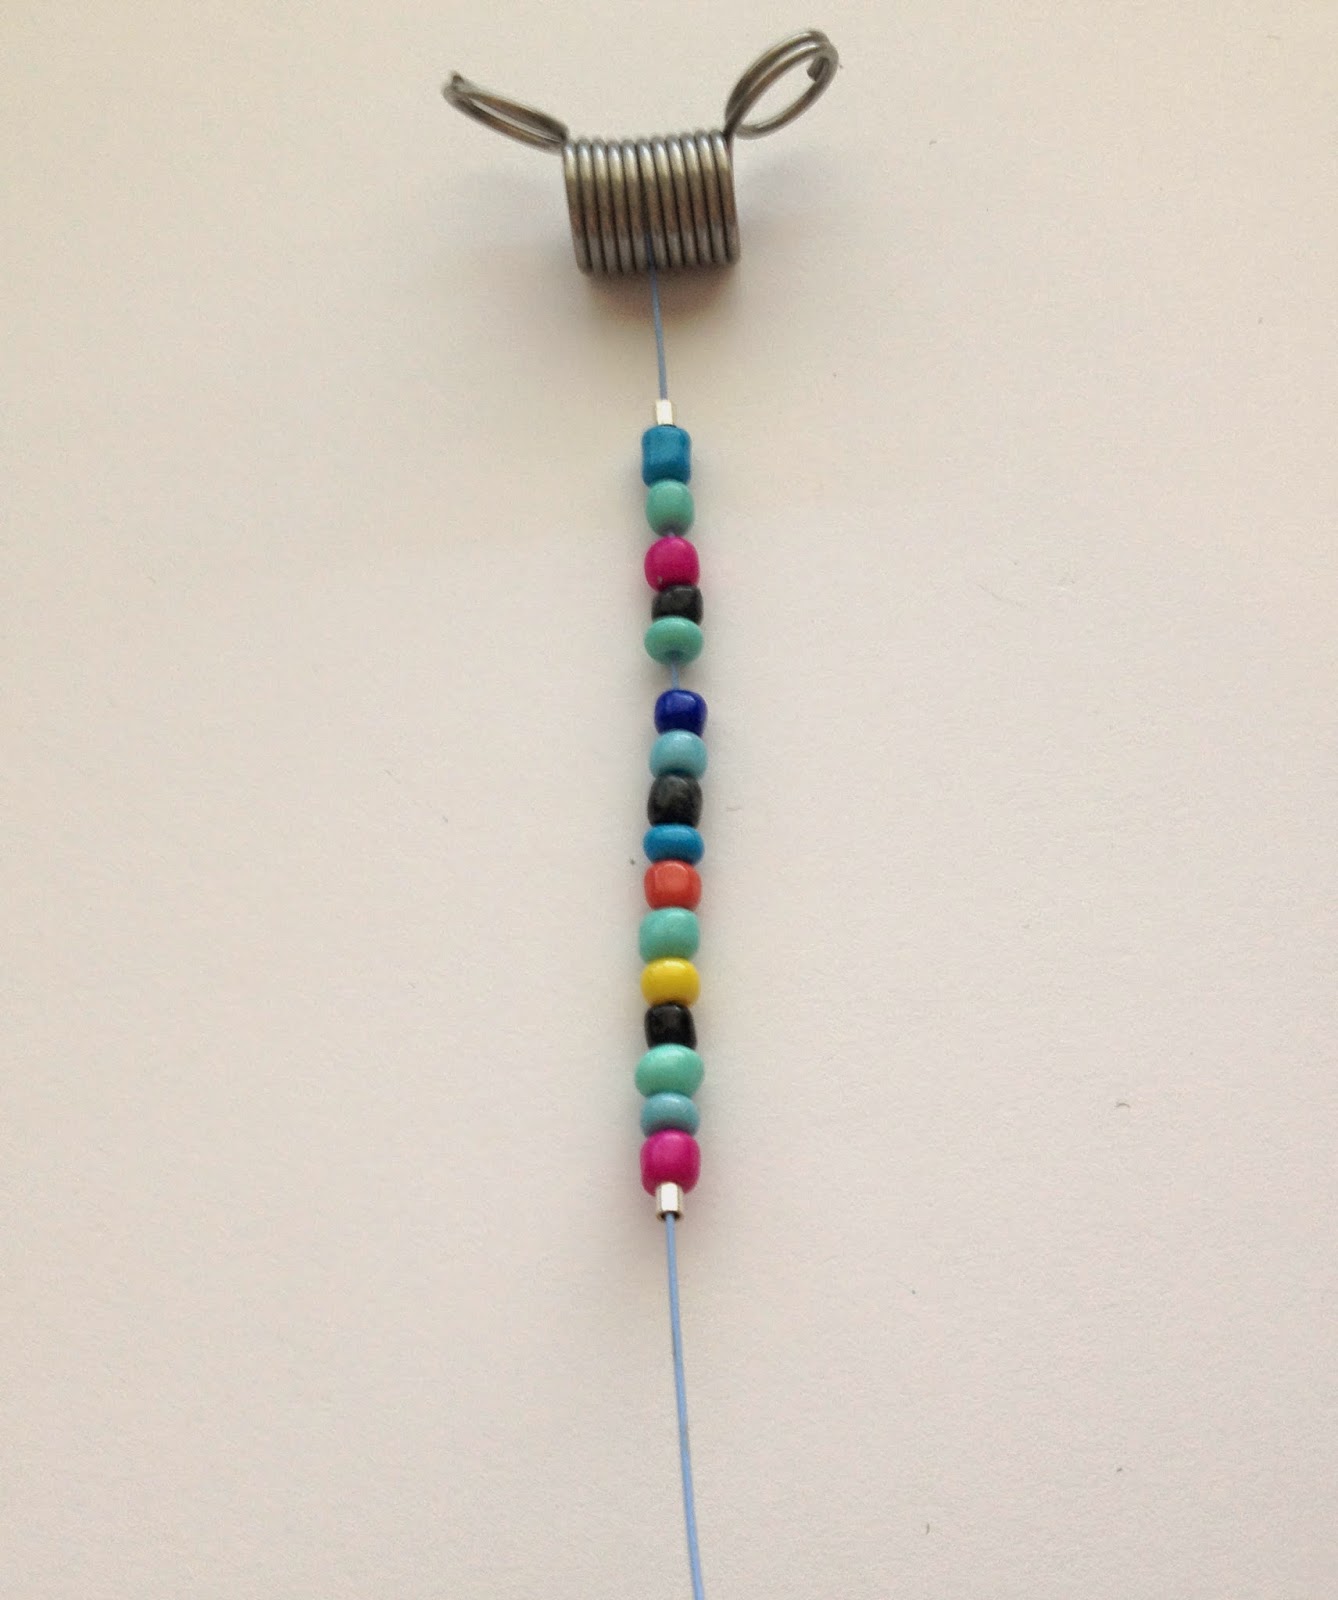
Bead Stoppers

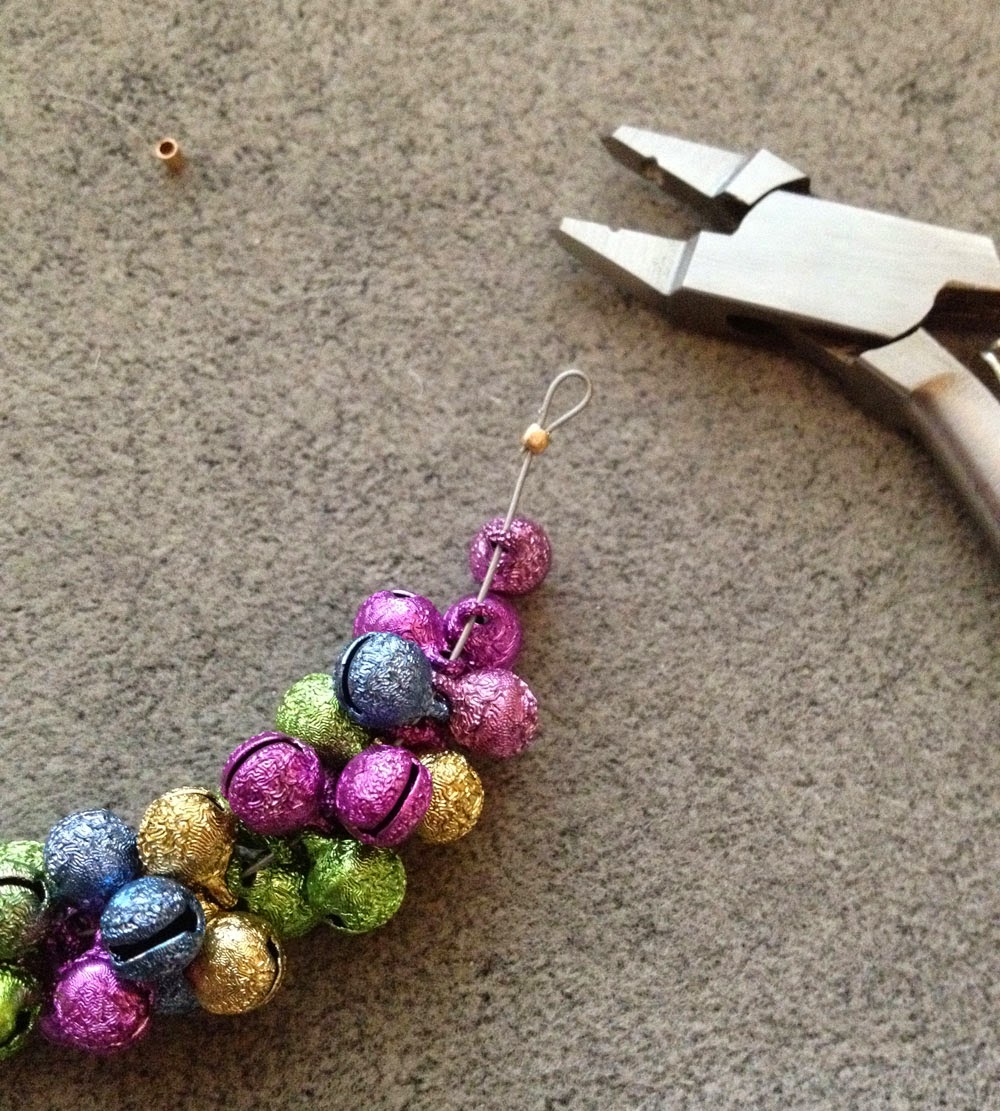
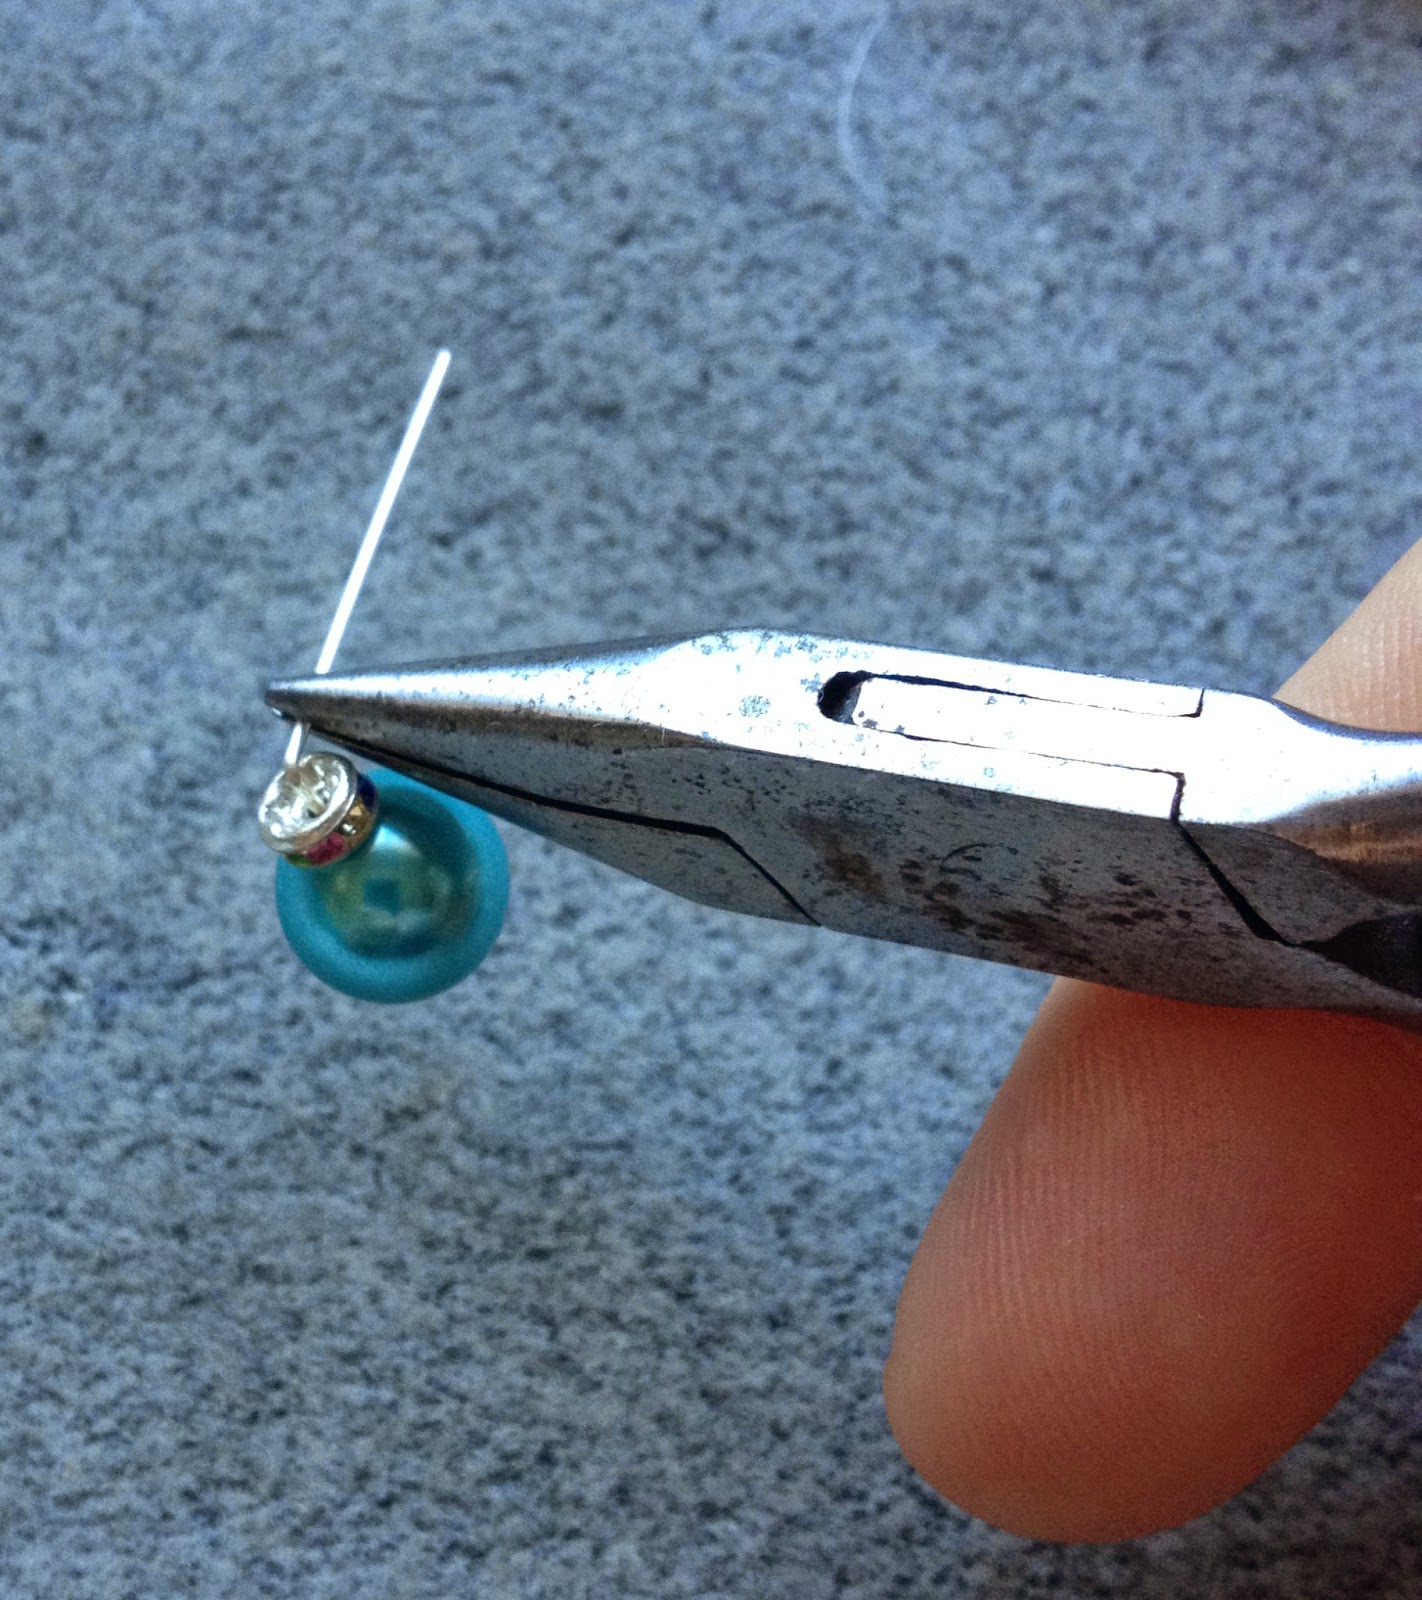
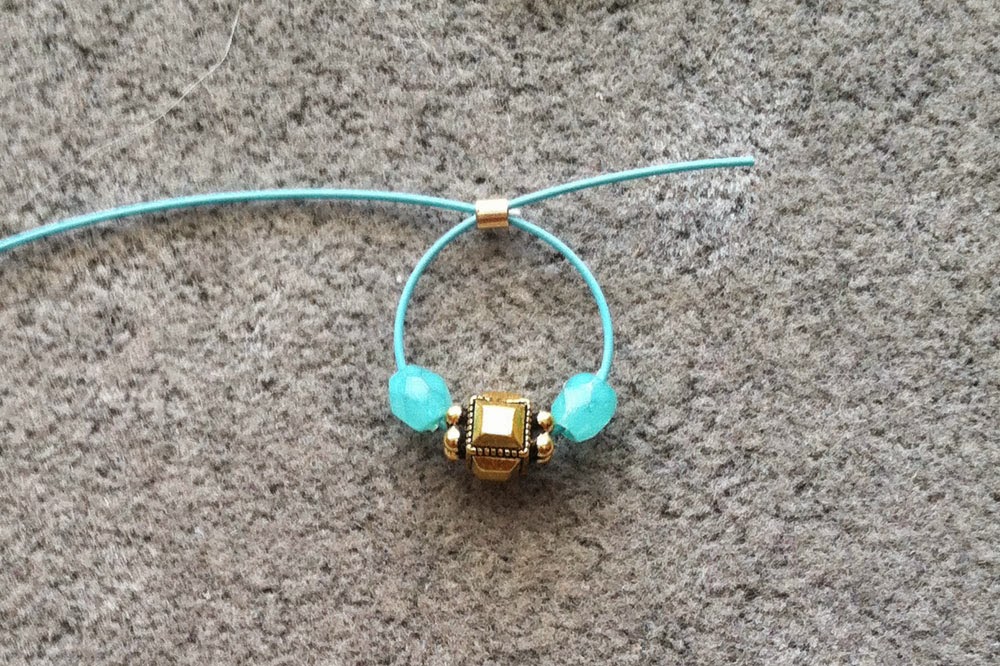
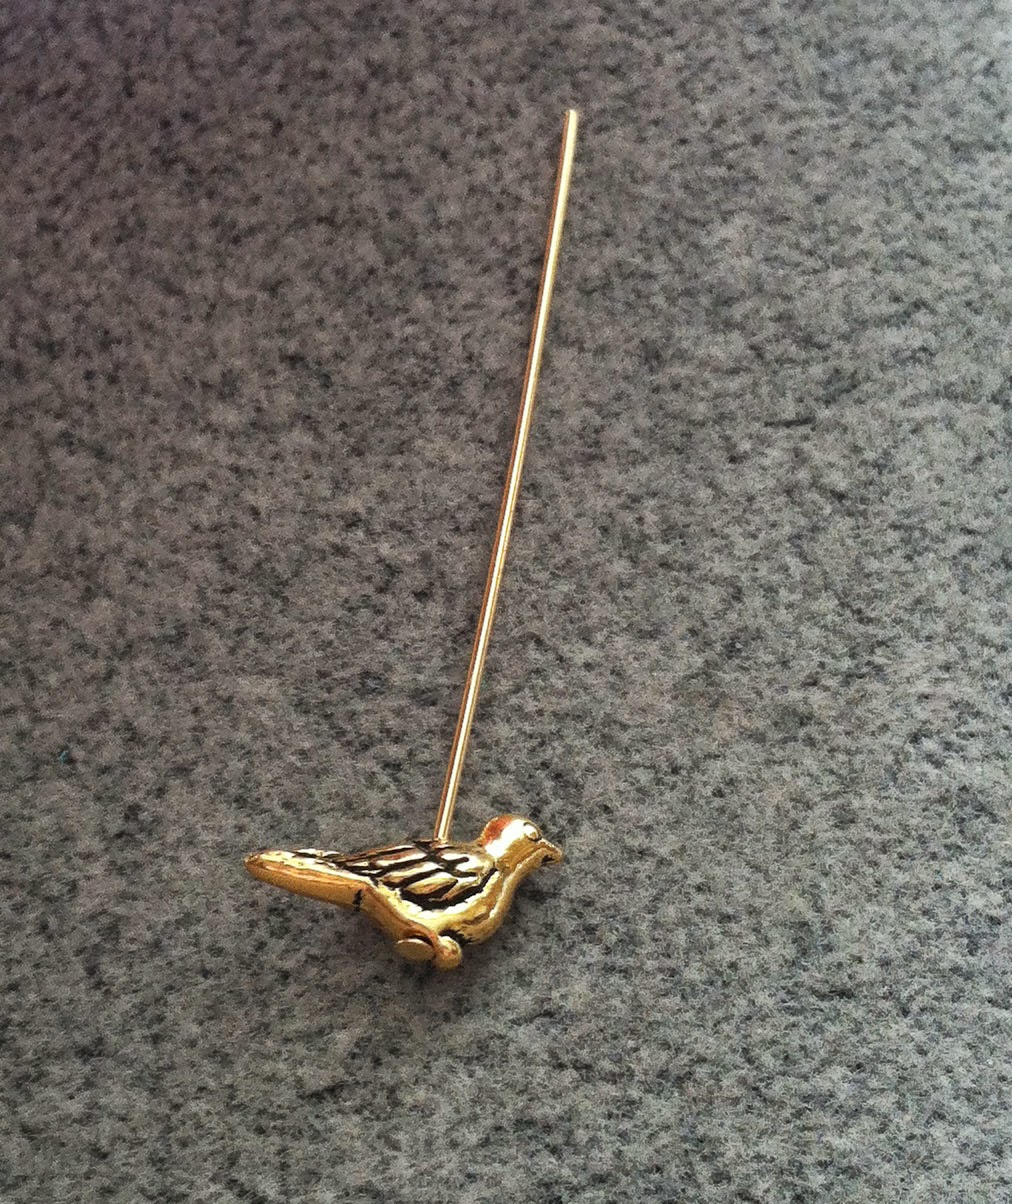
We’ll start with the necklace cluster dangle. Cut three 6″ pieces of bone Soft Flex beading wire. On each strand, string one gold 2mm crimp tube and one round bone bead. Loop the wire back through the gold 2mm crimp tube and crimp. Cut off excess wire.

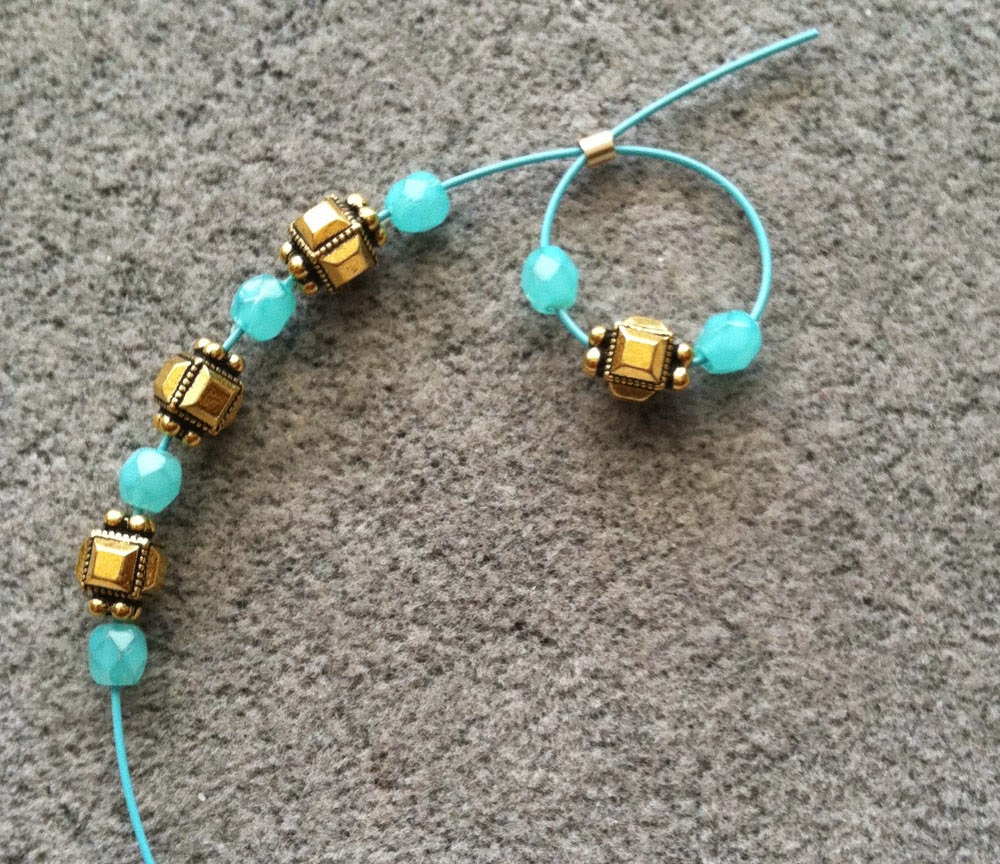
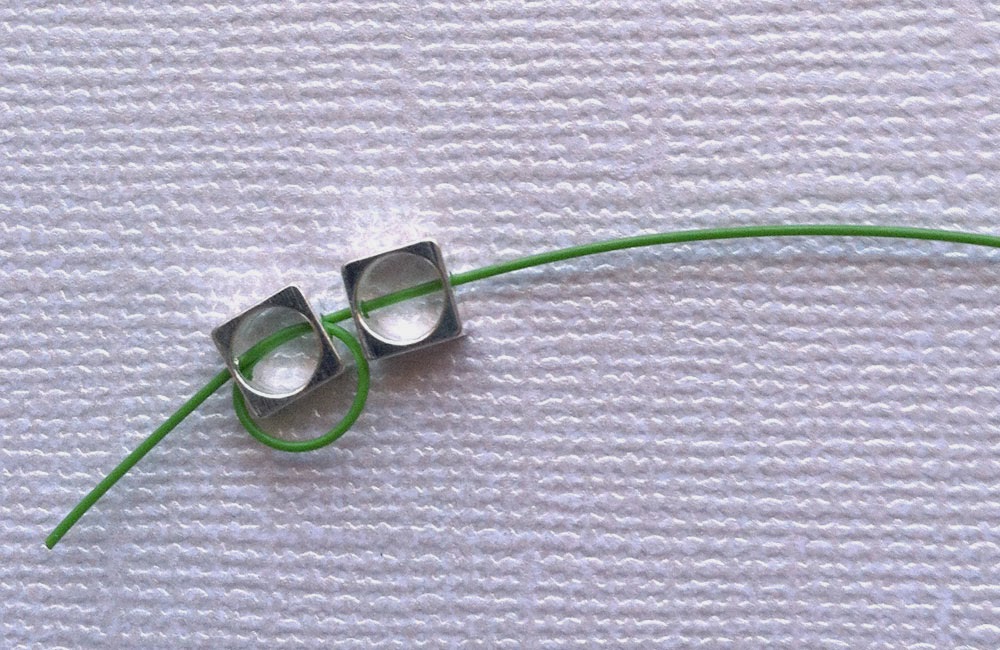
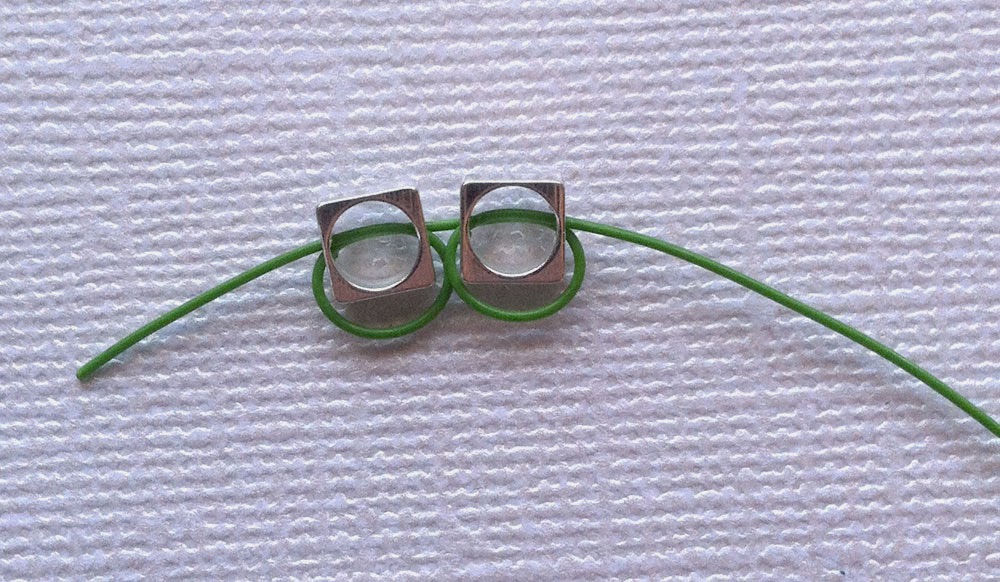
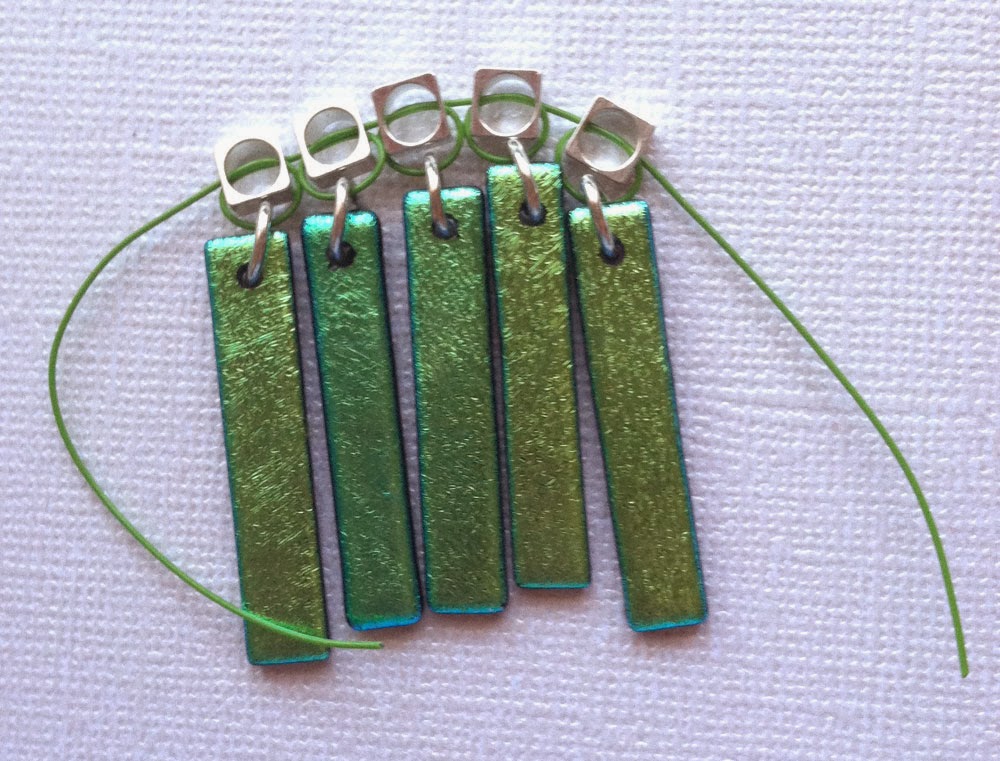
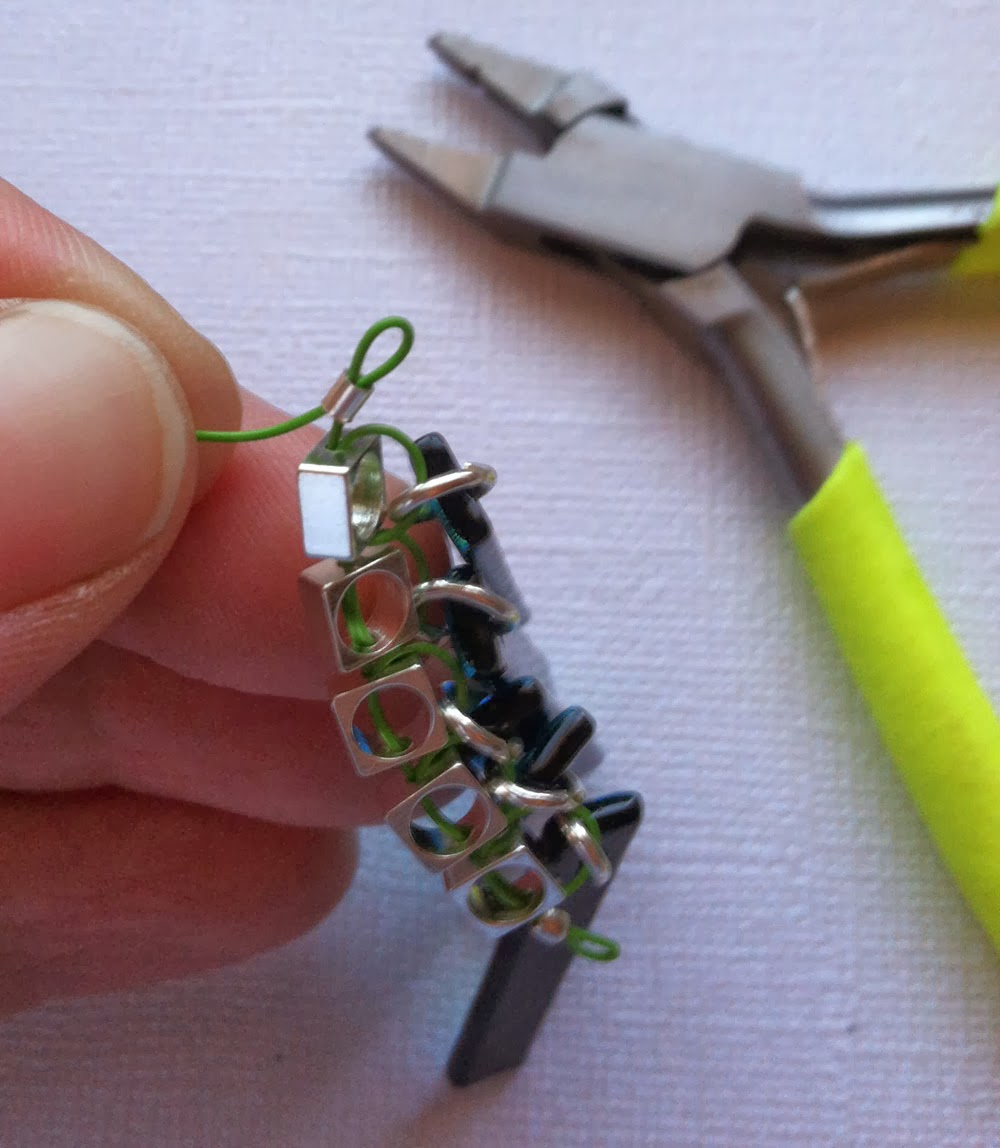
Next, string one turquoise nugget bead and one gold cube bead on two strands of the three strands of wire. On the third strand, string a turquoise nugget bead, a gold cube bead, another turquoise nugget bead and another gold cube bead.
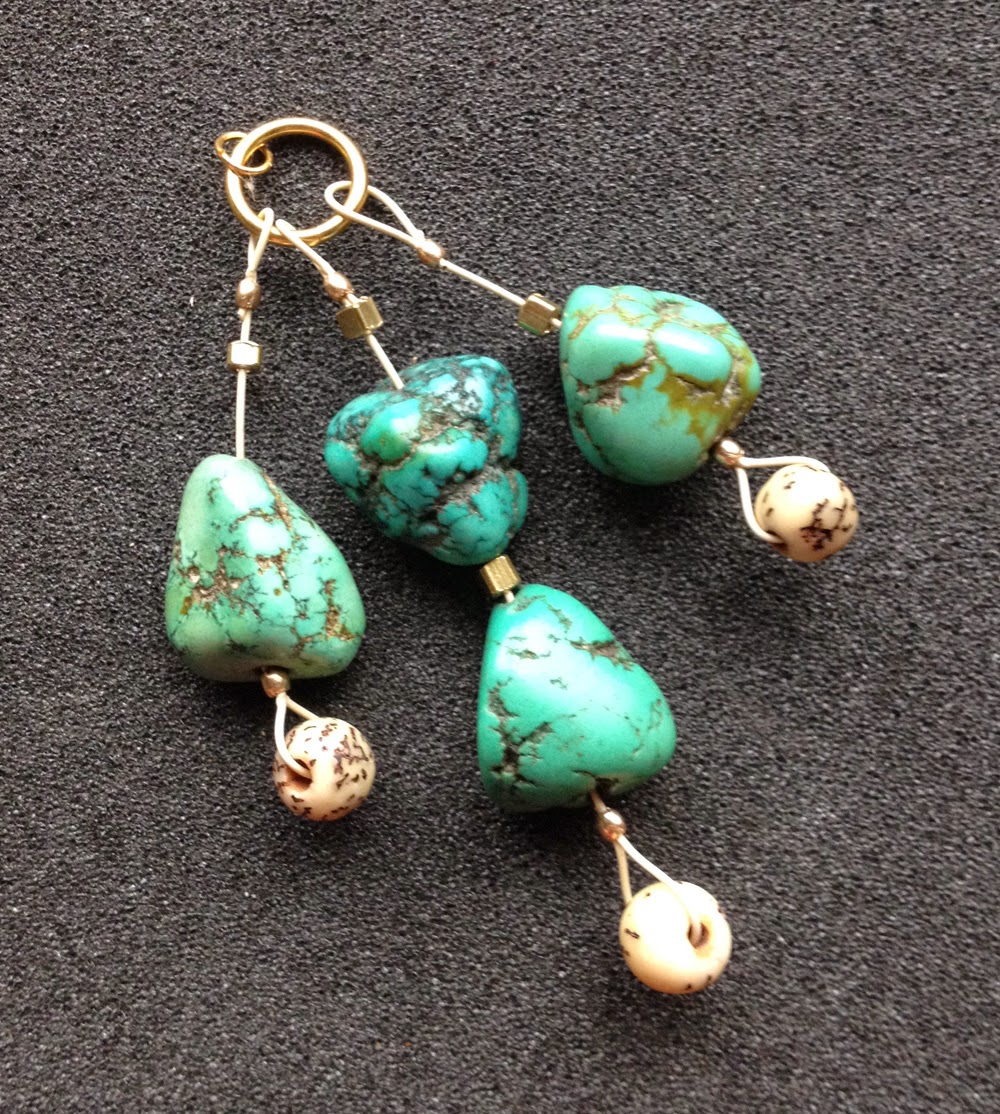
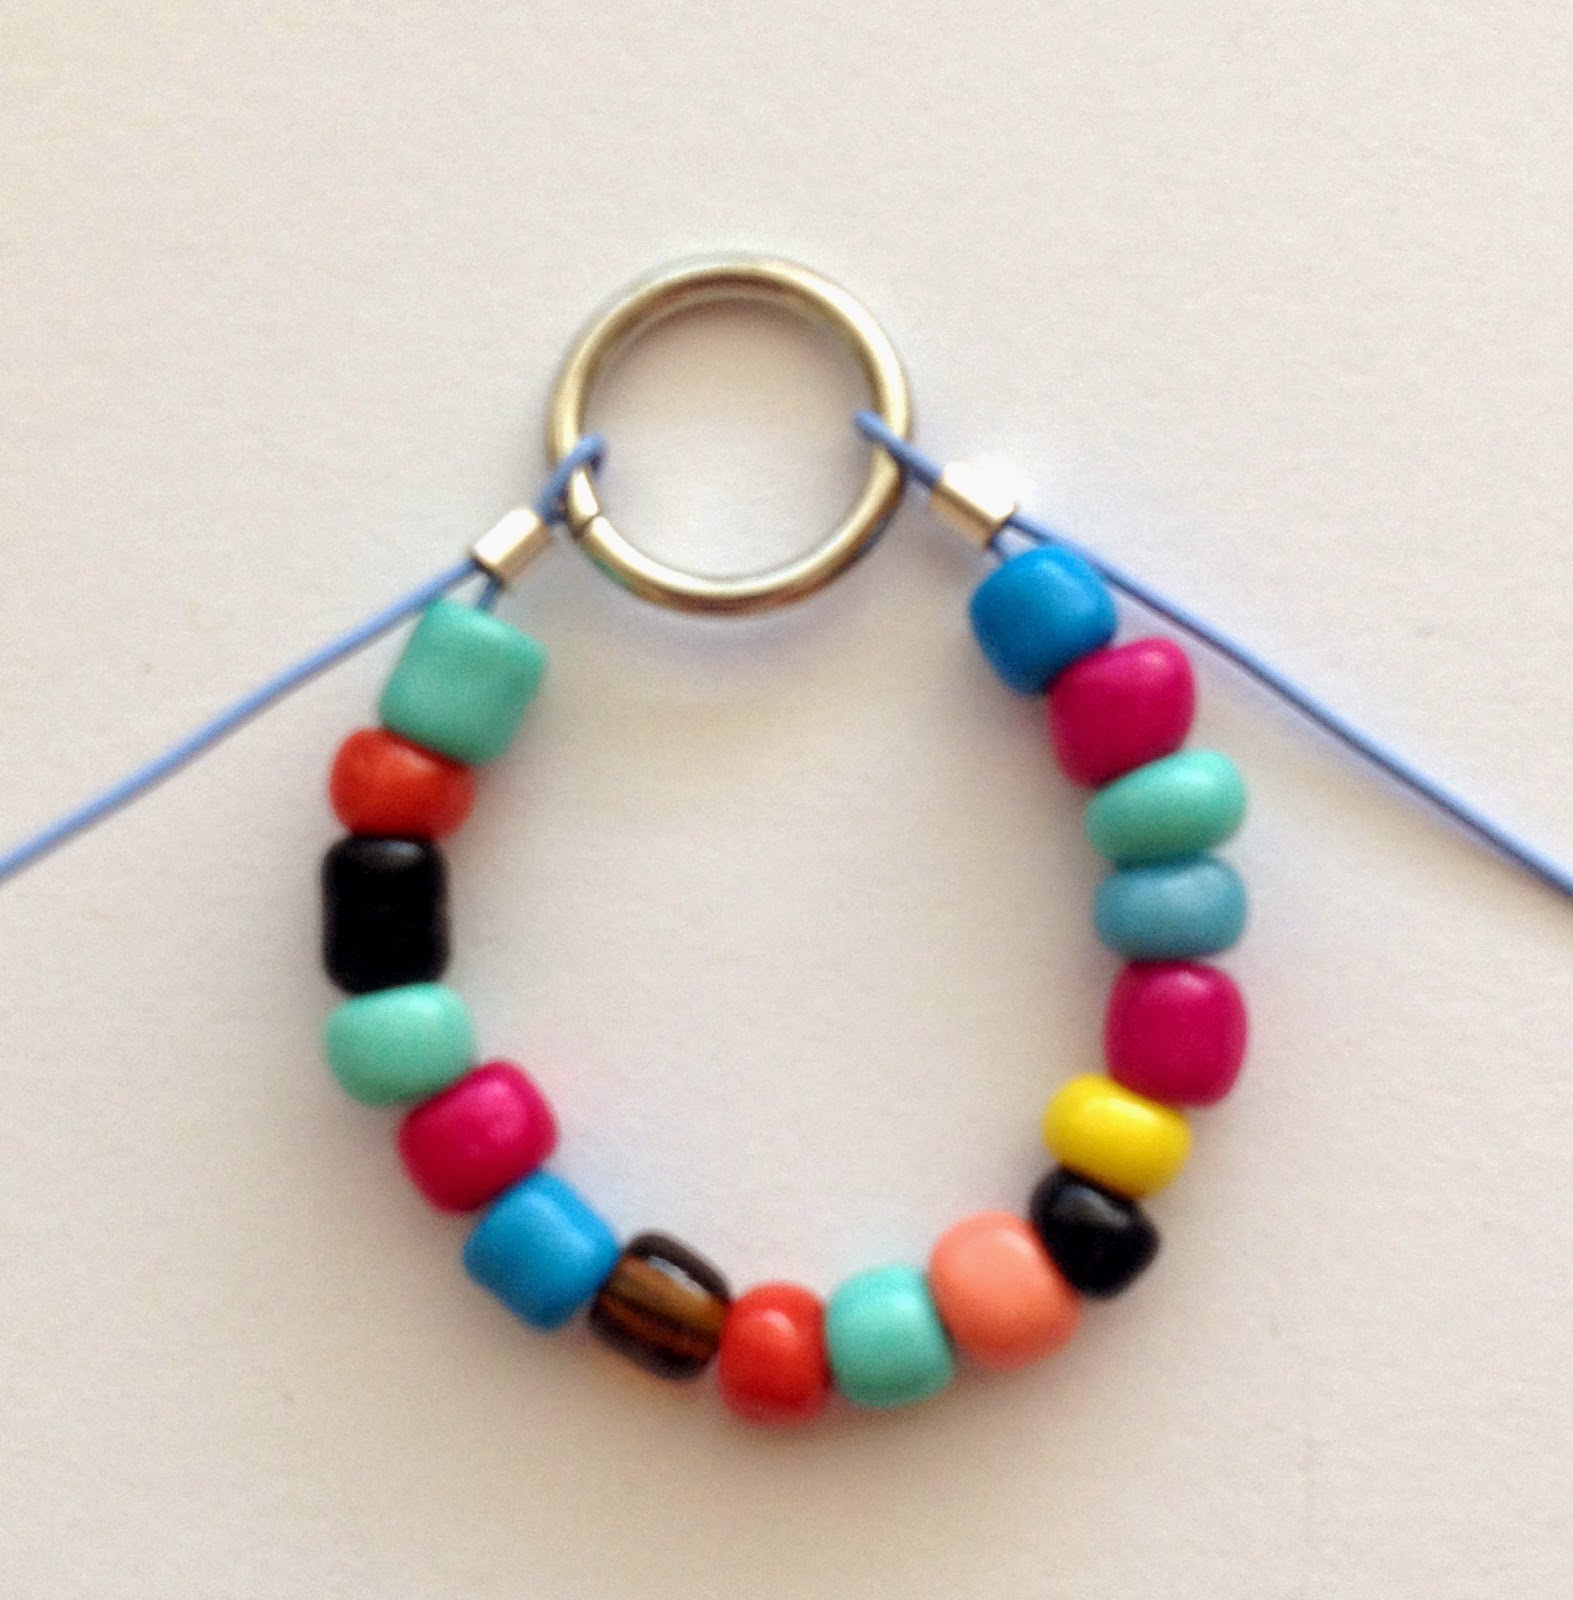
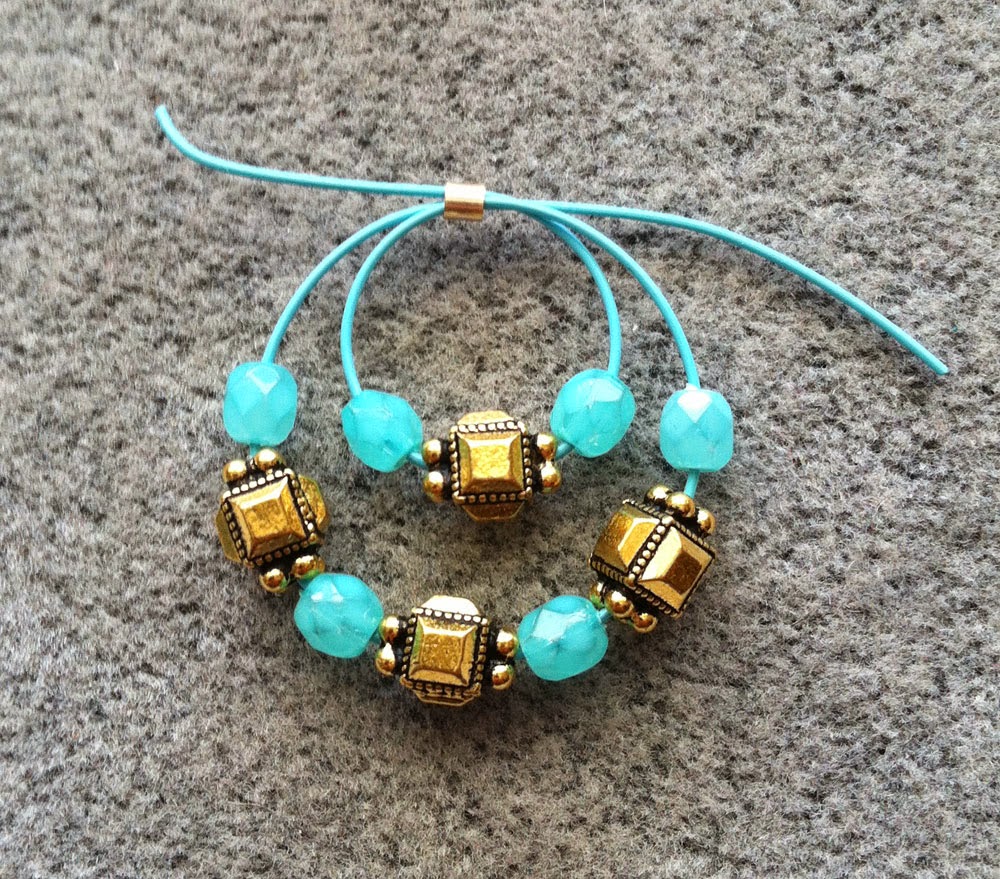
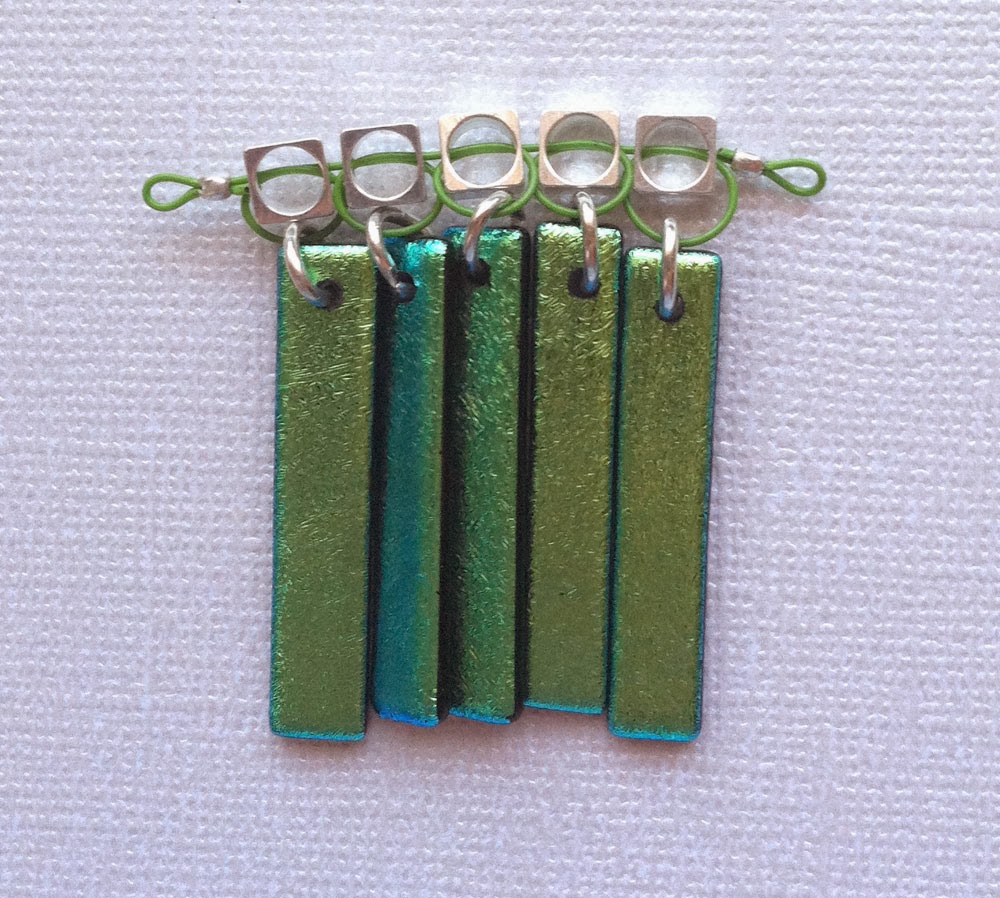
Add a gold 2mm crimp tube to each strand. Aligned the longest strand in the middle and two smaller strands on each side. For each strand loop the wire around the 10mm jump ring and back through the crimp tube. Leave a little bone beading wire showing on each strand before crimping for a flexible dangle. For step by step instructions on how to crimp with the magical crimping pliers, click here.
Attach the small 4mm jump ring to the top of the 10mm jump ring.

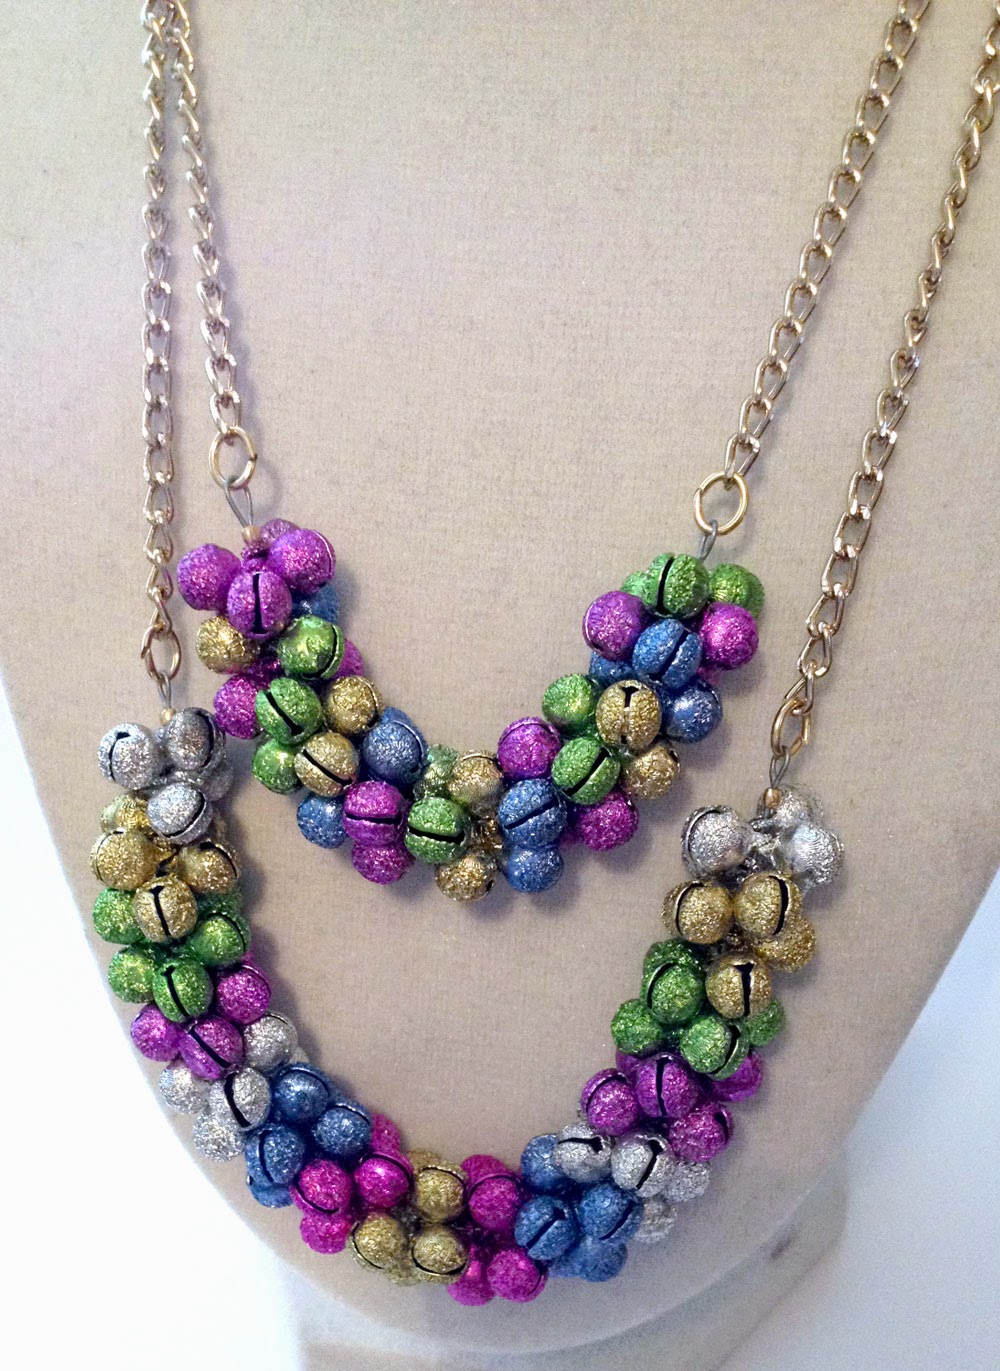
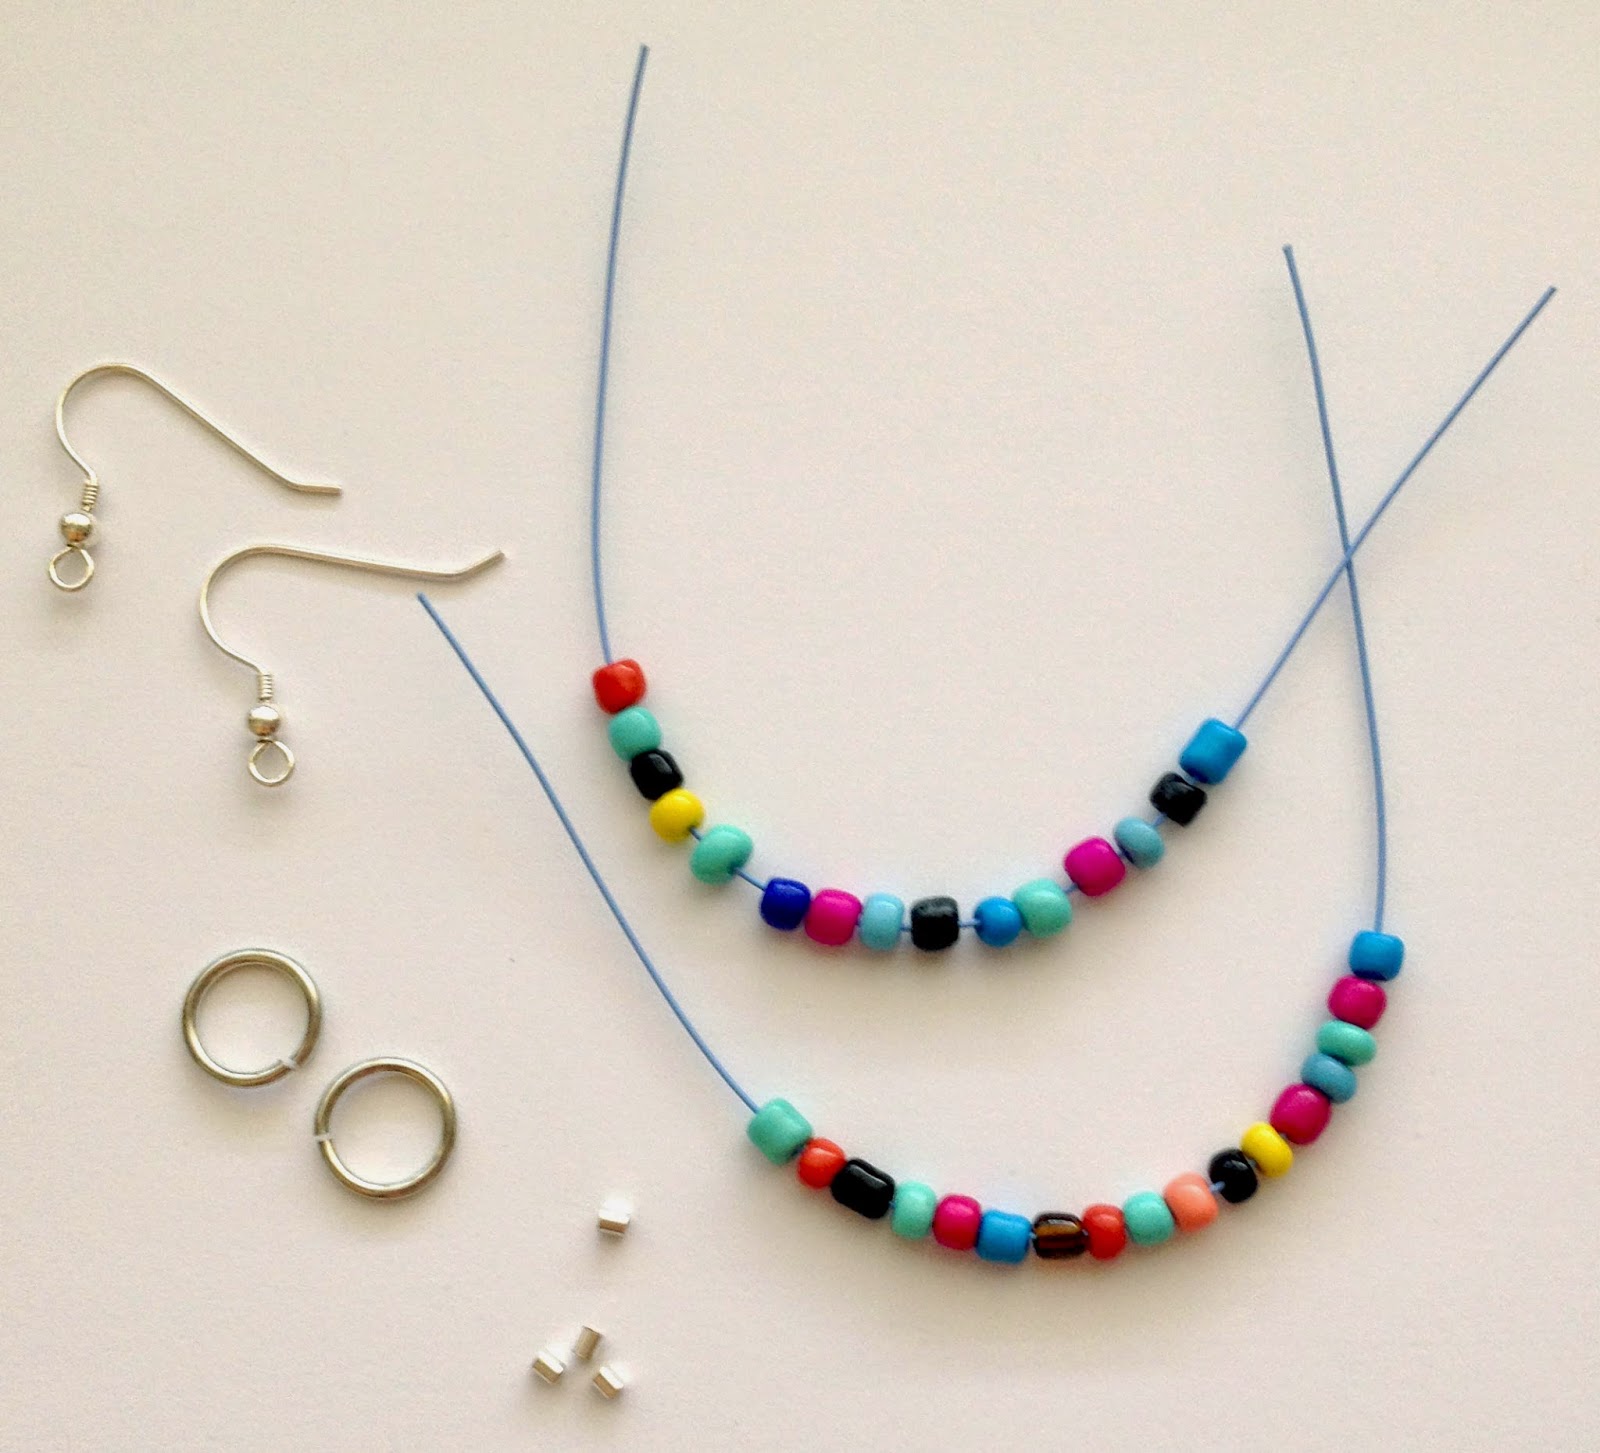
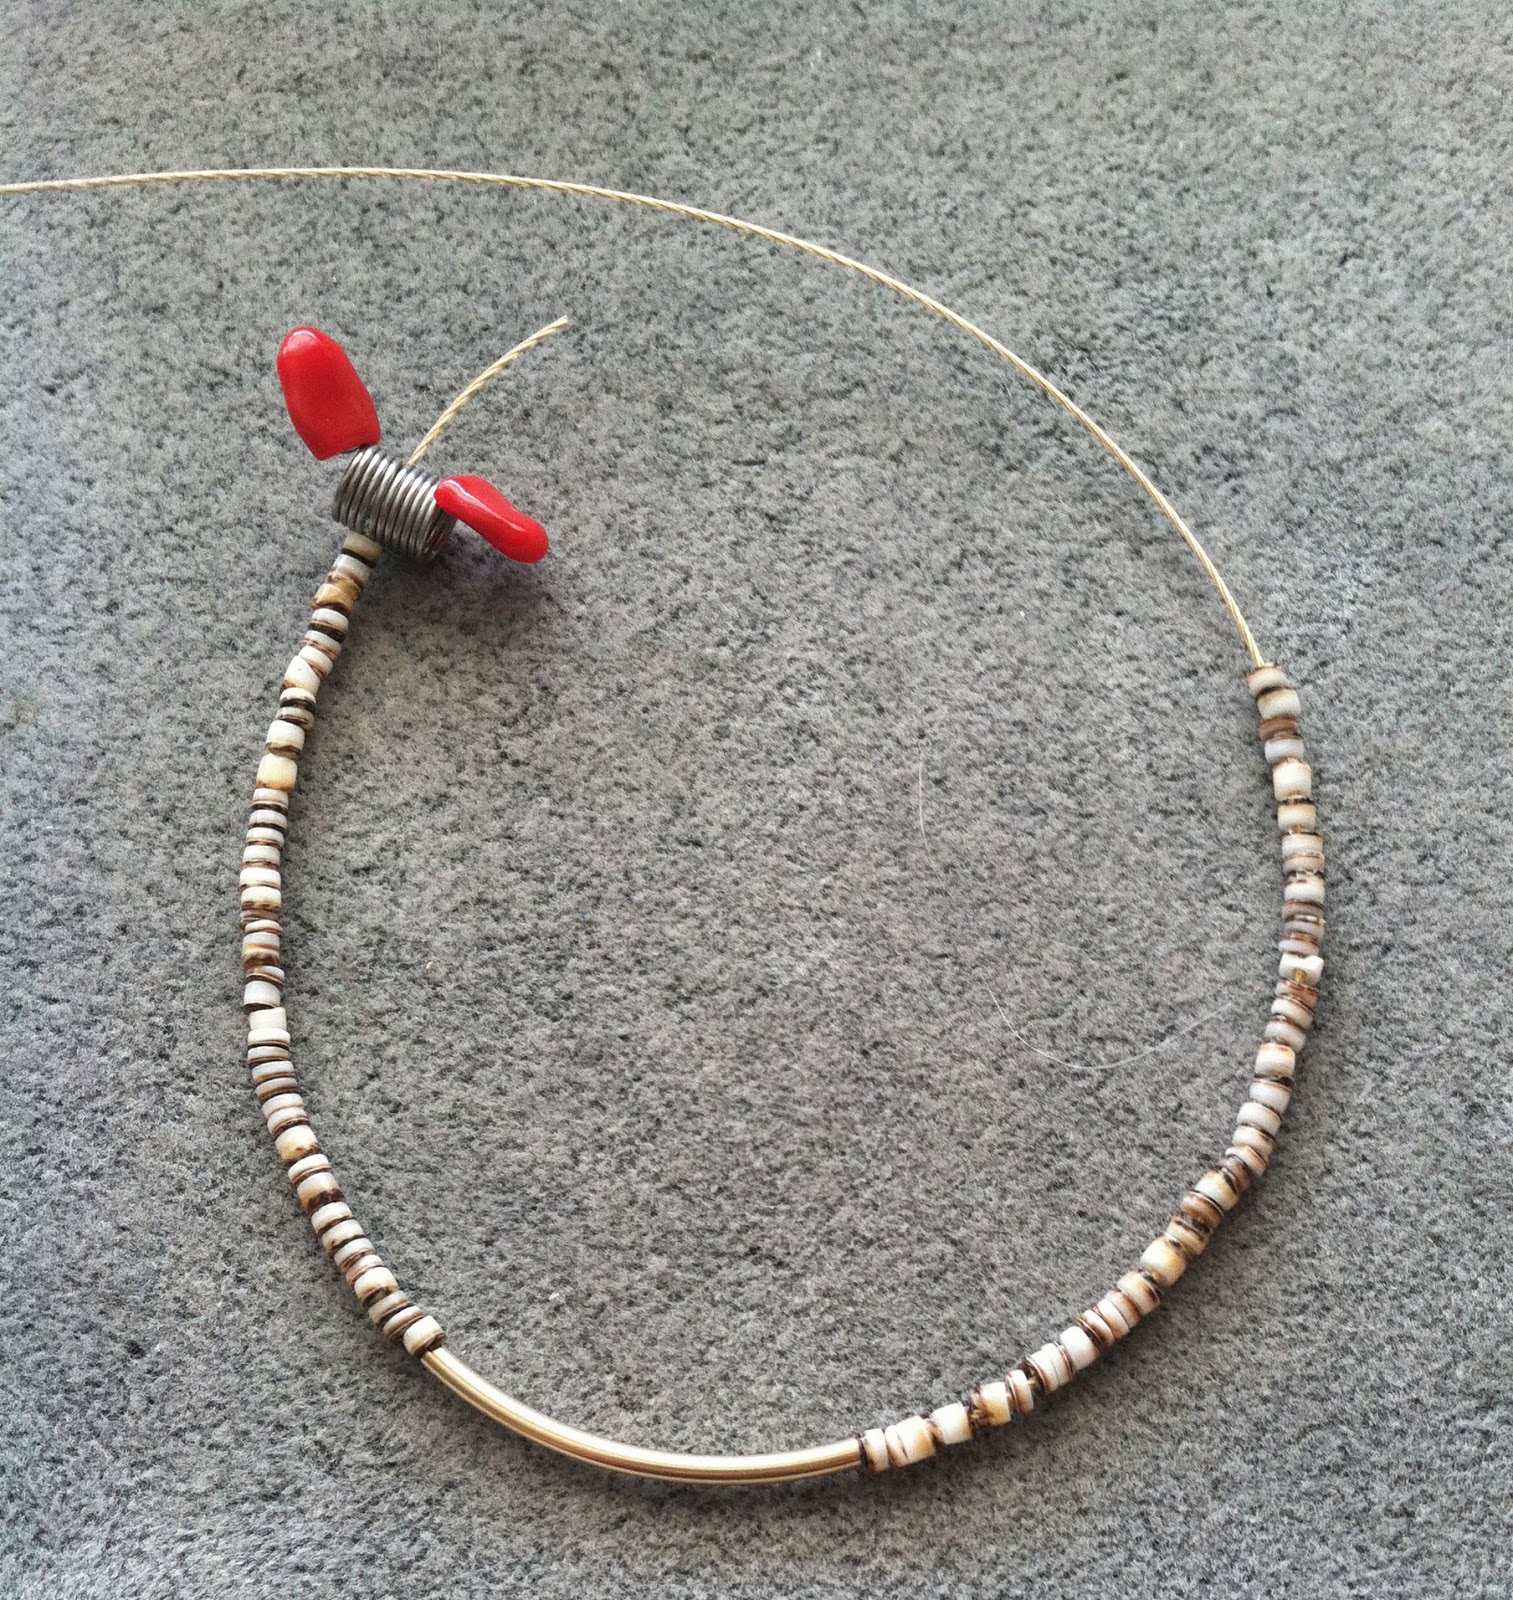
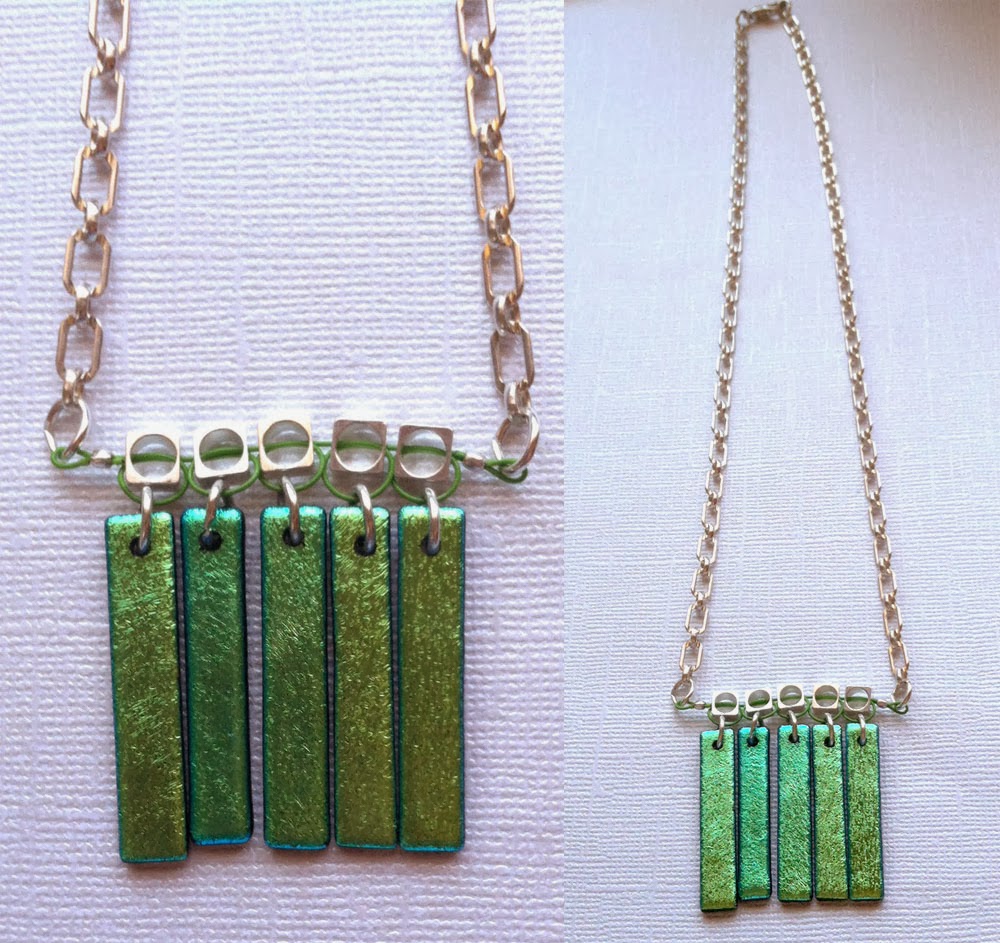
Now let’s create the necklace. Cut 24″ length of bone Soft Flex beading wire. Place a bead stopper at one end. String 25 gold cube beads, one 3mm gold plated round bead, small 4mm jump ring attached to the dangle you created, one 3mm gold plated round bead and 25 gold cube beads.

Tie a figure 8-knot on one side of the gold beads then remove the bead stopper and tie another figure 8-knot on the other side. (Note: you could also add a gold crimp to each side and crimp the beads in place if you prefer). For step by step instructions on how to tie and 8-knot, click here.
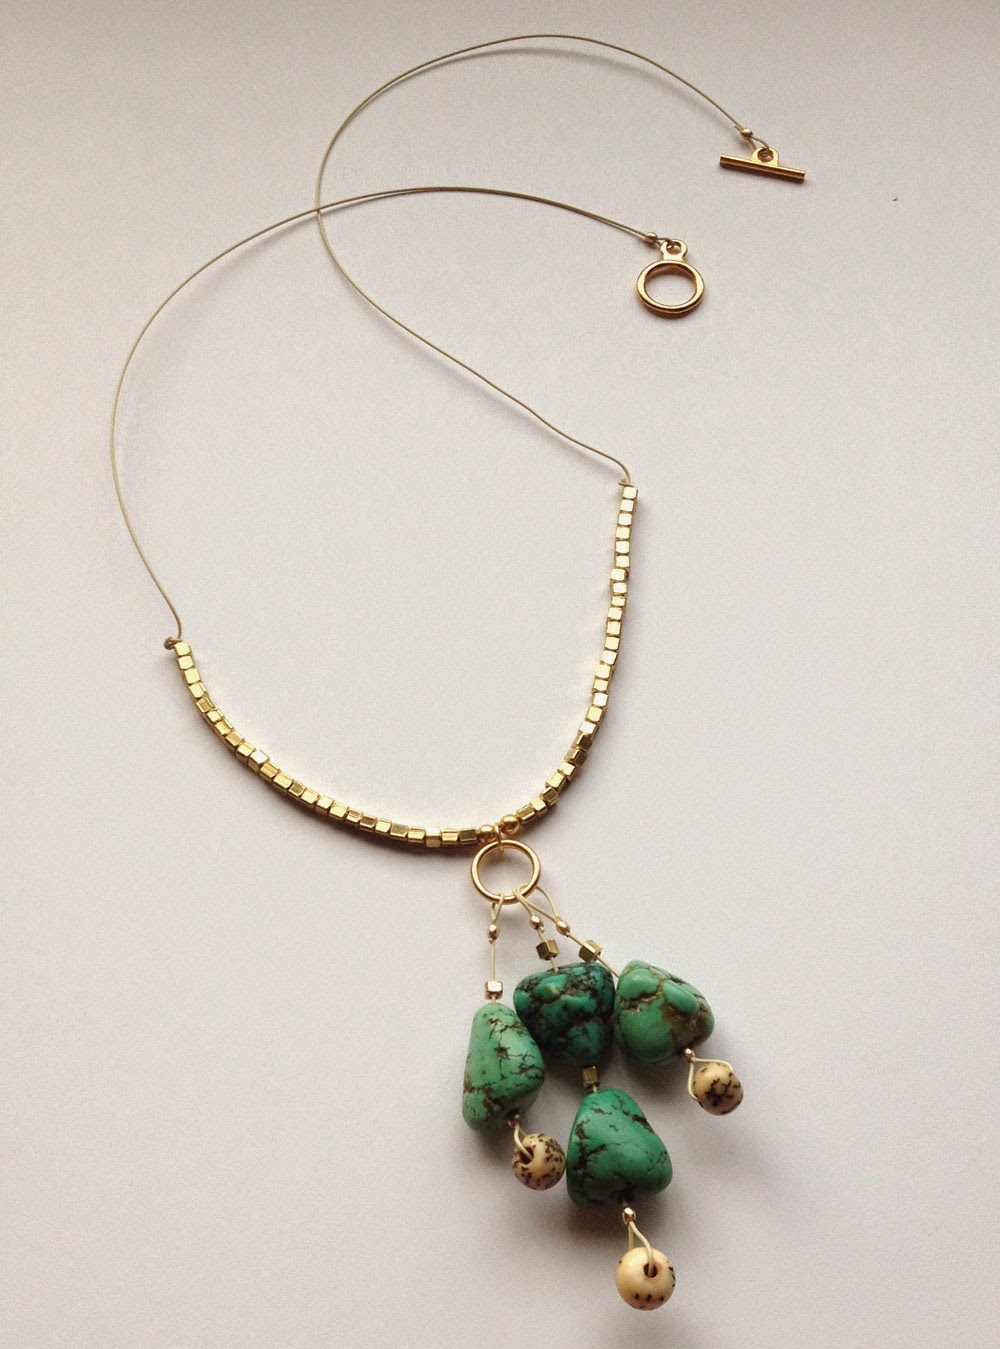
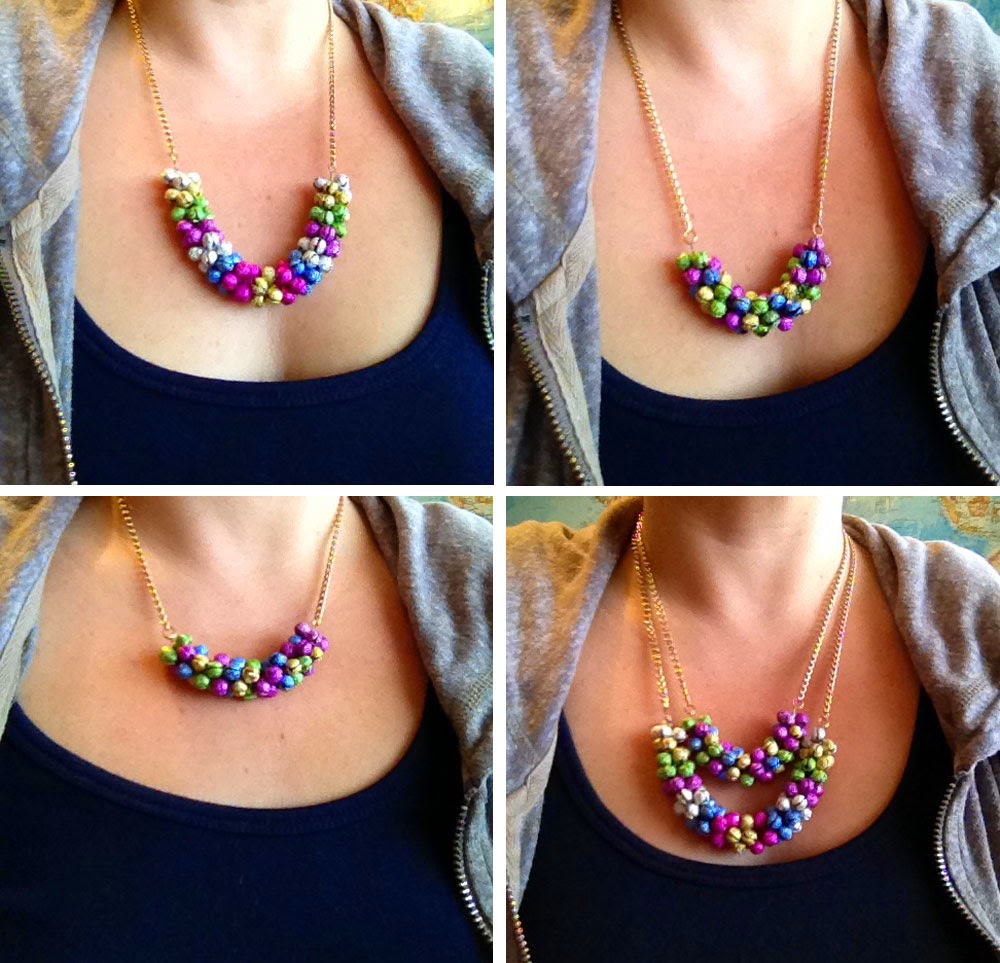
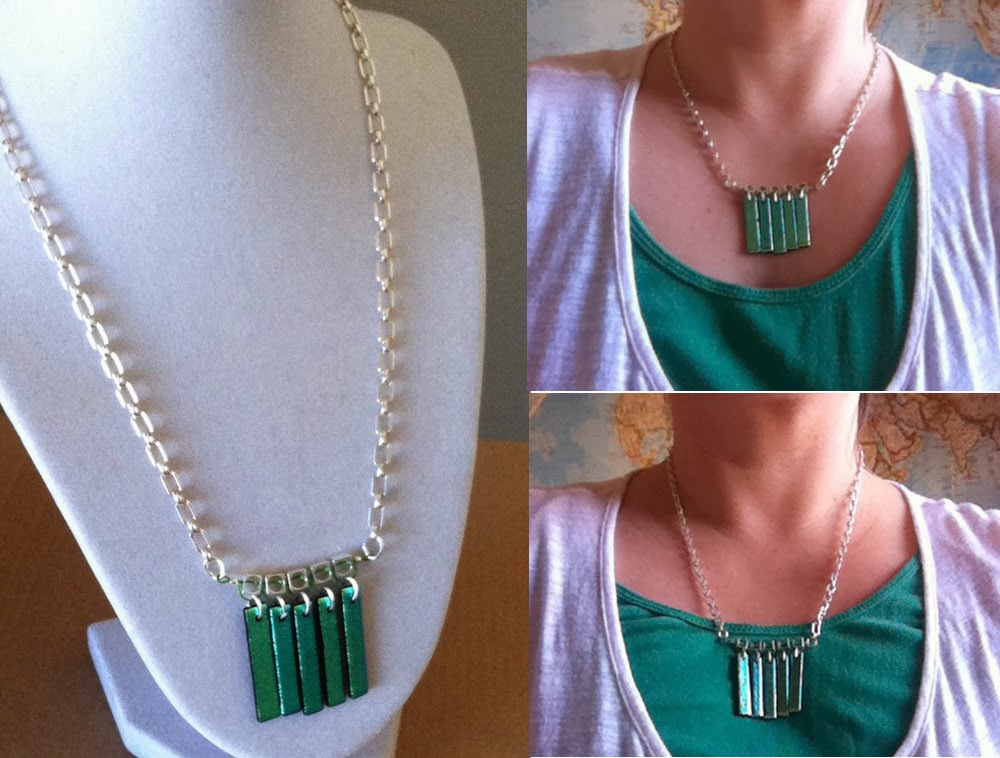
Lastly, figure out your desired length, string a 2mm crimp tube on each wire end. Loop your wire around the toggle and bar clasp on either end, back through the crimp tube and crimp. Cut off excess wire. For step by step instructions on how to crimp with the magical crimping pliers, click here.

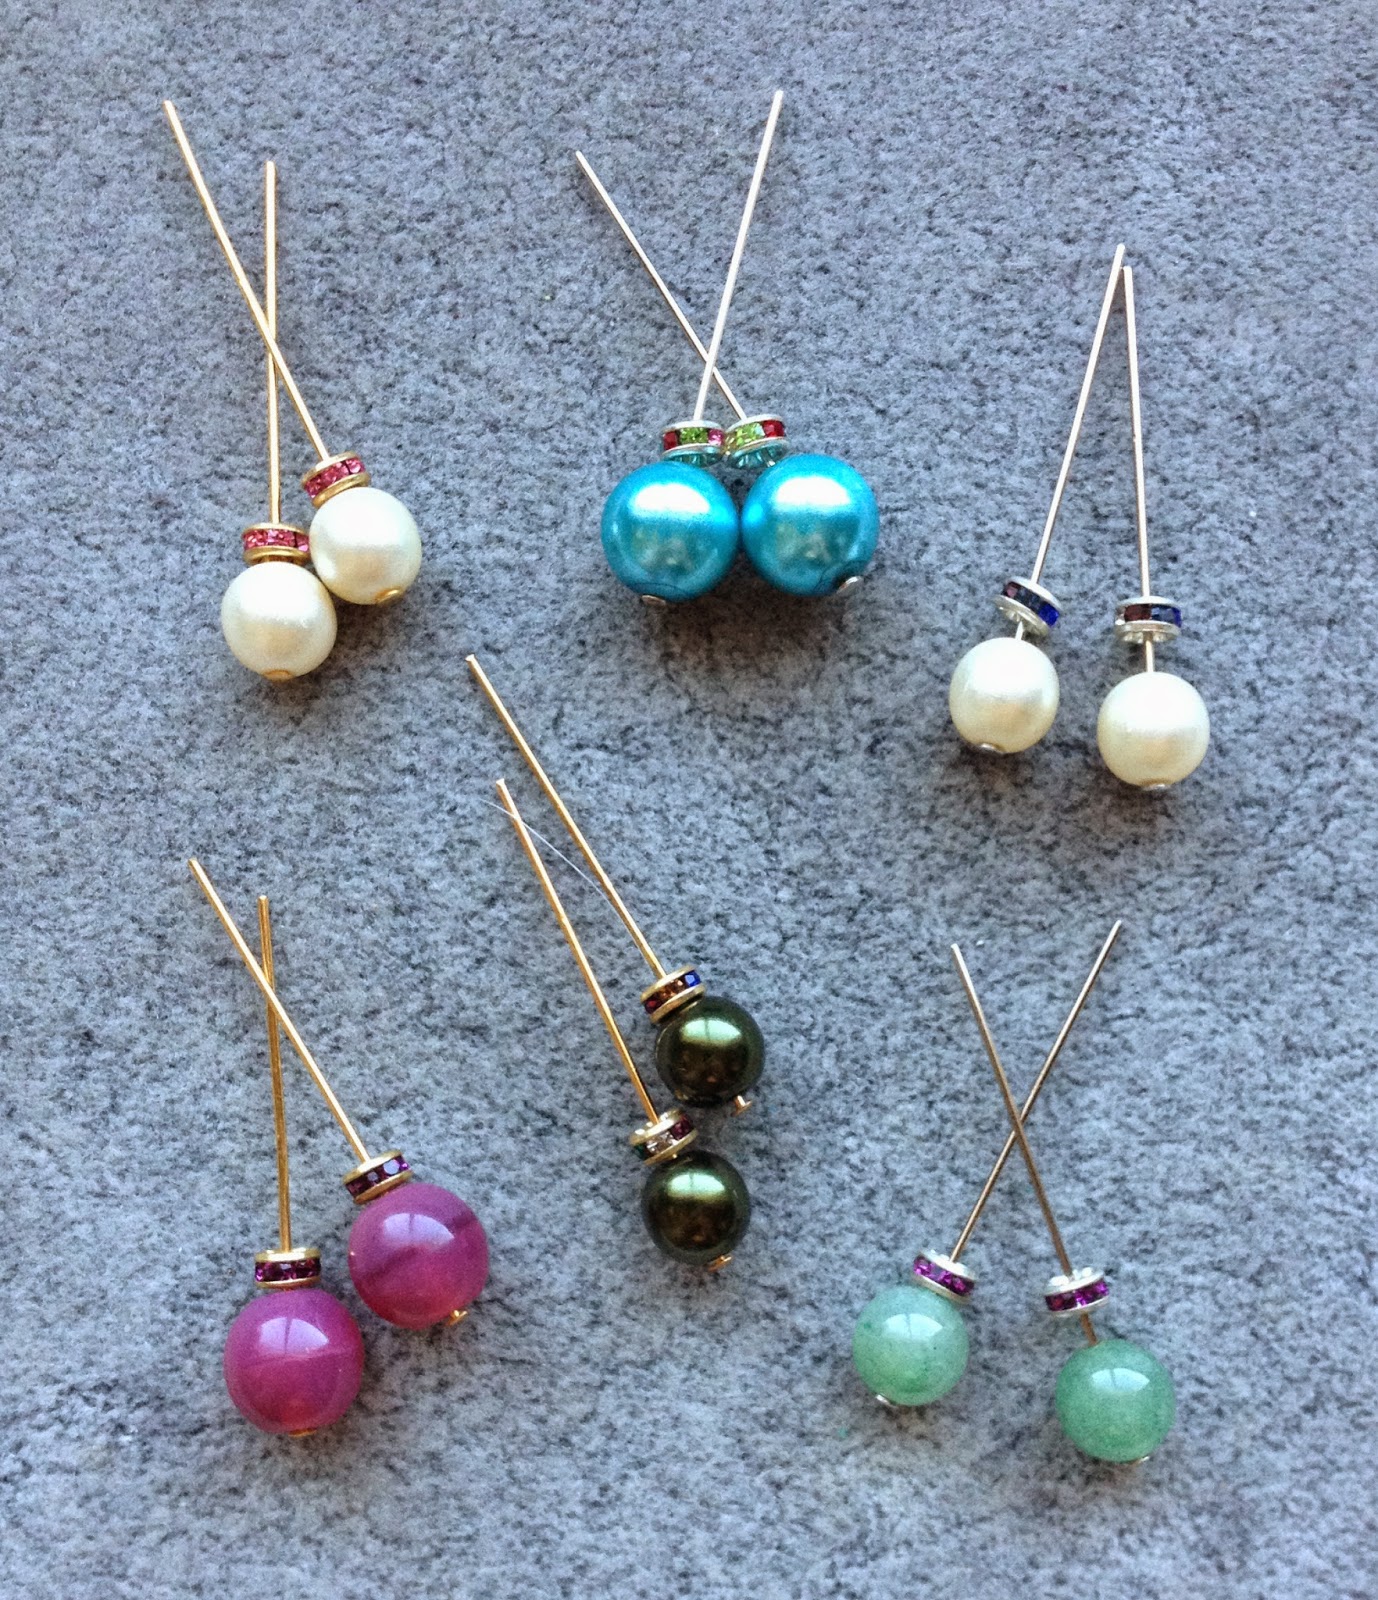
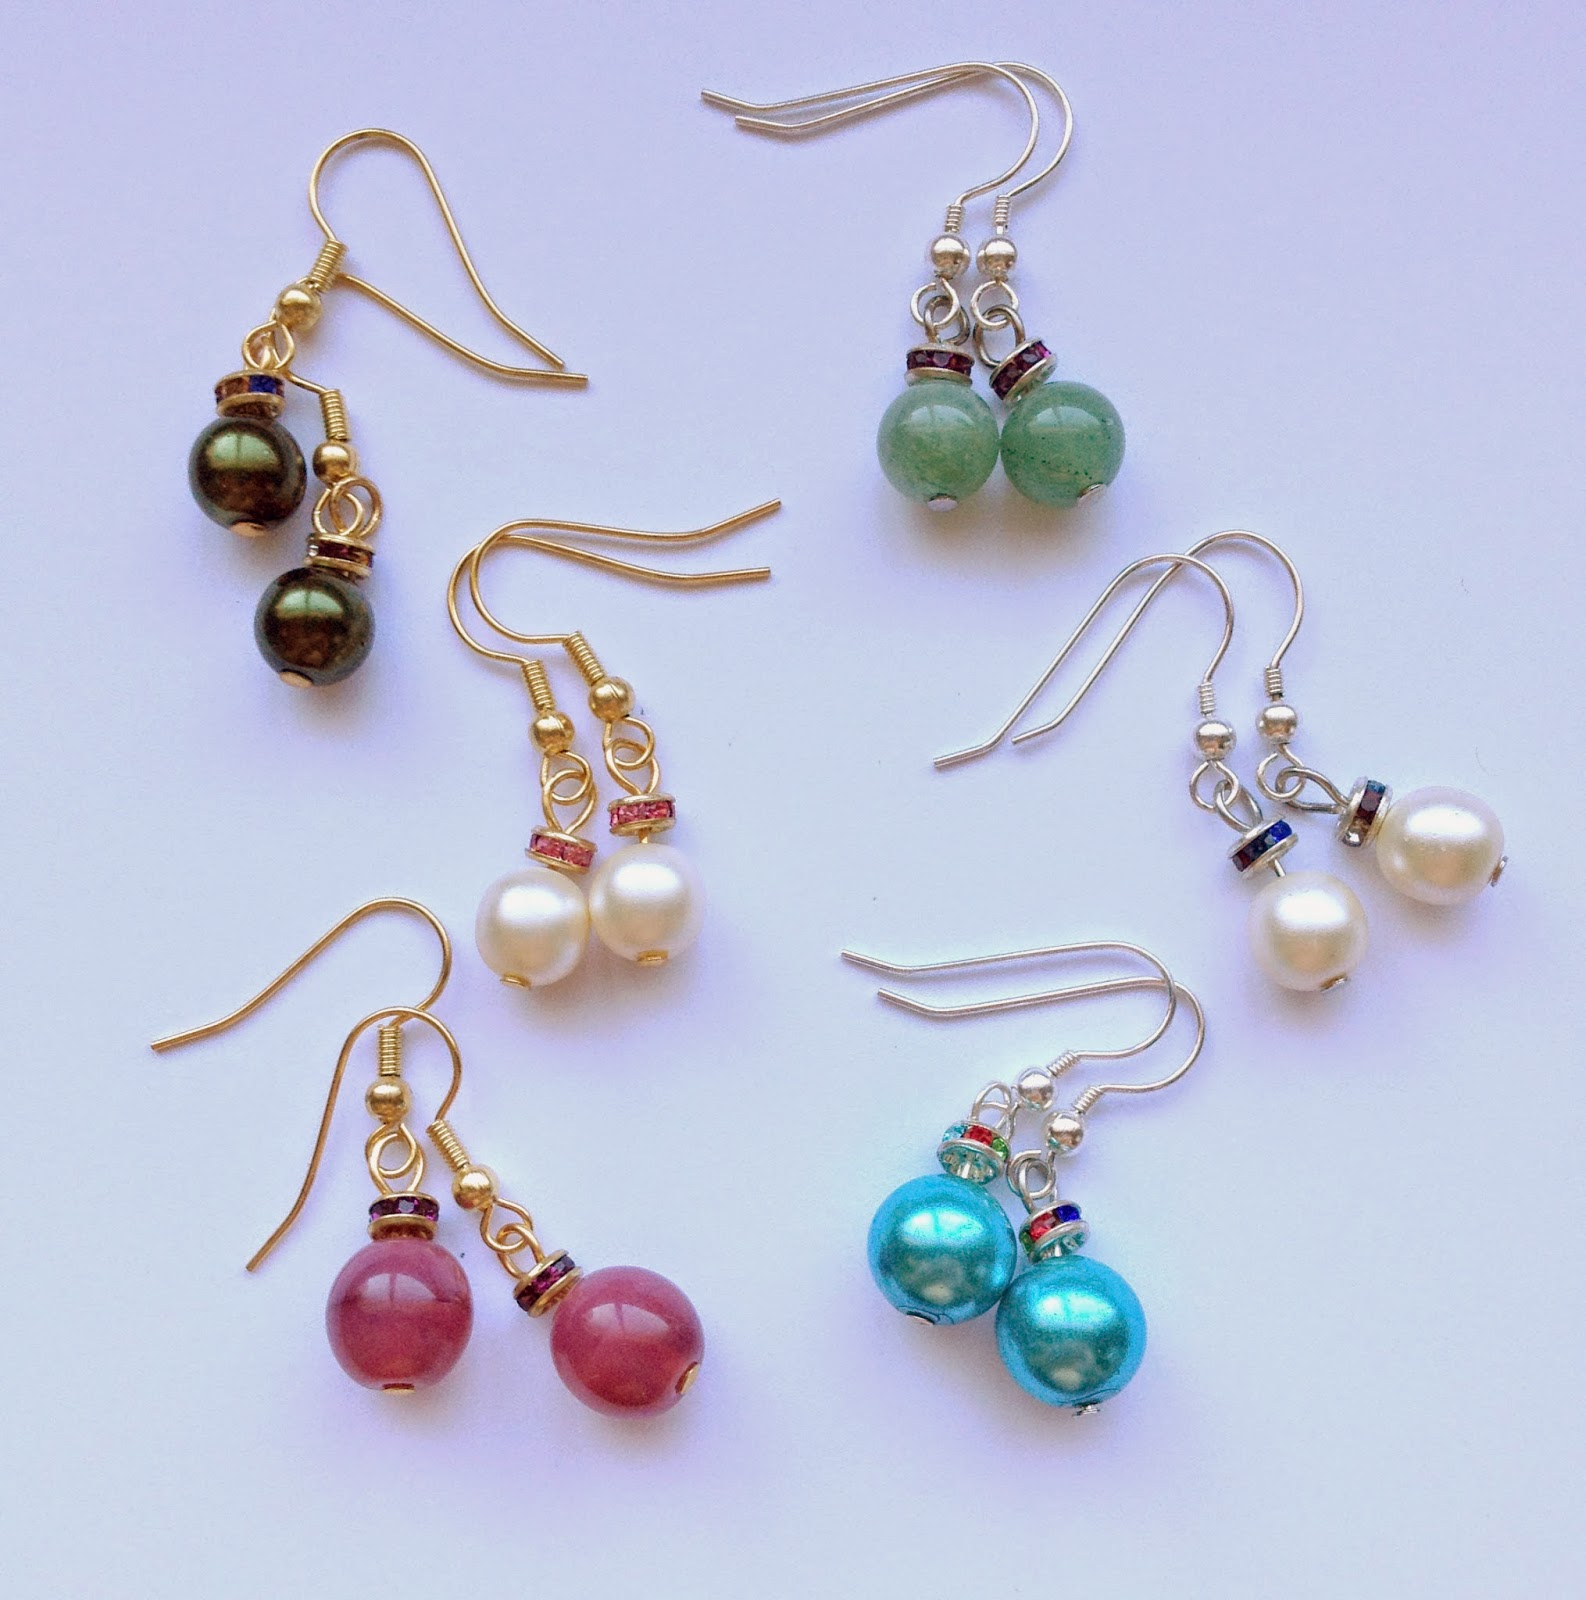
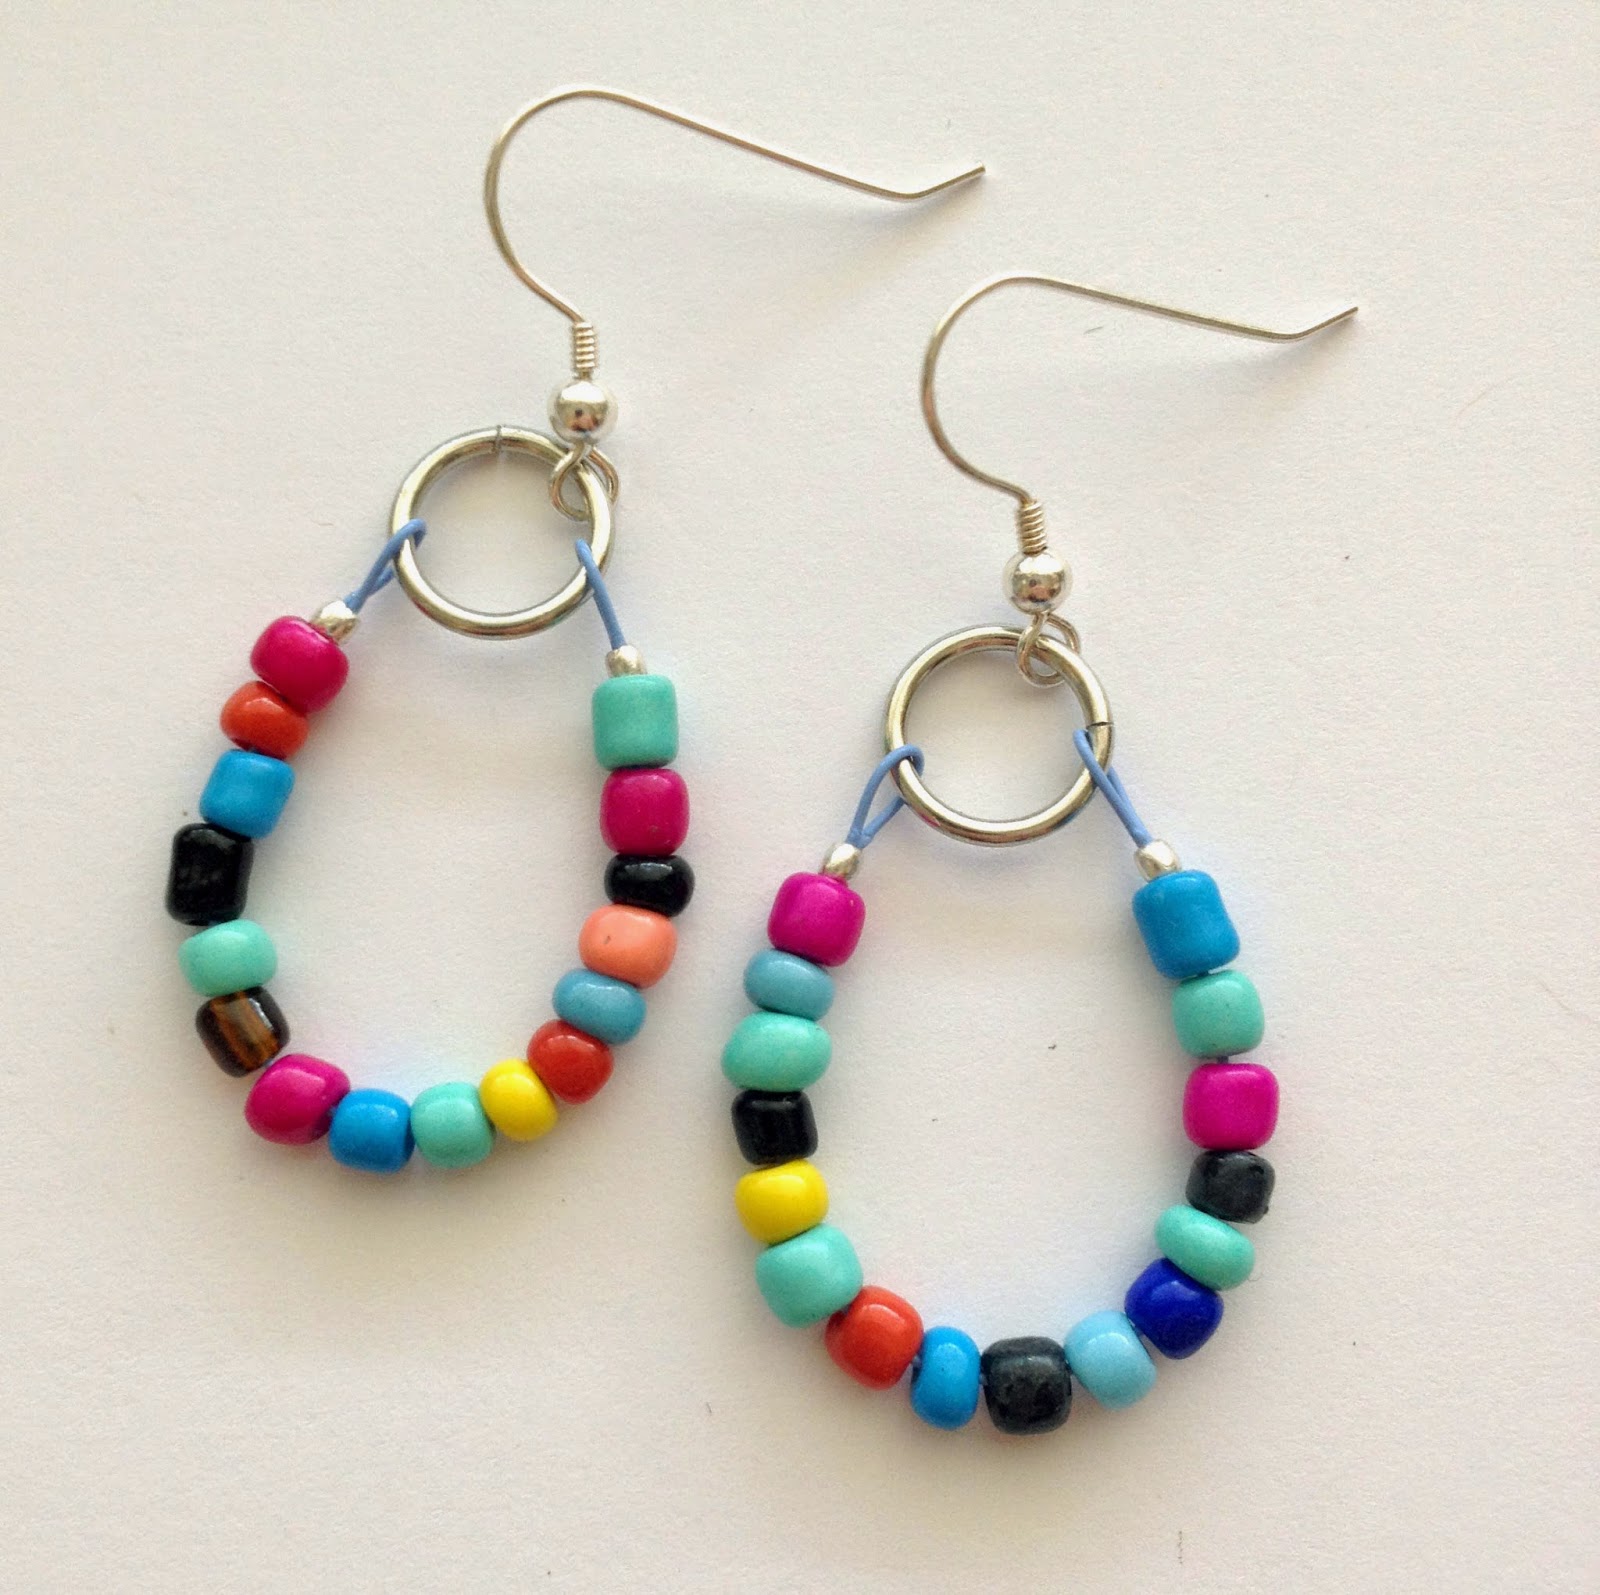
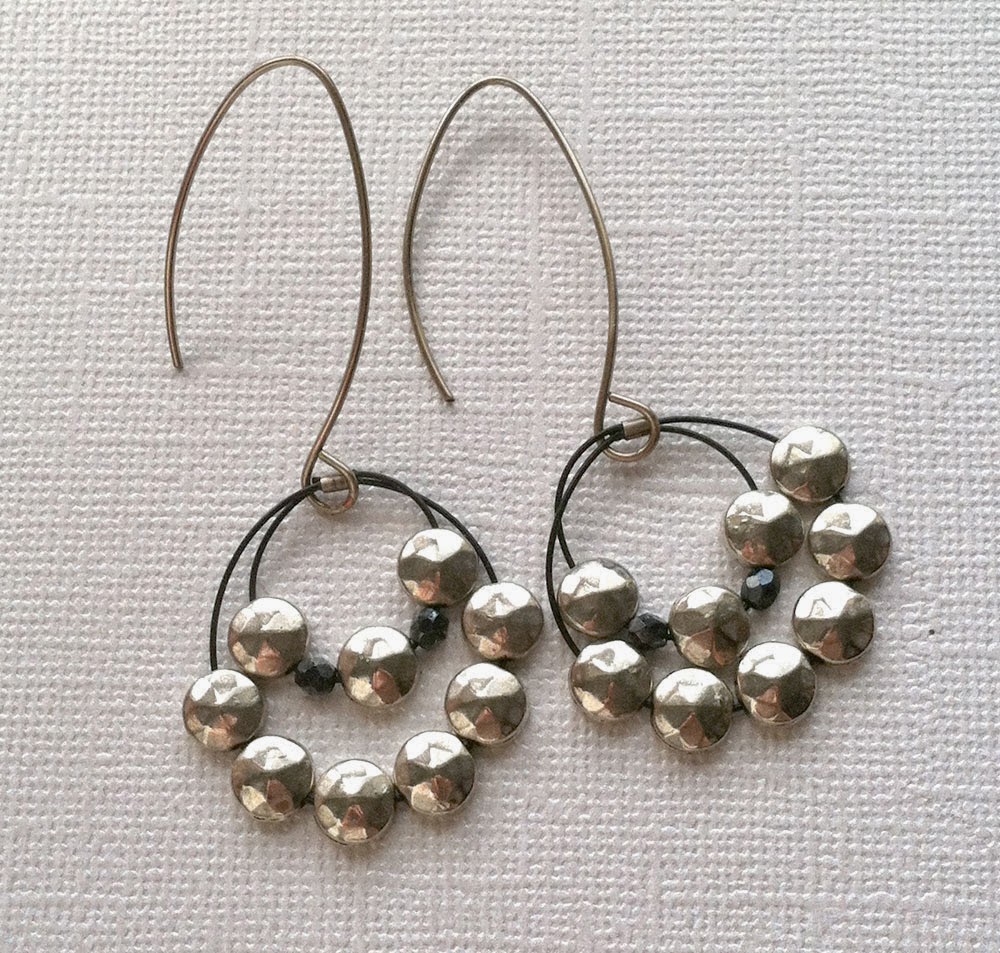
For the earrings, create two dangles the same way you created the cluster dangle above. Instead of attaching to a jump ring you attach each strand to a gold plated ear wire.


