Tutorial Tuesday: Knitted Craft Wire Bracelet

Tutorial Tuesday is a blog series where I share a do-it-yourself jewelry tutorial on Soft Flex Company’s blog.
I have confessed my love for knitting bracelets out of Soft Flex Beading Wire before but, knitting with Soft Flex Craft Wire proved to be more difficult for me to grasp. I believe that’s because I first learned to knit on a spool using flexible beading wire, which has give to it. Craft Wire is of course, rigid by nature. I struggled a few times and finally decided I would make it work. (Thank you for that gem of a saying, Tim Gunn.)
I found this video by Beaducation on YouTube that made knitting with Craft Wire finally click and make sense for me.It helped me see that with craft wire you pull the wire out to the edge of your spool with your stylus, then flip the wire up and over your pin with your fingers.The tension is carried from one pin to the next – not through pulling on the tail as it is with flexible beading wire.
Soft Flex Craft Wire Bronze – 20 Gauge
5-Pin Knitting Spool
Draw Plate
Cutters
Round Nose Pliers
1 Strand Clasp, Toggle with Jump Rings
or Make your own clasp

Once you have completed your desired length of wire knitting, cut off about 2″ extra wire form the spool and carefully remove your knitted wire tube from the spool. Take the end of the wire and thread it into the last 5 open loops to secure your knitted tube. The result will be a wonky shape as shown.
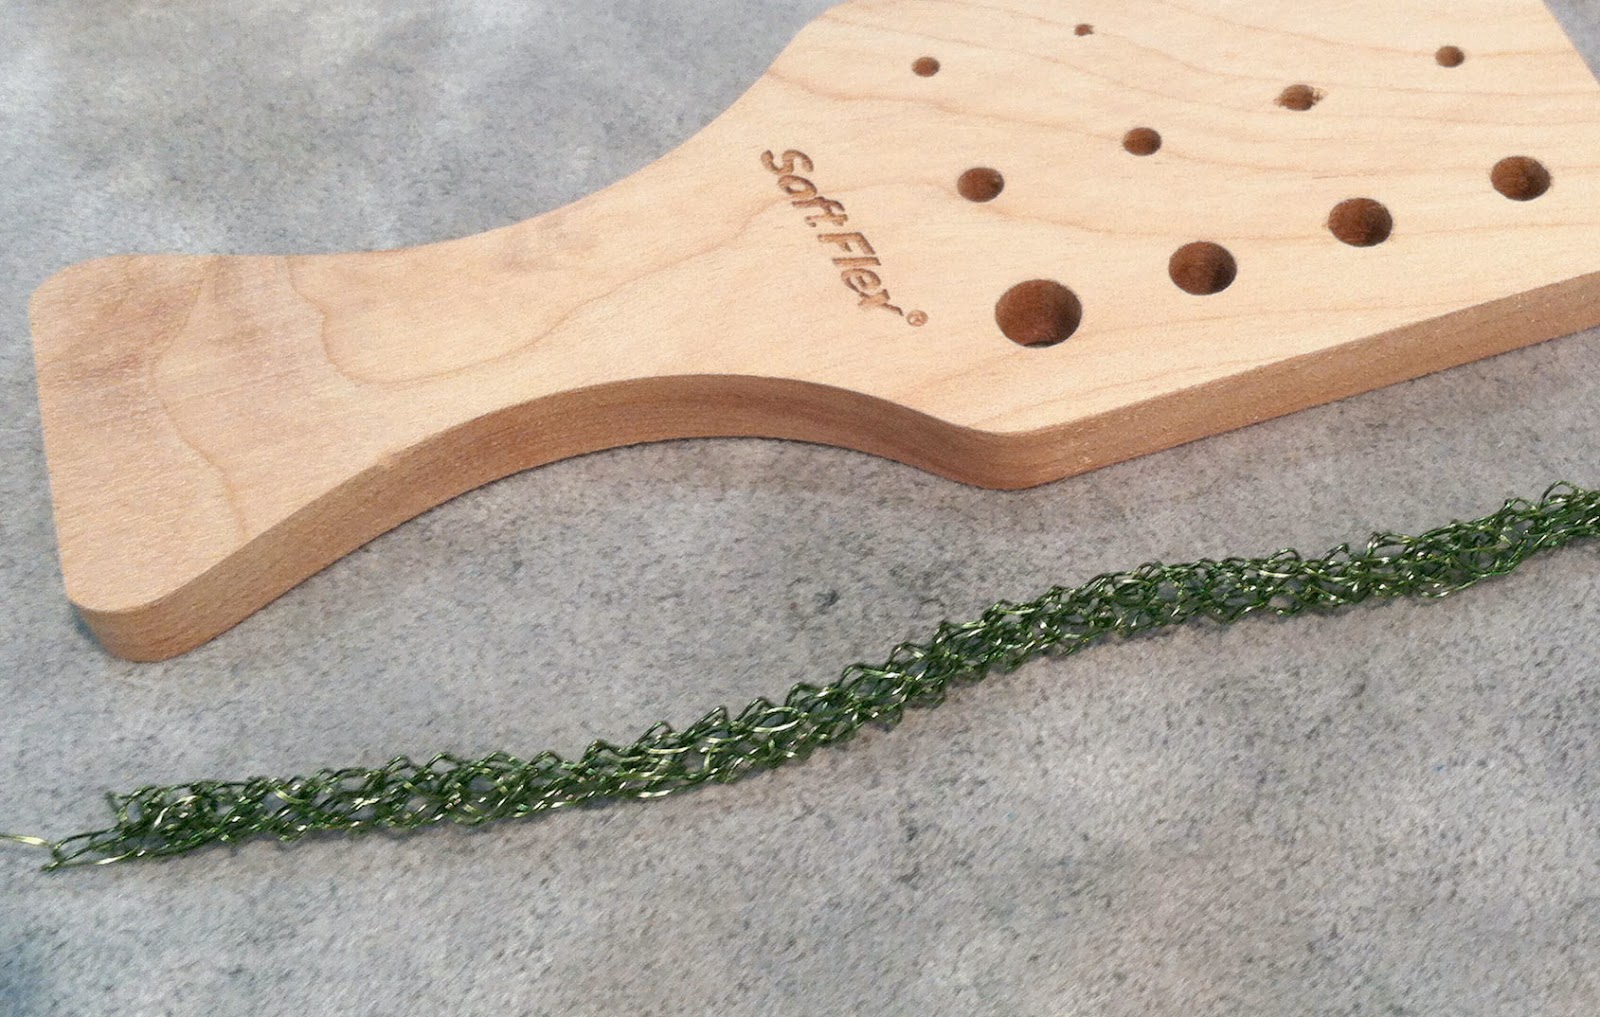
Using a draw plate, run your knitted wire tube through one of the large holes to begin smoothing out the shape. Then move to a smaller hole and so on until you are happy with the wire shapes and diameter.

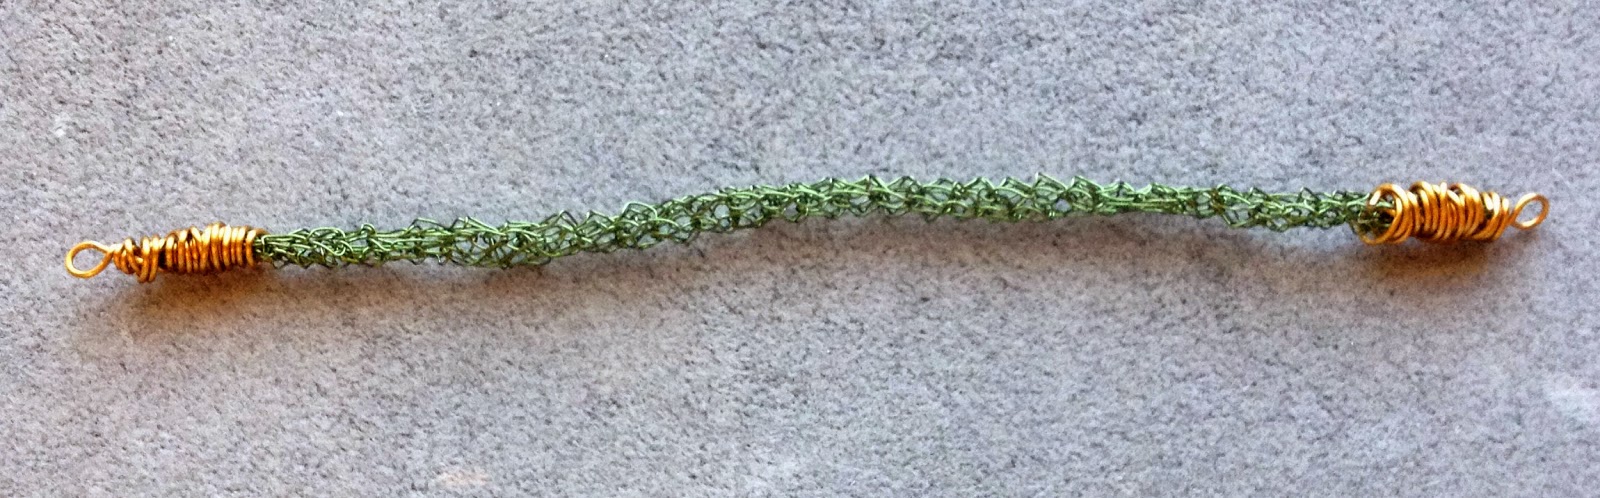
Next, you’ll need to finish off your wire ends. You may choose to use a cone or bead cap or you can wire wrap your own cones as I did. To wire wrap your cones, cut a 10″ piece of 20 Gauge Bronze Craft Wire (it’s better to error on the side of too much length then not enough). About 1/2″ from the green knitted tube end, stick one end of the bronze wire through the knitted tube and tuck it around the knitted tube to secure it. Then begin wire wrapping the tube towards the end. When you get to the end of the knitted tube, use your round nose pliers to create a loop and then wire wrapped back down the tube to where you started making sure to cover the tube entirely with wire and cut off excess. Repeat on the other side.

At this point you can add you jump rings and clasp or you can make your own. I decided to make a simple hook clasp to finish off my bracelet. Cut 2-3″ of 20 Gauge Bronze Craft Wire and straighten the wire with nylon jaw pliers.
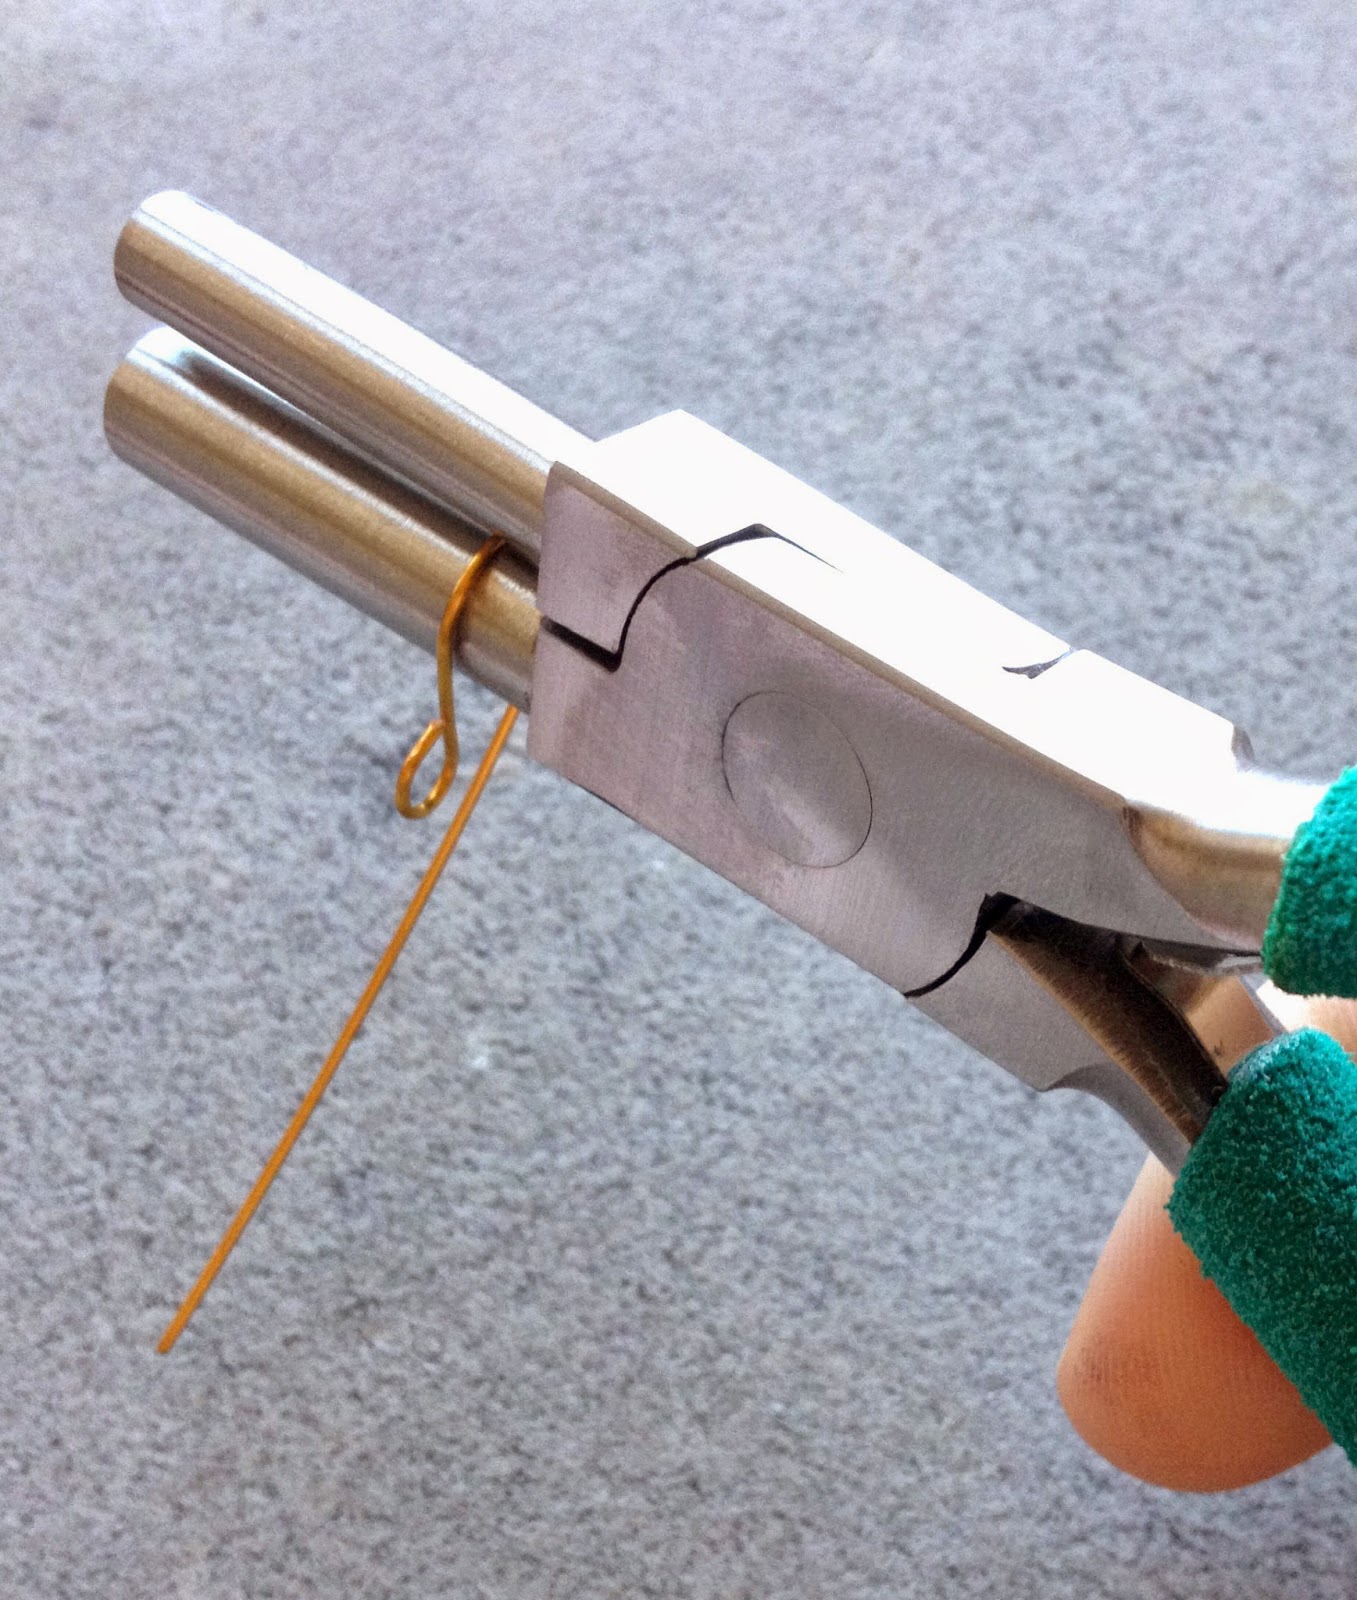
Using my round nose pliers I made a small loop on one end and then made a larger loop with my large bail making Wubbers pliers.Trim excess wire so it’s about the same length as the little loop.
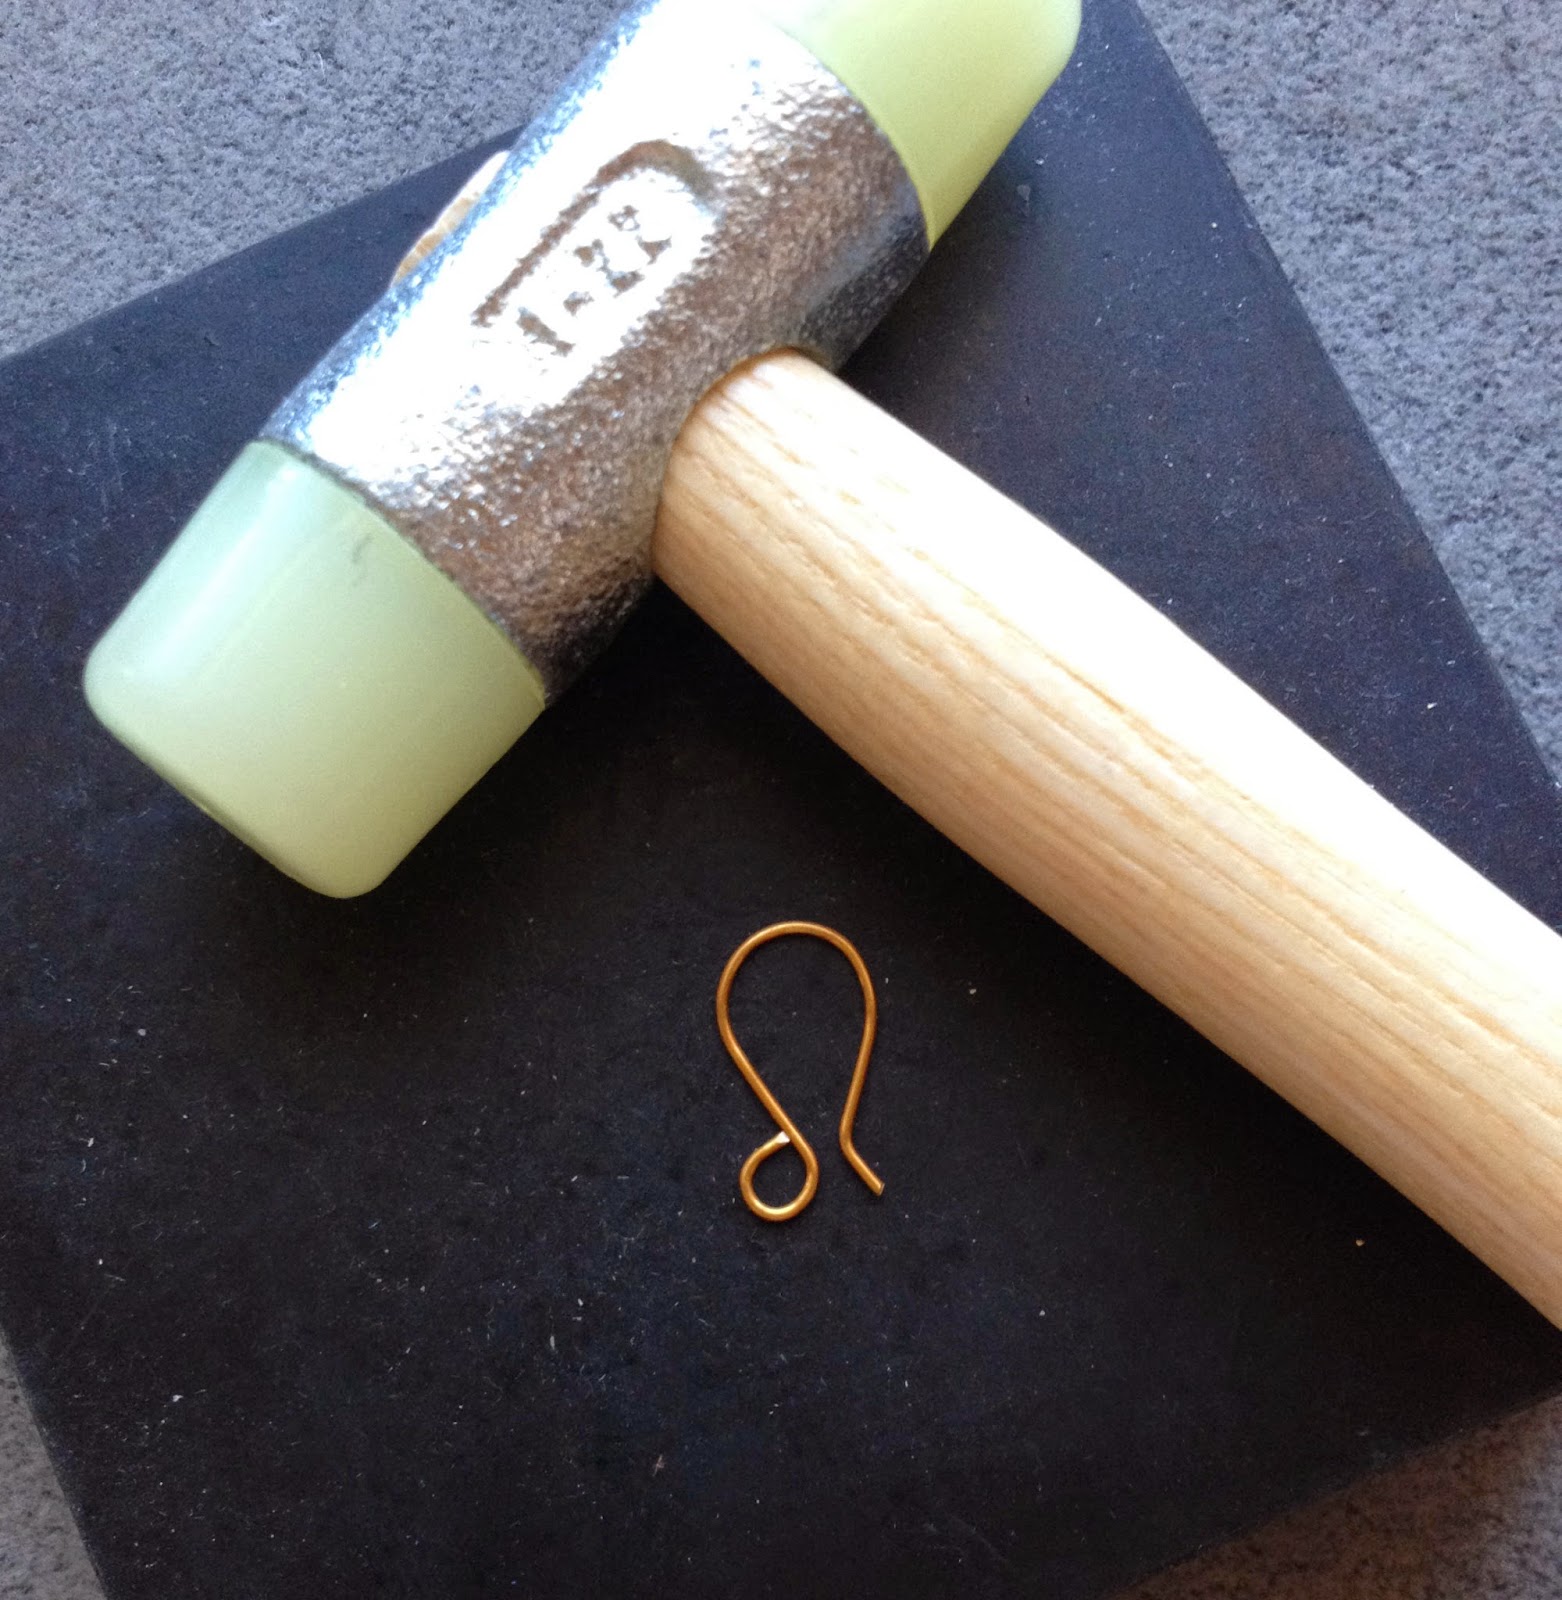
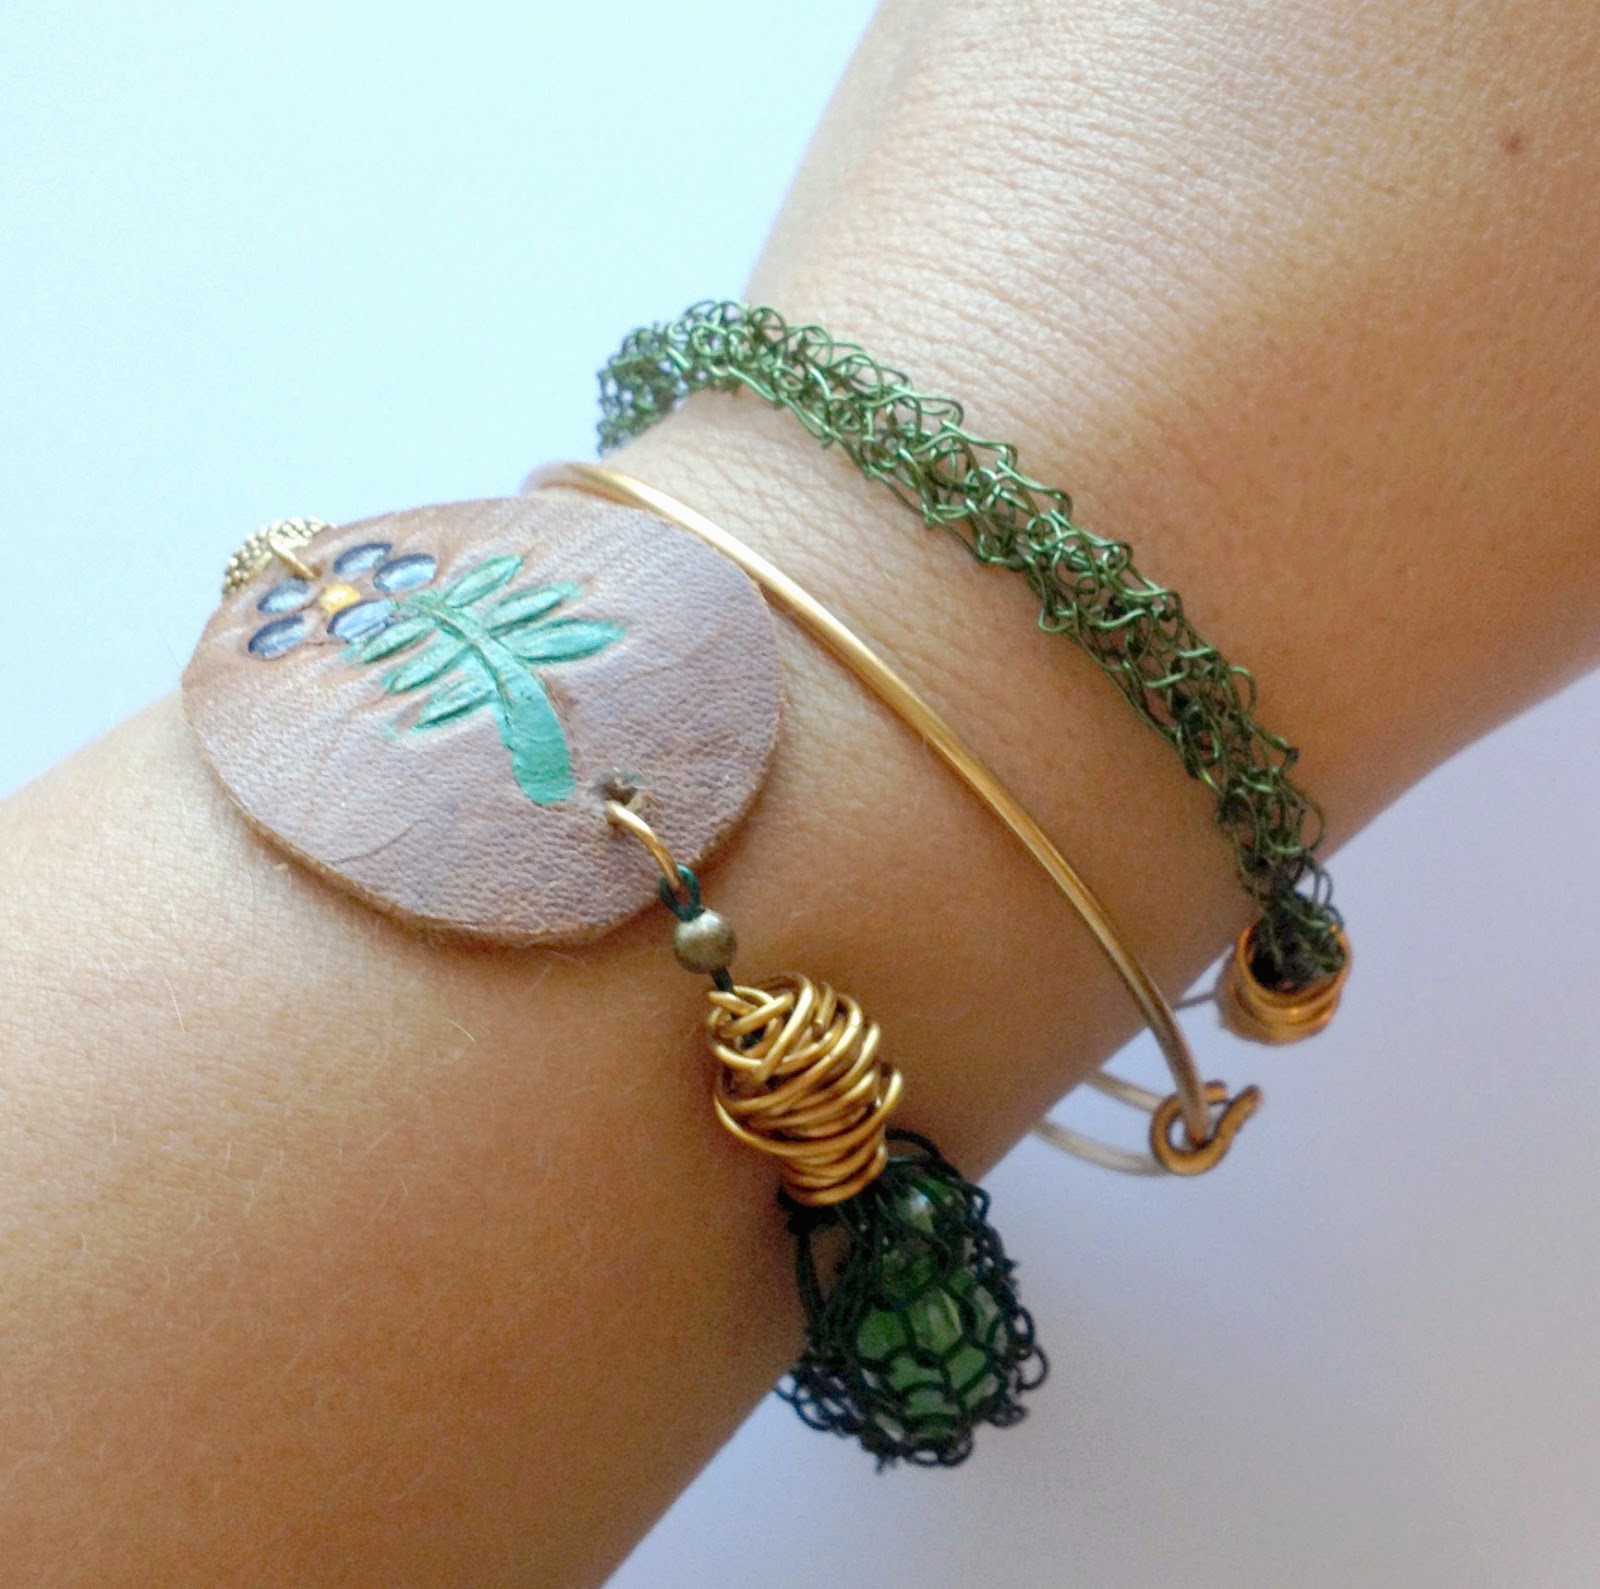
Lastly, work harden the clasp with a nylon hammer and rubber block and attach to one end of your bracelet. Here is the finished design. I especially like to wear it layered!