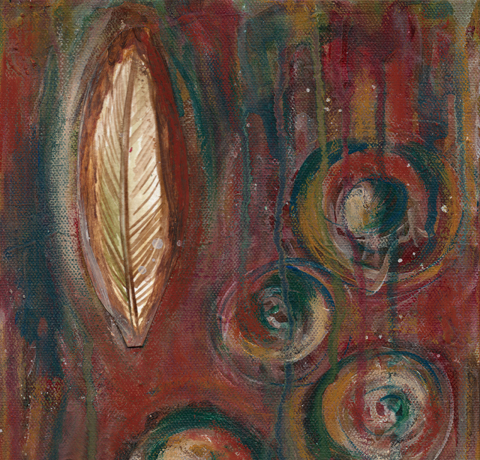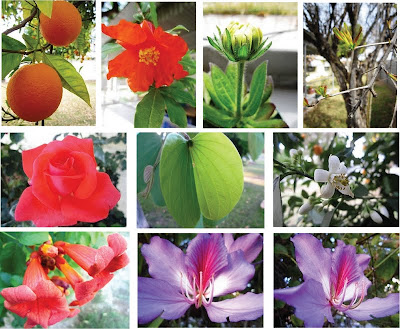
My dear friend and long time coworker, Sara, is marrying to her love Josh later this year and I am working on their wedding invitations (yay!). They are planning a beautiful wedding in their garden so, I thought a good place to start would be with, well, their garden! Lucky for me Sara has shared loads of flower pictures from their yard on their blog so, that’s where I went for inspiration.
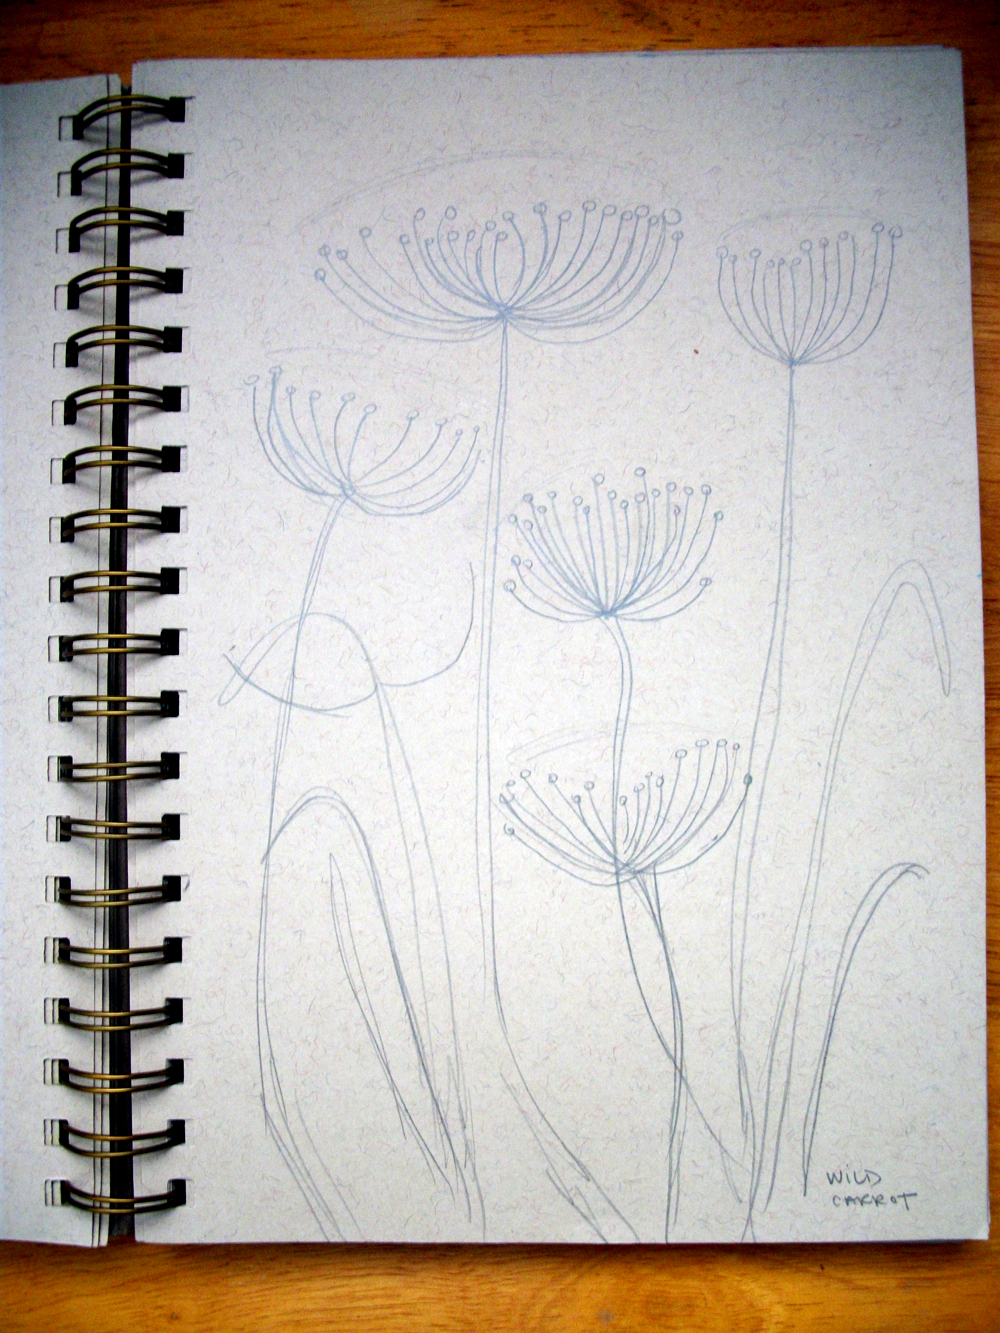
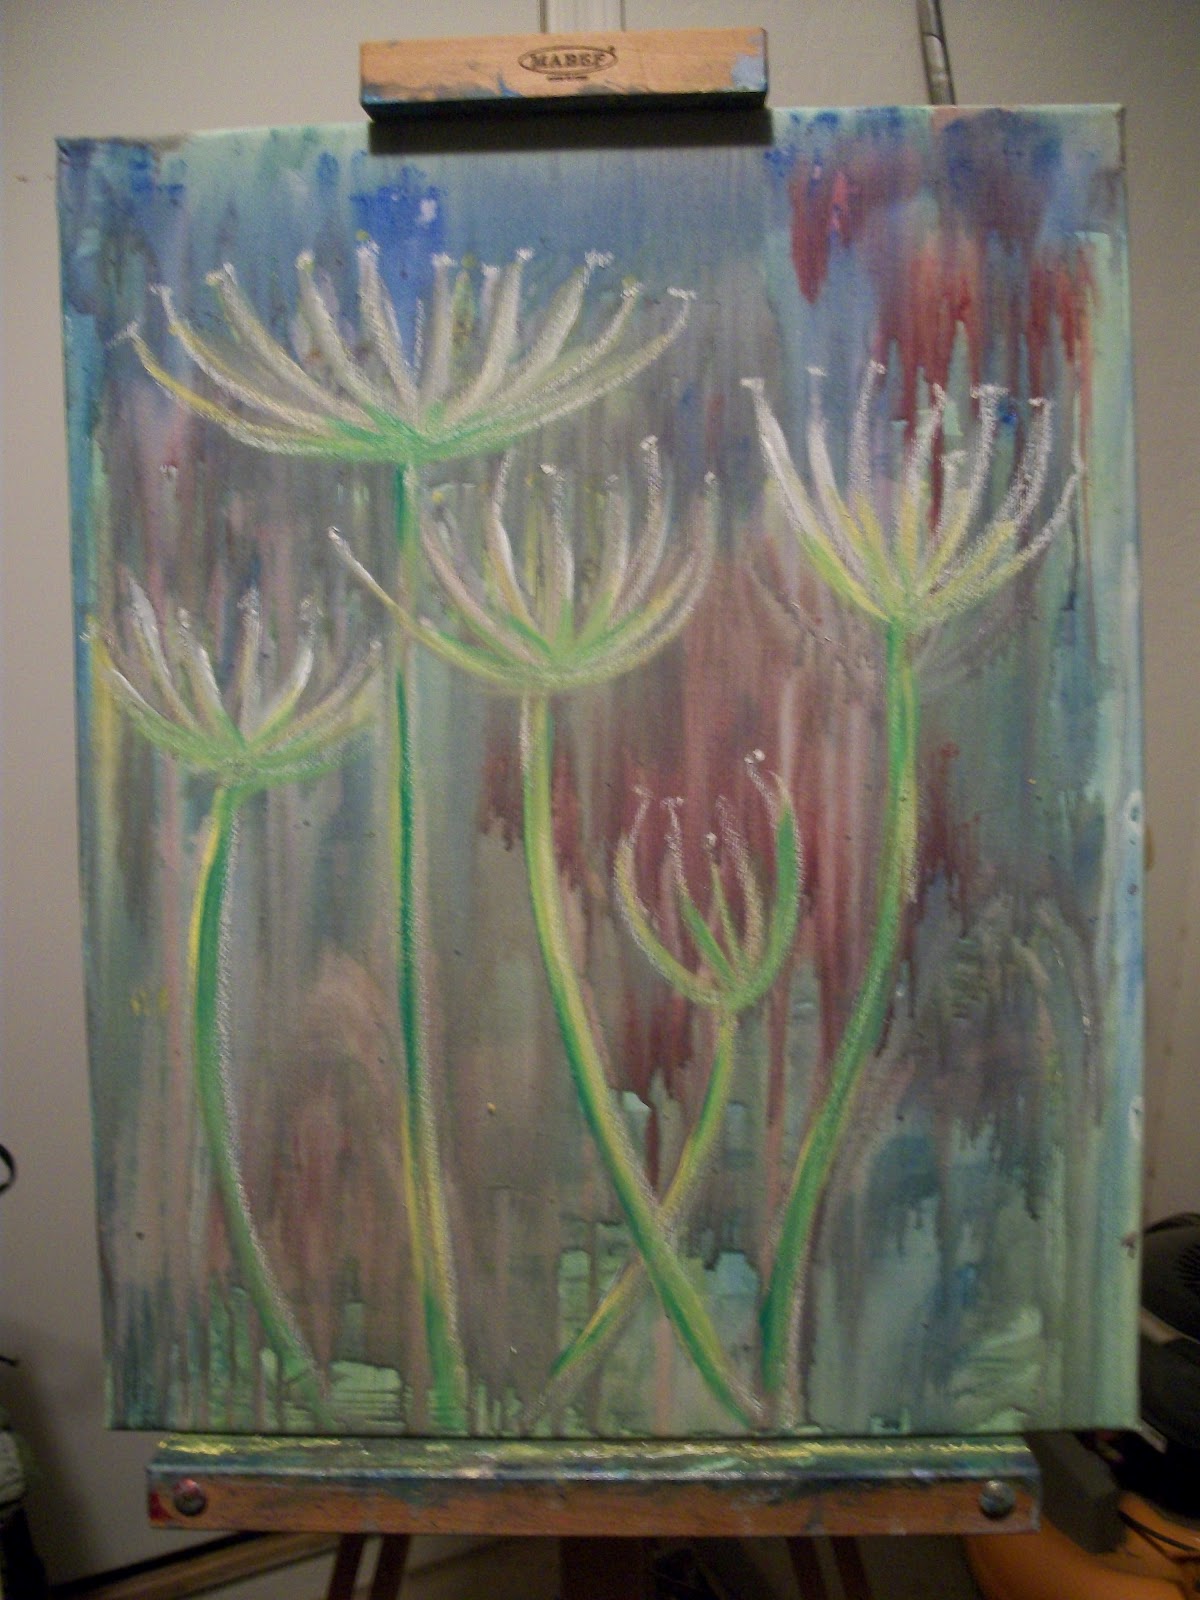
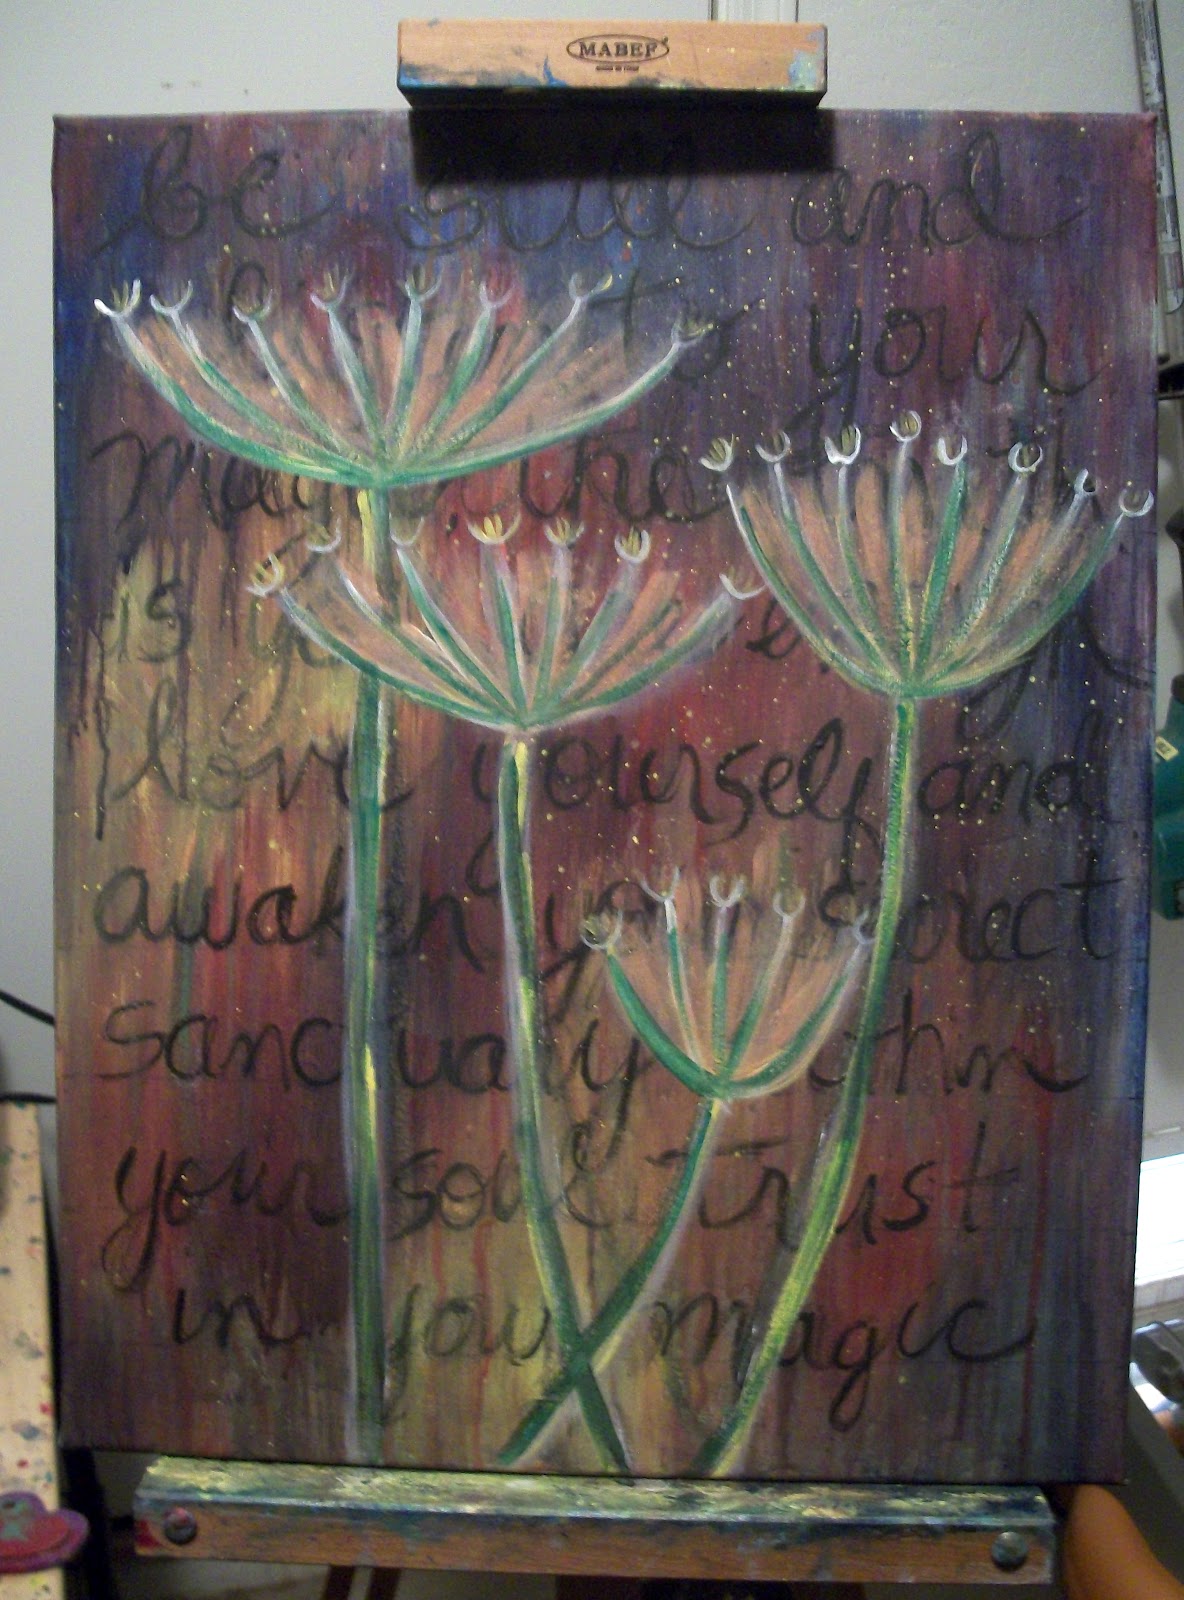
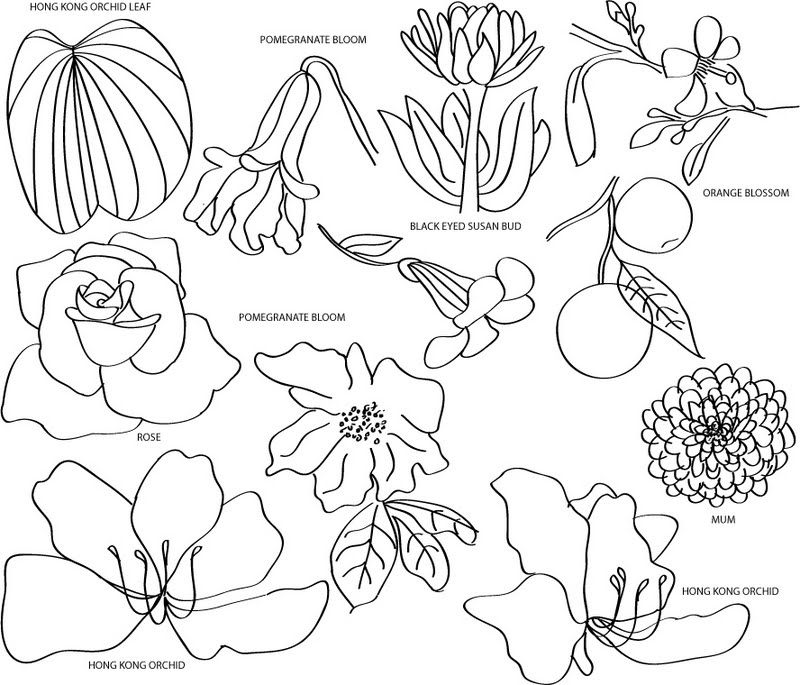
Above are Sara’s pictures and below are my first round of digital illustrations.
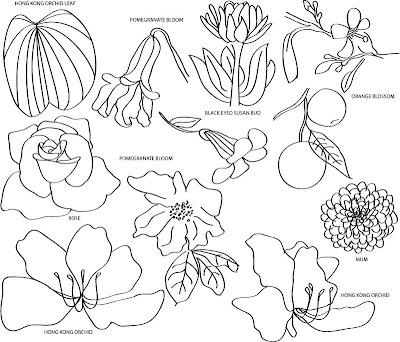
These flowers were truly a joy to draw! I have a few favorites for sure. It has been so nice to have a reason to illustrate. They have lots of orange trees and rose bushes which should be in bloom for the wedding so, we have decided to focus on those two plants in particular. Stay tuned for round two of sketches. I love weddings and flowers so this project is a win-win as Sara would say!
Earth laughs in flowers. ~Ralph Waldo Emerson, “Hamatreya”
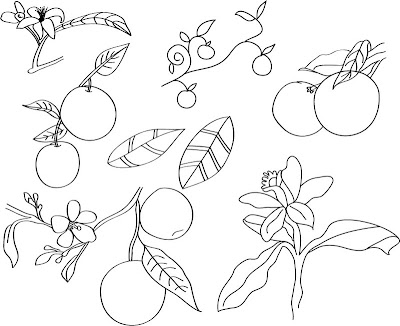
Here is my last illustration study for Sara & Josh’s wedding invitation, this session I focused on the orange tree, oranges and orange blossoms.
The young girl stood beside me.
I Saw not what her young eyes could see:
– A light, she said, not of the sky
Lives somewhere in the Orange Tree.
~ from The Orange Tree by John Shaw Neilson

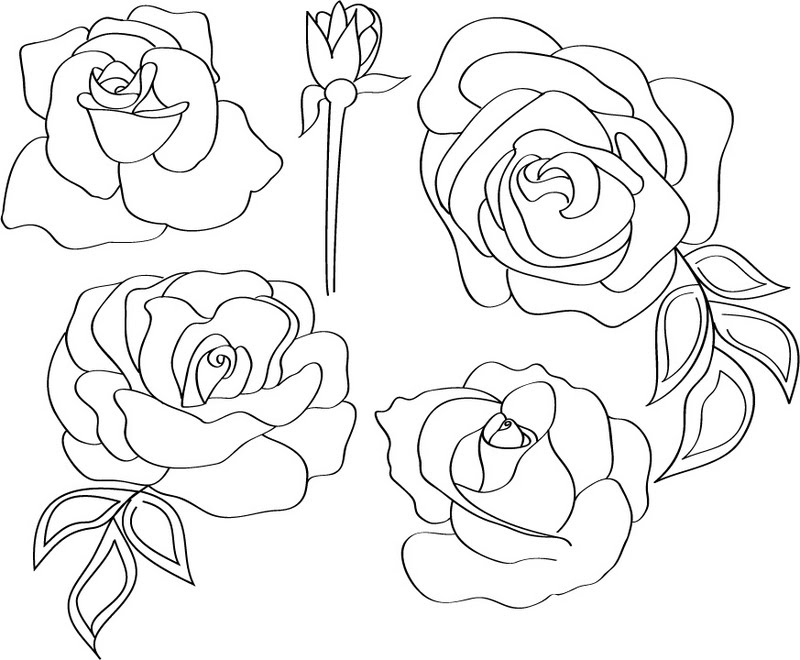
More illustration studies for Sara & Josh’s wedding invitation, this session I focused on roses.
Don’t believe the florist when he tells you that the roses are free ~ Ween